- Getting Started
- Administration Guide
-
User Guide
- An Introduction to Wyn Enterprise
- Document Portal for End Users
- Data Governance and Modeling
- Working with Resources
- Working with Reports
-
Working with Dashboards
- Dashboard Designer
- Selecting a Dataset
- Data Attributes
- Dashboard Scenarios
- Dashboard Templates
- Component Templates
- 3D Scene
- Explorer
- Visualization Wizard
- Data Analysis and Interactivity
- Dashboard Appearance
- Preview Dashboard
- Export Dashboard
- Dashboard Lite Viewer
- Using Dashboard Designer
- Animating Dashboard Components
- Document Binder
- Dashboard Insights
- View and Manage Documents
- Understanding Wyn Analytical Expressions
- Section 508 Compliance
- Subscribe to RSS Feed for Wyn Builds Site
- Developer Guide
Interaction With Dashboards
You can interact with the 3D scene component in a dashboard using an image component. Below are the scenarios you can create using an image component in the dashboard to interact with the 3D scenes.
Control the Auto Loop status of the 3D scene through the command of the image component
Bind the JavaScript command of the 3D scene to the image component
Examples
Control the Auto Loop status of the 3D scene through the command of the image component
In this example, we will add an image component and a Command option to control the autoloop status of the 3D scene.
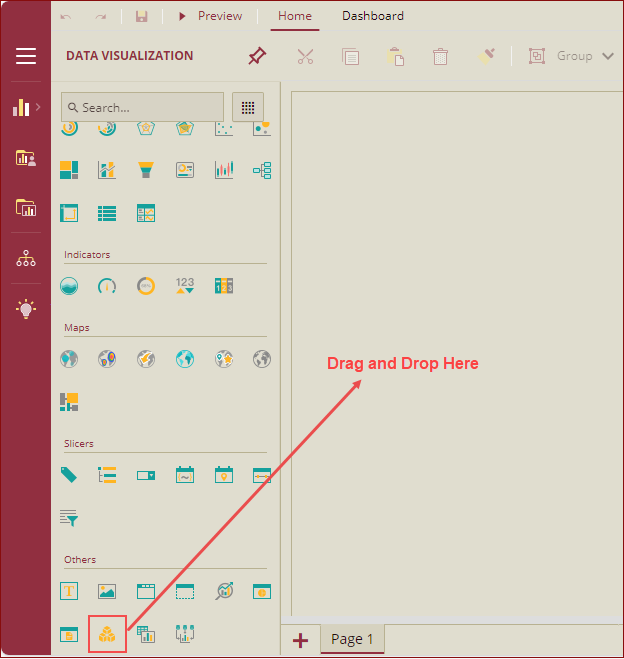
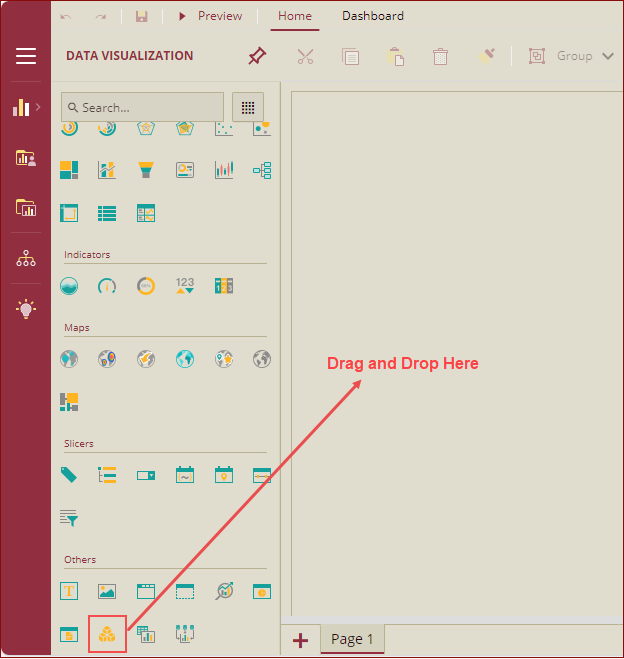
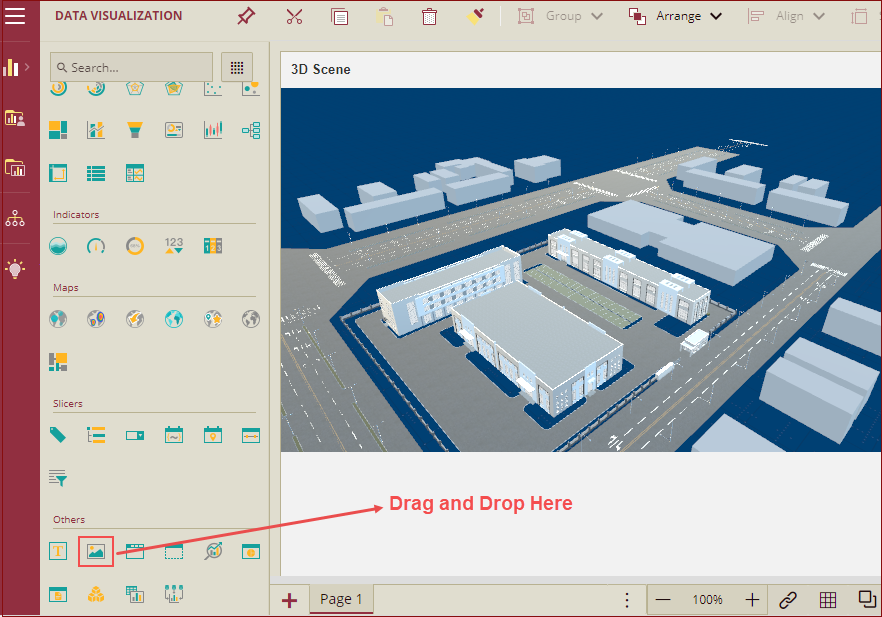
From the Data Visualization tab, drag and drop the 3D Scene component onto the designer area.
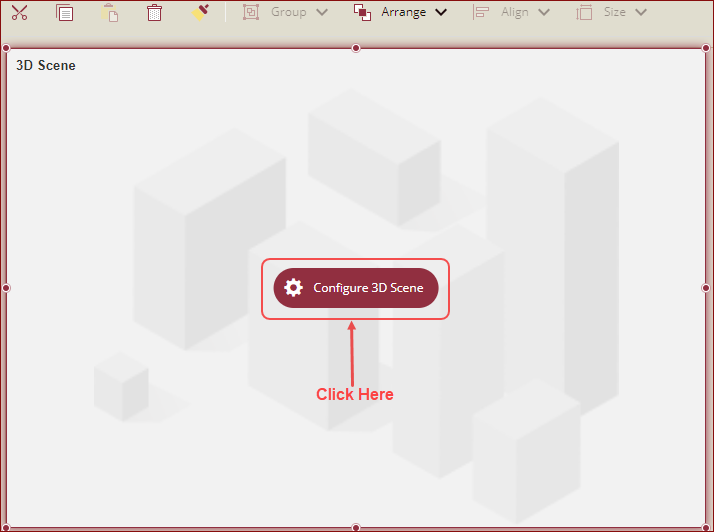
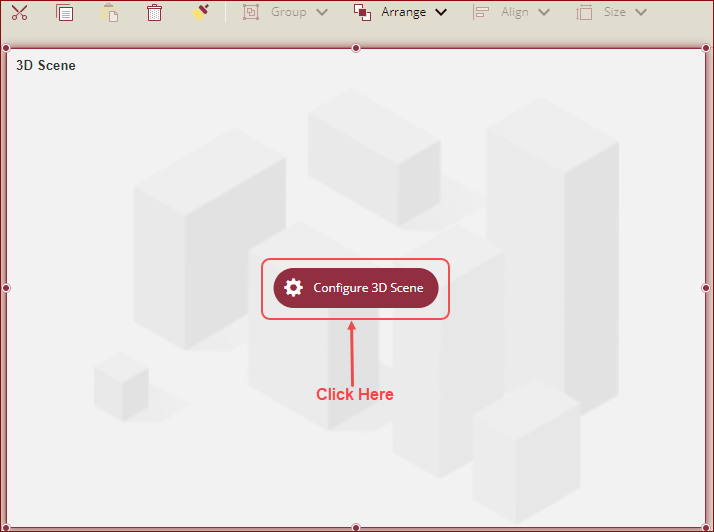
Click the Configure 3D Scene button on the 3D Scene component.
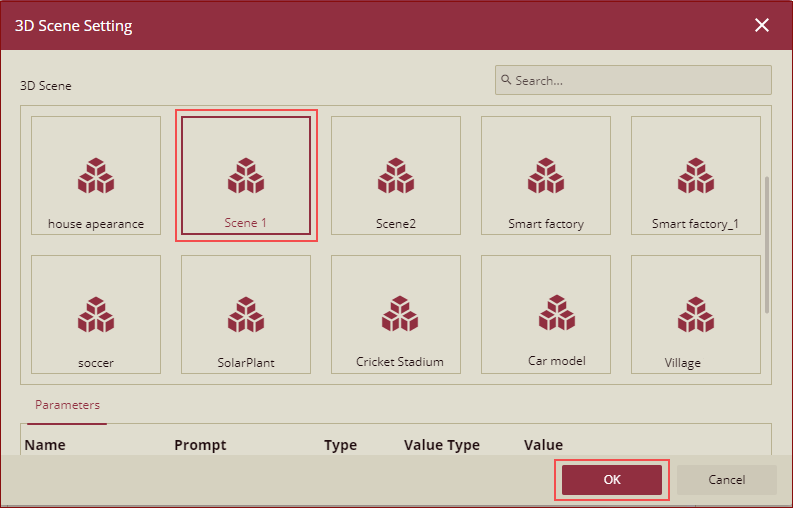
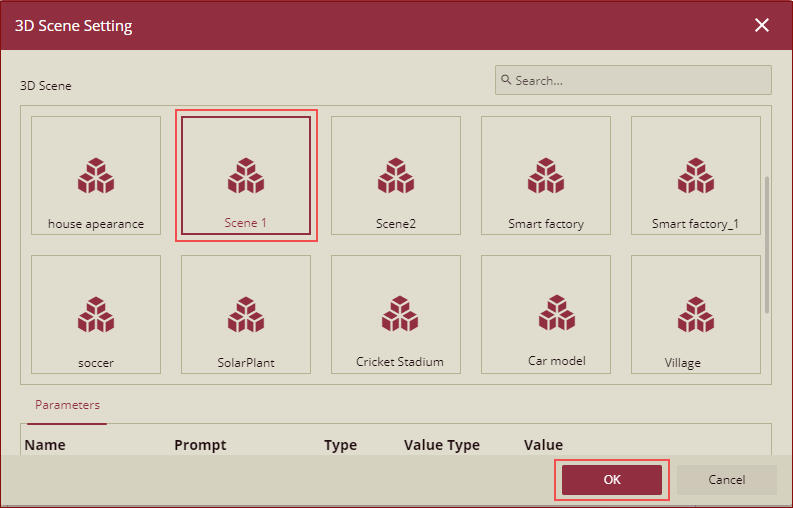
3D Scene Setting popup will appear on your screen. Select a 3D scene and click the OK button.
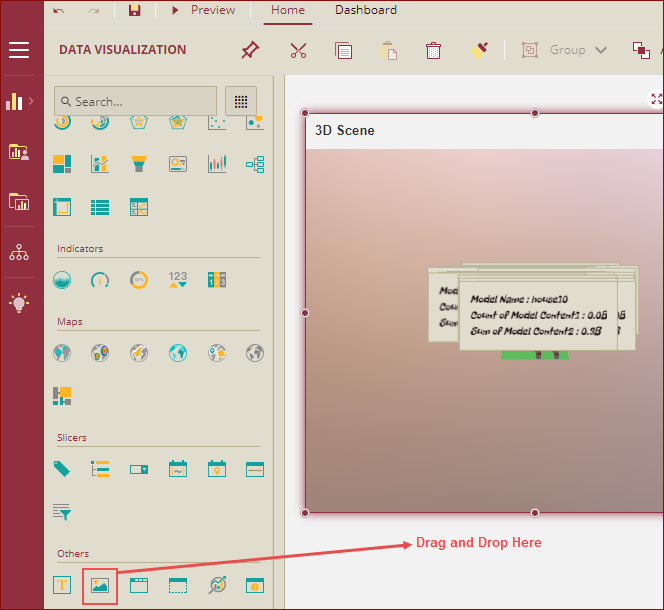
Drag and drop an Image component.
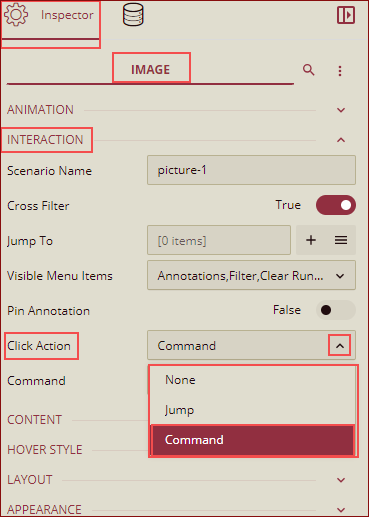
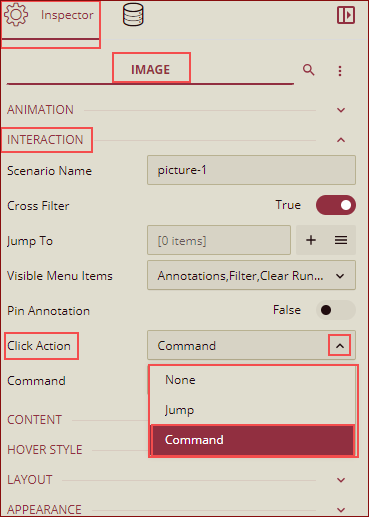
On the Inspector panel, under the Interaction section, select the option Command from the Click Action dropdown list.
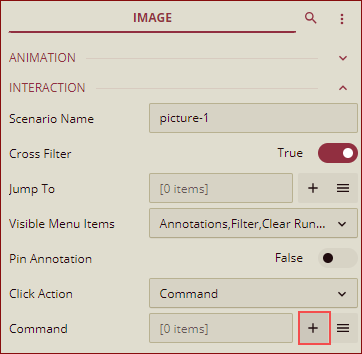
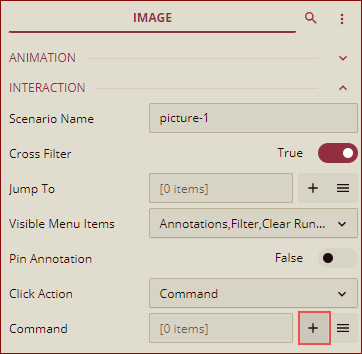
Click the plus icon
 to add the command.
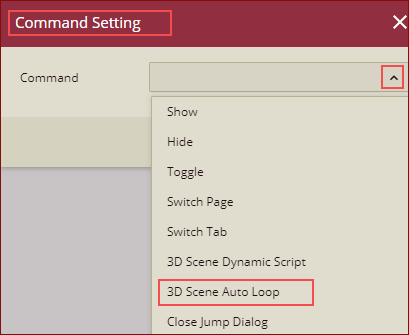
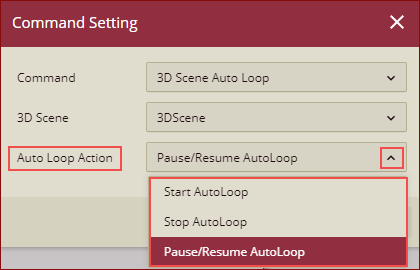
Command Setting dialog box is displayed with the following options. Select the 3D Scene Auto Loop option from the list.
The following options are displayed. Select the 3D Scene and the Auto Loop Action options. In this example, we have selected the Pause/Resume AutoLoop option.
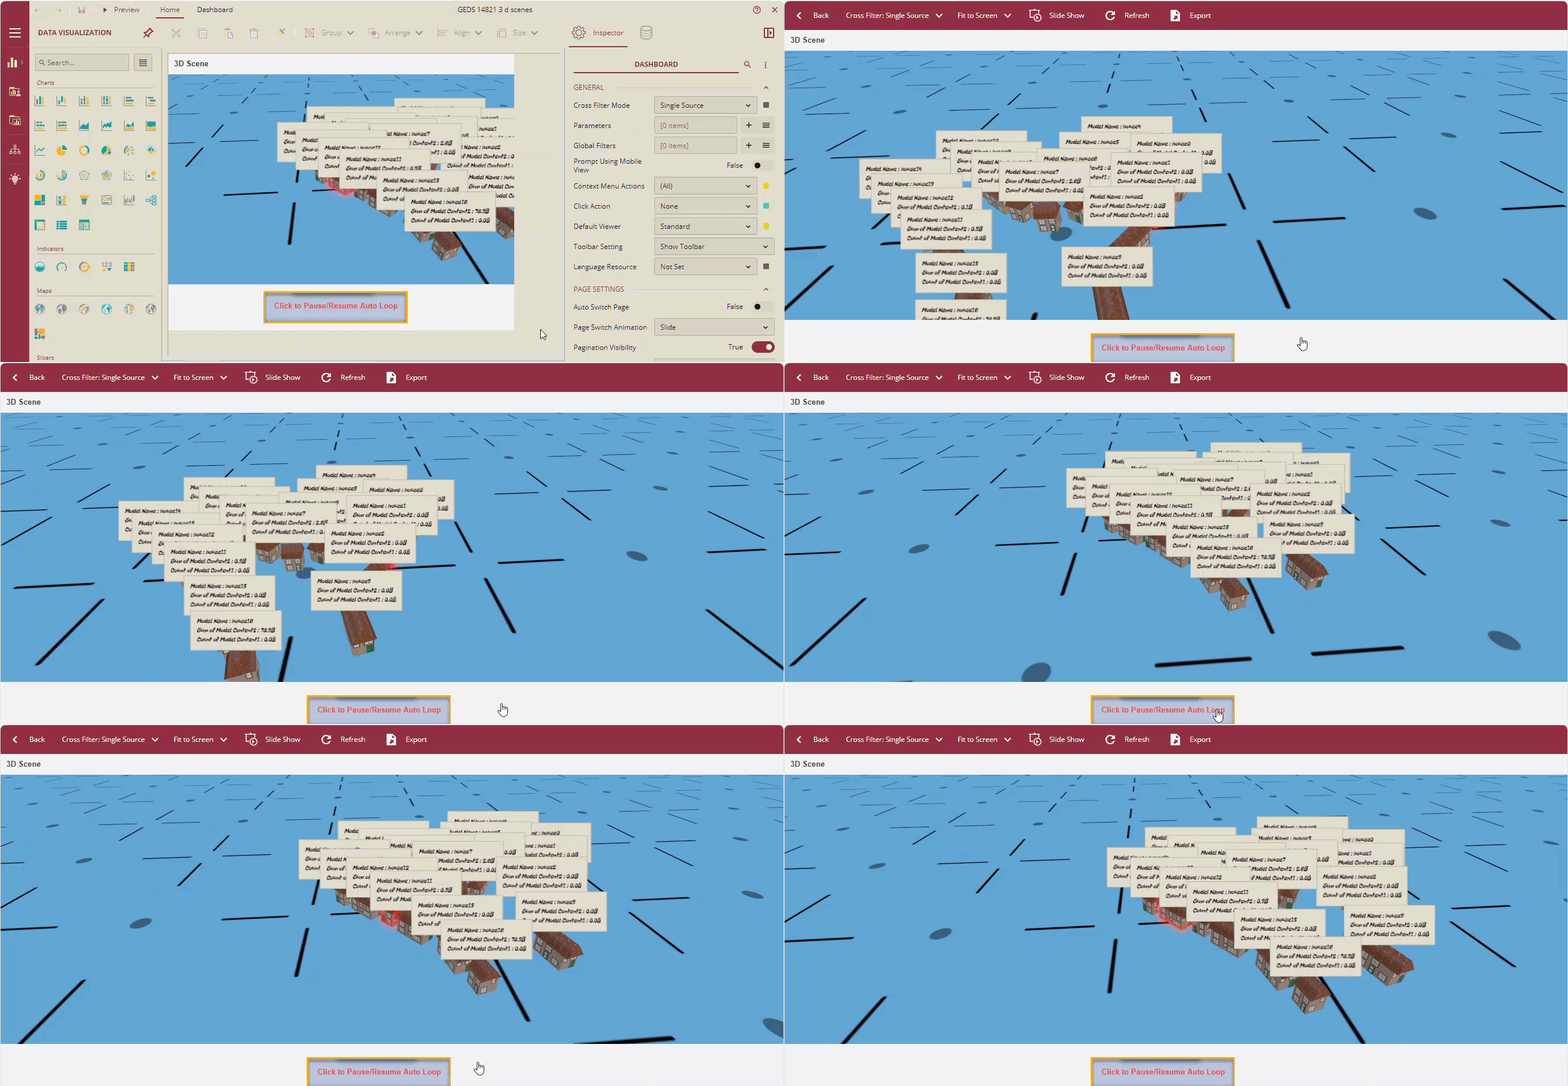
Preview the dashboard. Click the Image to start or pause the AutoLoop.
Bind the JavaScript command of the 3D scene to the image component
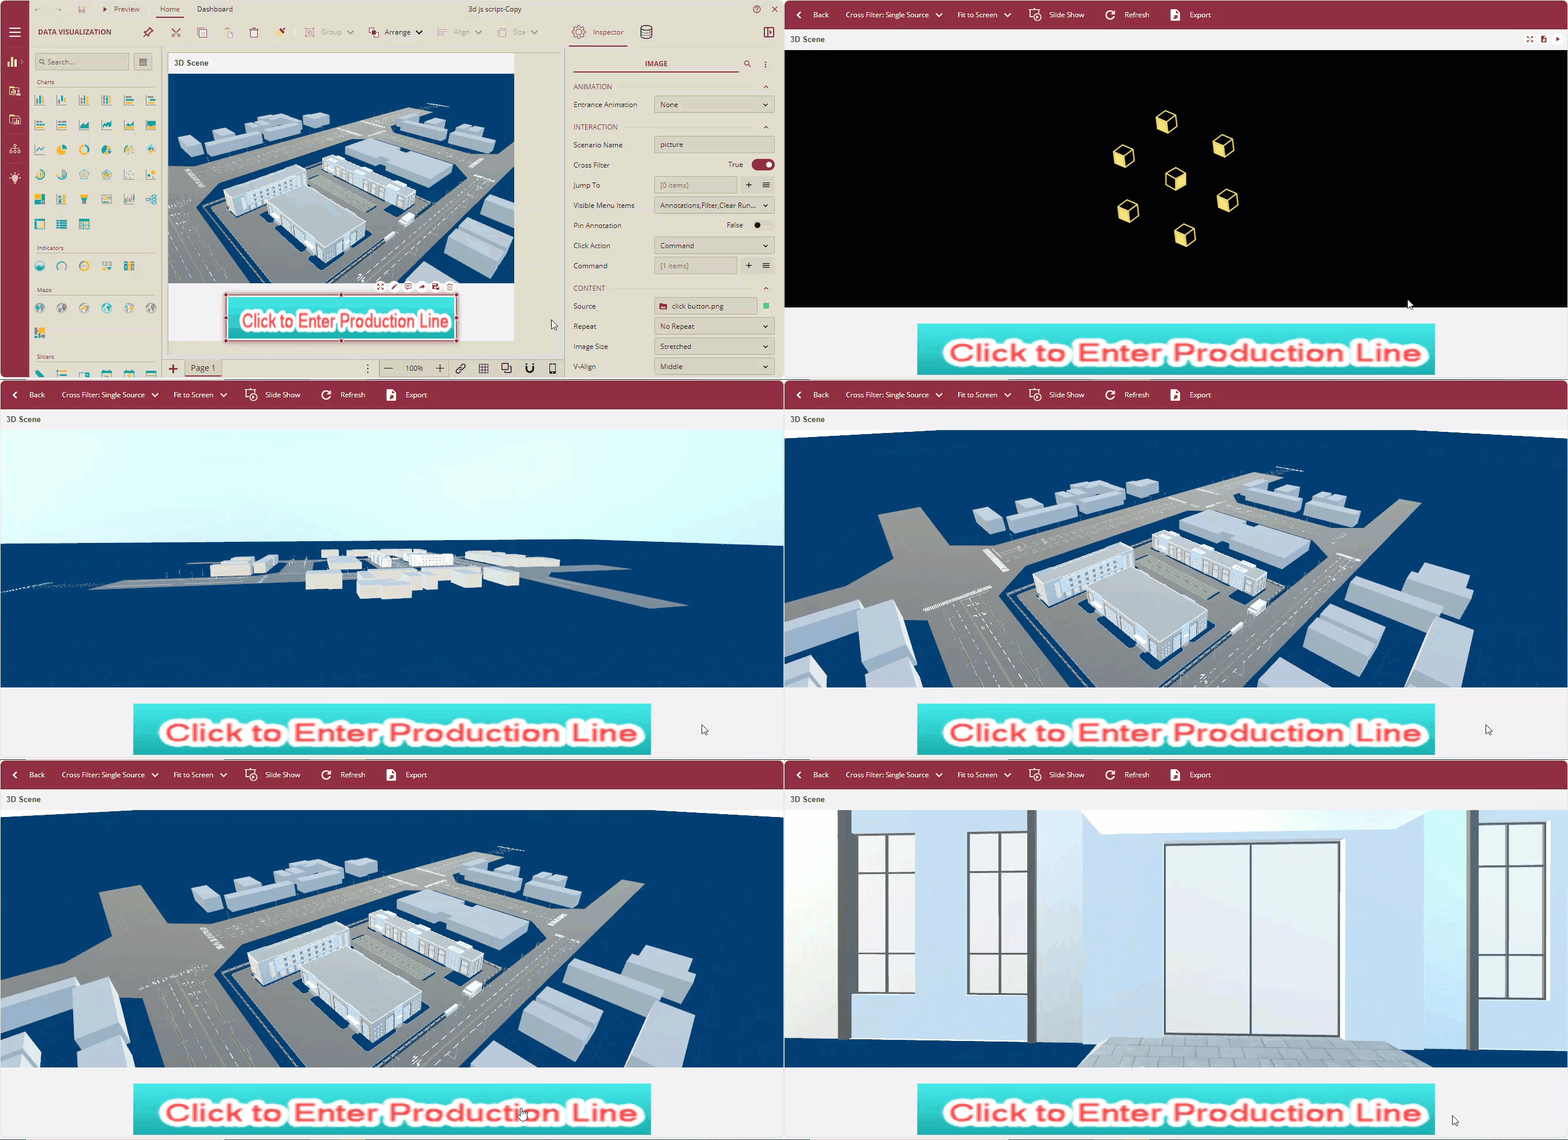
In this example, we will use the JavaScript code to customize the interaction behavior. We will click on the image in the dashboard, and it will enter the production line of the 3D scene of a factory.
Note: For this scenario, you need to add JavaScript to the 3D Scene. Refer to Create 3D Scene for more details.
From the Data Visualization tab, drag and drop the 3D Scene component onto the designer area.
Click the Configure 3D Scene button on the 3D Scene component.
3D Scene Setting popup will appear on your screen. Select a 3D scene with the JavaScript code and click the OK button.
Drag and drop an Image component.
.
On the Inspector panel, under the Interaction section, select the option Command from the Click Action dropdown list.
Click the plus icon
 to add the command.
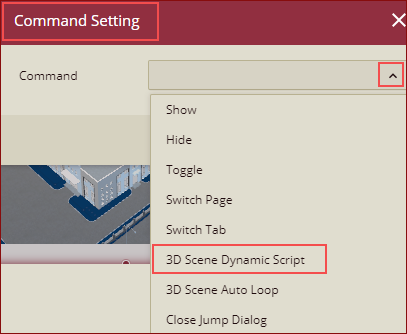
Command Setting dialog box is displayed with the following options. Select the 3D Scene Dynamic Script option from the list.
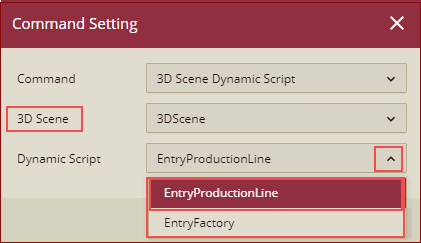
The following options are displayed. Select the 3D Scene and the Dynamic Script options.
Preview the dashboard. Click the Image to enter the Production Line of the factory.
