- Getting Started
-
Administration Guide
-
Get Started with Administering Wyn Enterprise
- System Requirements
- Installing on Windows
- Installing on Linux
- Installing using Docker
- License Wyn Enterprise
- Deploying with HTTPS
- Deploying with Reverse Proxy
- Deploying to Azure App Service (AAS)
- Deploying to Azure Kubernetes Service (AKS)
- Deploying to AKS using Helm Chart
- Deploying to Local Kubernetes
- Deploying to Kubernetes Cluster using Helm Chart
- Deploying as a Virtual Directory or Sub-Application
- Deploying to Amazon ECS
- Deploying to Amazon EKS using Helm Charts
- Deploying in a Distributed Environment
- Migration from ActiveReports Server 12
- Upgrade Wyn Enterprise to Latest Version
- Logging on to the Administrator Portal
- Ports in Firewall
- Configuration Settings
- Account Management
- Security Management
- System Management
- Document Management
- How To and Troubleshooting
-
Get Started with Administering Wyn Enterprise
- User Guide
- Developer Guide
Perform GUI Installation
This comprehensive article provides step-by-step instructions on getting started with the GUI installation of Wyn Enterprise. In this guide, you will find detailed information on:
Download Wyn Enterprise
You can download either of the two Wyn Enterprise installers:
Online Installer: The Online Installer of Wyn Enterprise (WynEnterprise-x64-online-X.X.00XXX.0.exe) is a compact application, approximately 2MB. With this lightweight application, you can quickly initiate the installation, provided you have an active internet connection to download the required files.
Website – Visit the website and fill out the form with your basic details and your business email address to receive the online Wyn installer download link.
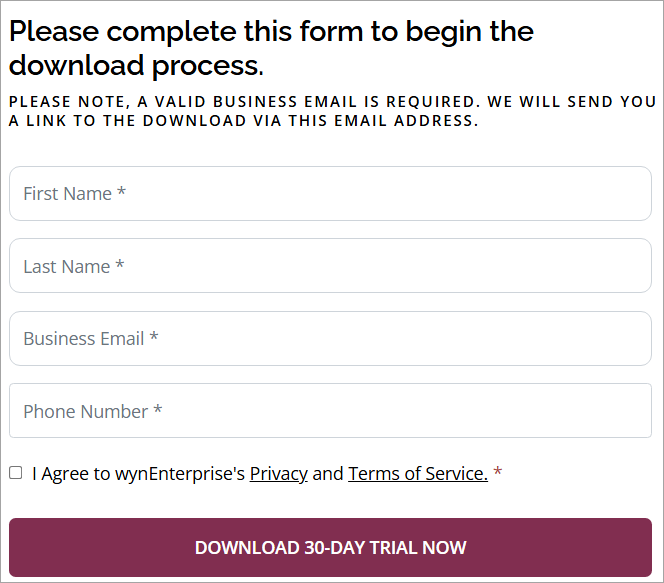
Offline Installer: The Offline Installer of Wyn Enterprise (WynEnterprise-x64-offline-X.X.00XXX.0.exe) is a larger application, approximately 700MB. This comprehensive package contains all the necessary files allowing installation without an internet connection.

Wyn Enterprise is available for a free 30-day trial period to give you ample time for exploration before you purchase your license.
Install Wyn Enterprise
Navigate to the default download folder and double-click the installer file [InstallerFileName].exe to initiate the installation process and follow the below instructions:
Agreement and Configurations
Agreement
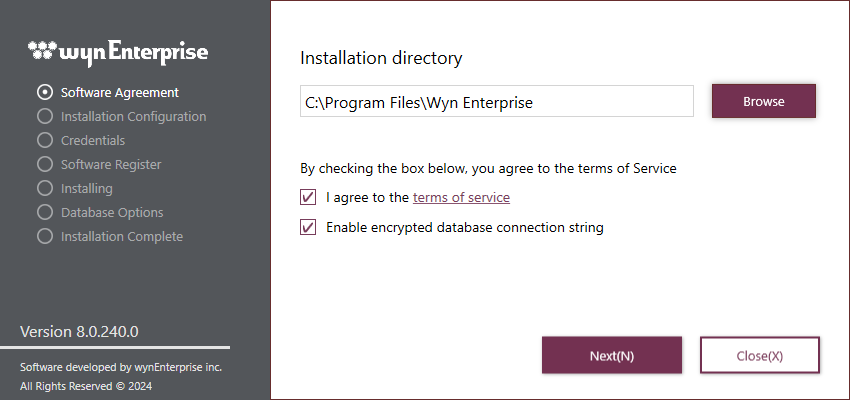
Select the I agree to the terms of service checkbox.
Optional: To change the installation directory location, click Browse and select a folder. By default, the directory location is set to the following location: C:\Program Files\Wyn Enterprise.
Optional: Select the Enable encrypted database connection string checkbox to protect the connection string from attackers. For more information, see the Encrypt or Decrypt Connection String article.
Click Next to proceed.
Configurations
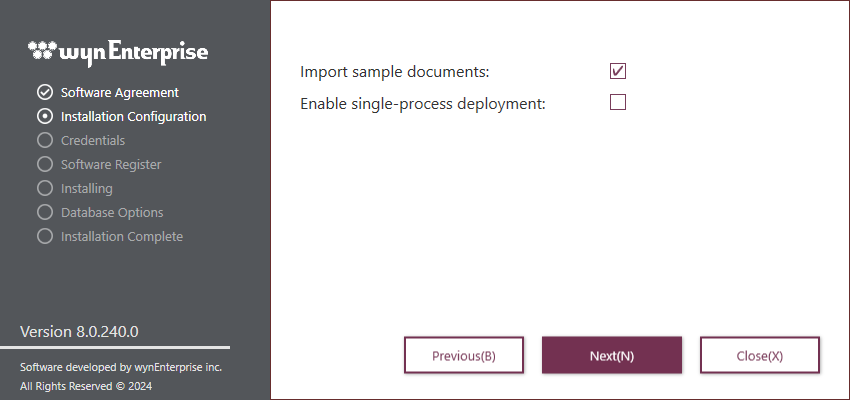
Optional: Select the Import sample documents checkbox to import sample documents and explore the features of Wyn Enterprise. This checkbox is selected by default.
Optional: Select the Enable single-process deployment checkbox to install the lite version of the Wyn Enterprise which consumes less memory. For more information, see the Single Process Deployment article.
Click Next to proceed.
Credentials, Registration, and Installation
Credentials
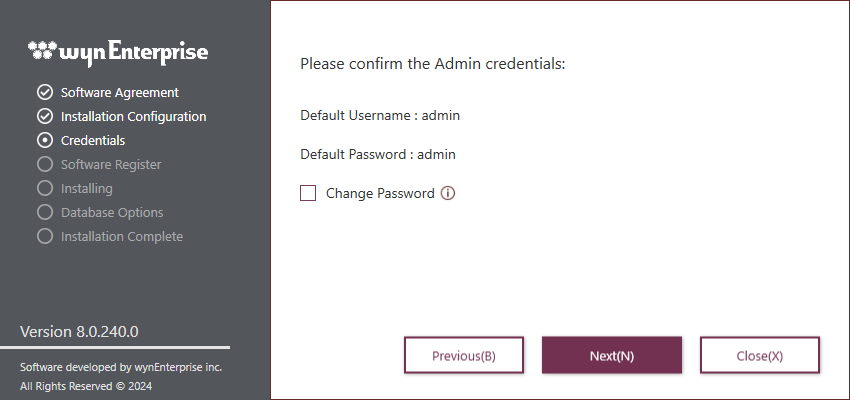
Optional: To change the default password, select the Change Password checkbox, enter the new password, and confirm the password.
Click Next to confirm the admin credentials.
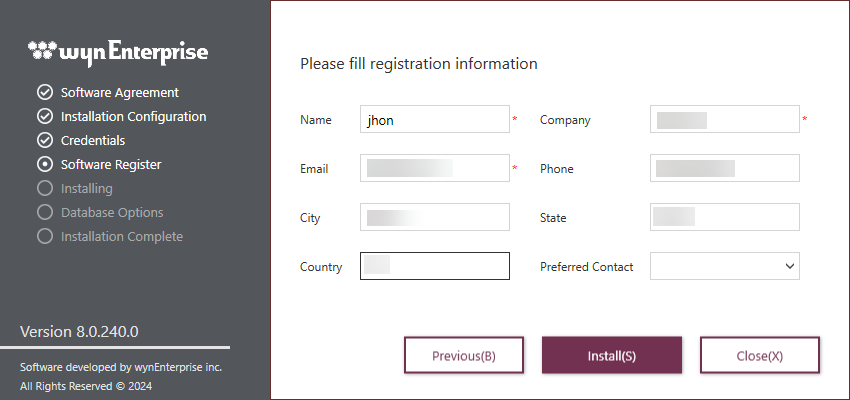
Registration and Installation: Fill in your basic details such as name, company name, email address, etc. Click Install(S) to continue. If prompted for permission to make changes to your device, click Yes.
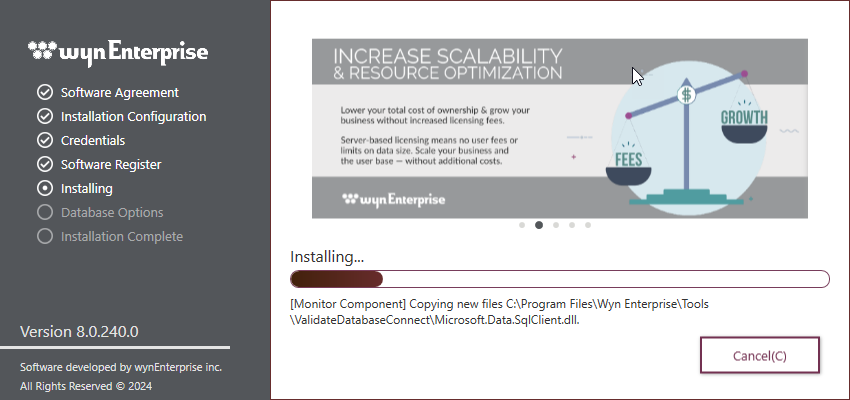
The necessary files automatically start installing on your Windows device. This process may take several minutes; do not close the window.
Database Options and Portal Access
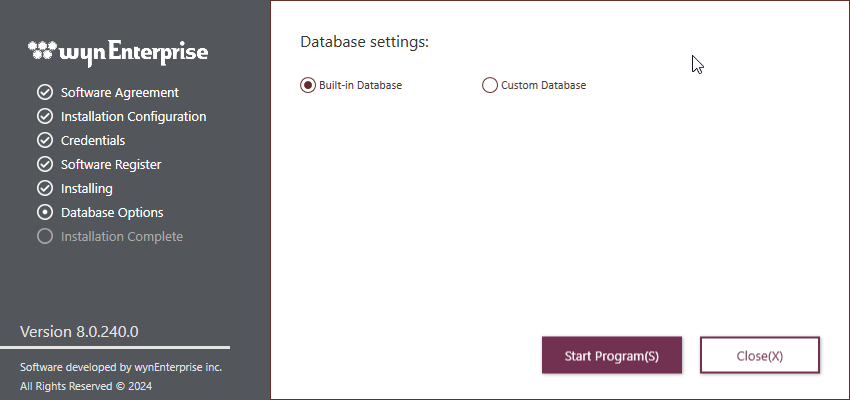
Database Options: Select and configure a database for Wyn Enterprise. In case of default selection (Built-in Database), click Start Program(S) to proceed. On selecting Custom Database, specify the database, enter the configuration details, and click Test Connection to verify the connection. On successful verification, click Start Program(S) to proceed.
All necessary configuration items for each available database are listed in the Custom Database Options section.
Well done! You have successfully installed Wyn Enterprise on your device.
Start Wyn Portal: Click Open Portal(O) to open the Wyn portal in your default browser.
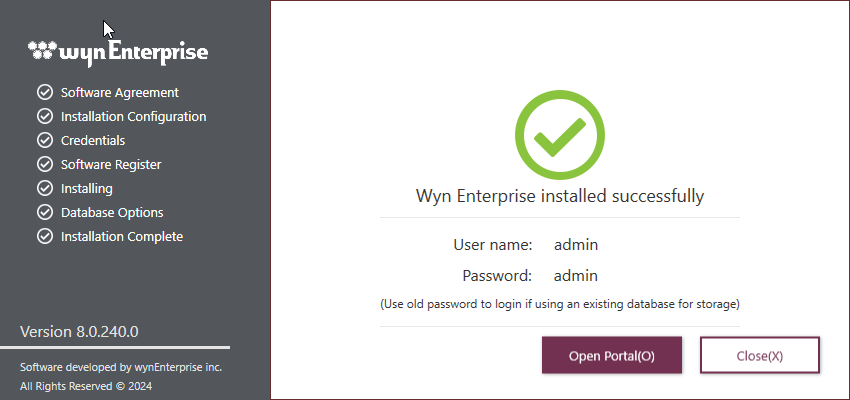
Note: You can also use the following link in your browser to access the Wyn portal:
http://localhost:51980.On the Wyn login page, use the credentials created in Step 3 to log in to Wyn Enterprise. These credentials are also visible in Step 6.
Uninstall Wyn Enterprise
Follow these steps to uninstall Wyn Enterprise:
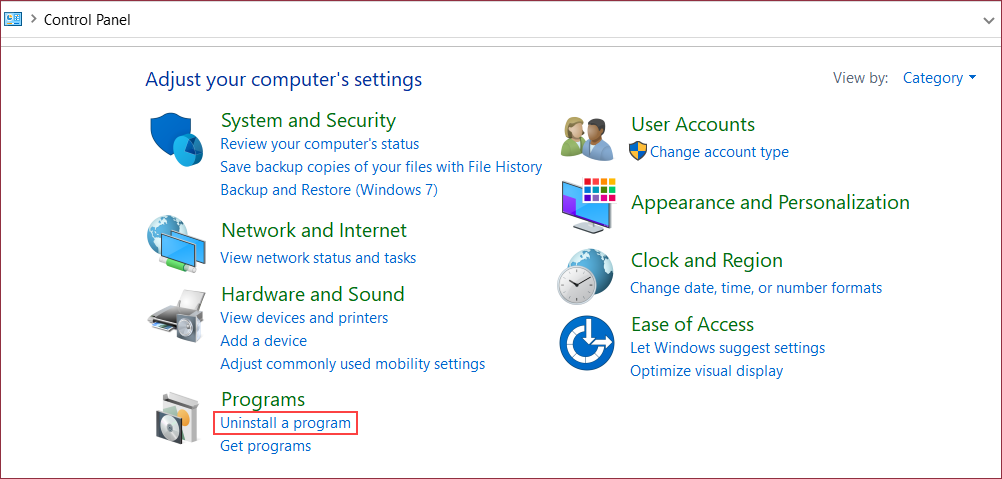
Open the Control Panel and navigate to Programs > Uninstall a Program.
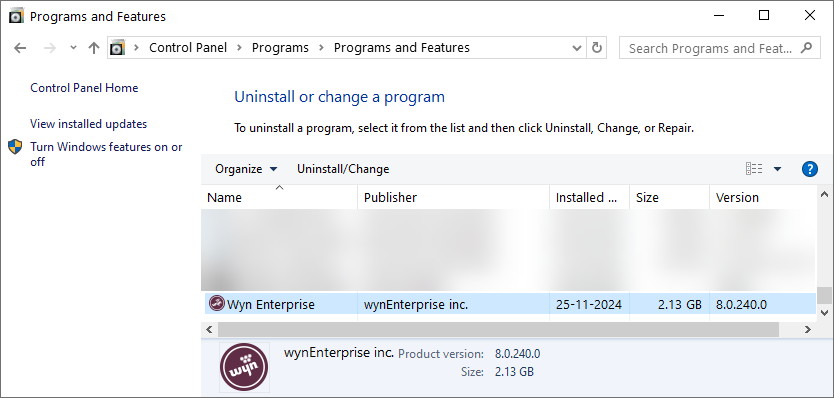
Search for the Wyn Enterprise program in the list. Double-click the program and click Yes, or right-click the program name and click Uninstall/Change.
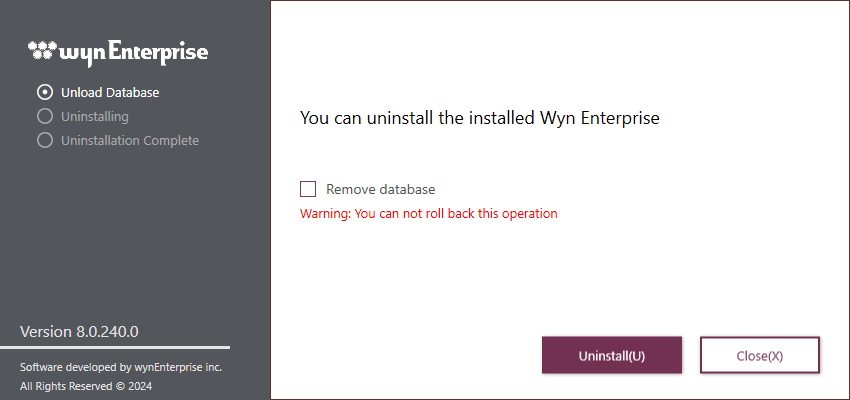
Select the Remove Database checkbox to remove the Wyn database from your system. Note that once the database is removed, it cannot be retrieved. Click Uninstall to proceed.
Allow a few minutes for the process to complete.
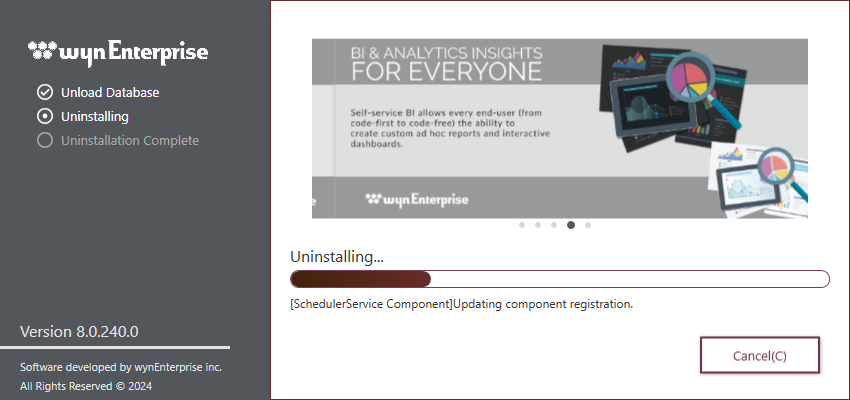
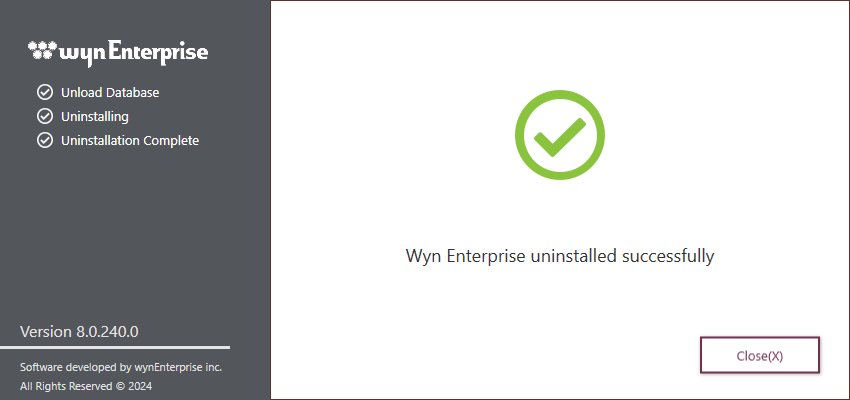
Click Close. Wyn Enterprise has successfully uninstalled.
Custom Database Options
Config. Item | Microsoft SQL Server | My SQL | PostgreSQL | Oracle |
|---|---|---|---|---|
Database | Microsoft SQL Client | MySQL | PostgreSQL | Oracle |
Single Database Mode | To save the data to a single or multiple database(s), select this option. | To save the data to a single or multiple database(s), select this option. | N/A | N/A |
Authentication | Select whether to use Windows Authentication or SQL Server Authentication. | N/A | N/A | N/A |
Host | Enter the Host name or address. This is a required field. | Enter the Host name or address. This is a required field. | Enter the Host name or address. This is a required field. | Enter the Host name or address. |
Port | Enter the Port Number. The default port is 1433. | Enter the Port Number. The default port is 3306. | Enter the Port Number. The default port is 5432. | Enter the Port Number. The default port is 1521. |
User Name | N/A | Specify the username for the database connection. This is a required field. | Specify the username for the database connection. This is a required field. | Specify the username for the database connection. This is a required field. |
Password | N/A | Specify the password. This is a required field. | Specify the password. This is a required field. | Specify the password. This is a required field. |
Service Name | N/A | N/A | N/A | Specify the service name for the Oracle database. This is a required field. |
Extra Options | Specify any other necessary option for database connection. | Specify any other necessary option for database connection. For example, SSL MODE, CertificateFile, and CertificatePassword. | Specify any other necessary option for database connection. | Specify any other necessary option for database connection. |


