- Getting Started
- Administration Guide
-
User Guide
- An Introduction to Wyn Enterprise
- Document Portal for End Users
- Data Governance and Modeling
- Working with Resources
- Working with Reports
-
Working with Dashboards
- Dashboard Designer
- Selecting a Dataset
- Data Attributes
- Dashboard Scenarios
- Dashboard Templates
- Component Templates
- 3D Scene
- Explorer
- Visualization Wizard
- Data Analysis and Interactivity
- Dashboard Appearance
- Preview Dashboard
- Export Dashboard
- Dashboard Lite Viewer
- Using Dashboard Designer
- Animating Dashboard Components
- Document Binder
- Dashboard Insights
- View and Manage Documents
- Understanding Wyn Analytical Expressions
- Section 508 Compliance
- Subscribe to RSS Feed for Wyn Builds Site
- Developer Guide
Selecting a Dataset
Selecting a dataset is the preliminary step before you start designing a dashboard. When you create a dashboard, you drag-drop the scenarios to the design area. Only after adding a dataset and binding attributes to these scenarios is the scenario meaningful. You can add multiple datasets in a single dashboard and bind different datasets to different scenarios.
You can set the data binding in two ways:
Drag-drop the scenario and then select the dataset
Select the dataset and then drag-drop the scenario
To Bind Data to a Dashboard Scenario
Follow the below steps to bind a dataset or model to a dashboard scenario.
Case 1: Drag-drop the scenario and then select the data
Drag and drop any scenario onto the design area of the dashboard. Note that the Data Binding panel automatically expands as shown in the following image.
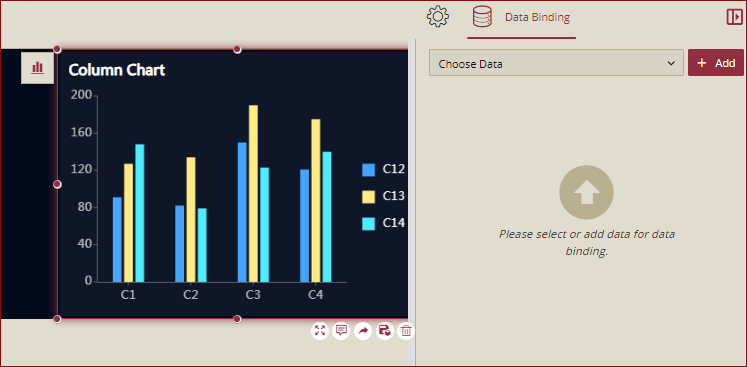
The chart's data source will be restricted and can only be selected from the Dashboard's Dataset or data model.
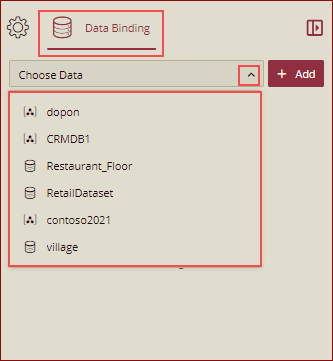
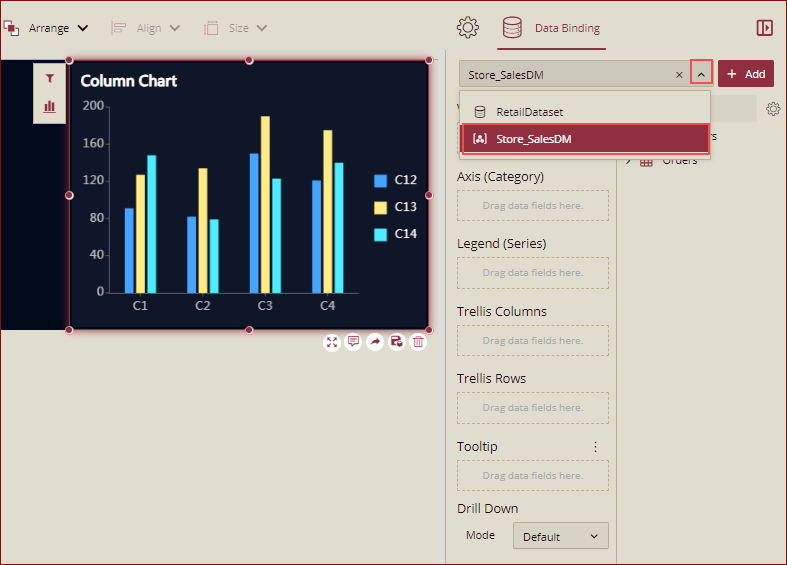
From the Data Binding panel, choose the suitable dataset or model from the list. Direct datasets are available in the data binding dropdown list. See the Bind Direct Dataset section for more information.
Note: For the direct datasets, note the following,
In case the dataset can be converted into a direct query data model, the system generates a direct query data model to establish a direct connection with the data source of the dataset and execute queries against it.
If the dataset cannot be converted into a direct query data model, the results of the dataset are loaded into memory. Subsequently, a direct query data model is generated, and the result set is stored in the memory.
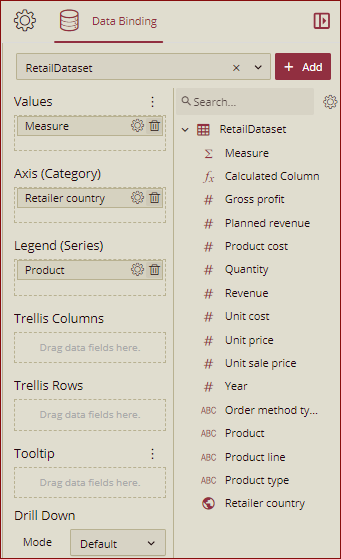
Once the dataset or model is loaded successfully, you will see the measures and dimensions available in the dataset.
Please note that if the data is not in the list, you can still add it to the chart data binding panel. To add the data to the list, perform the following steps.
Click the Add button.

The Choose Data dialog box is displayed.
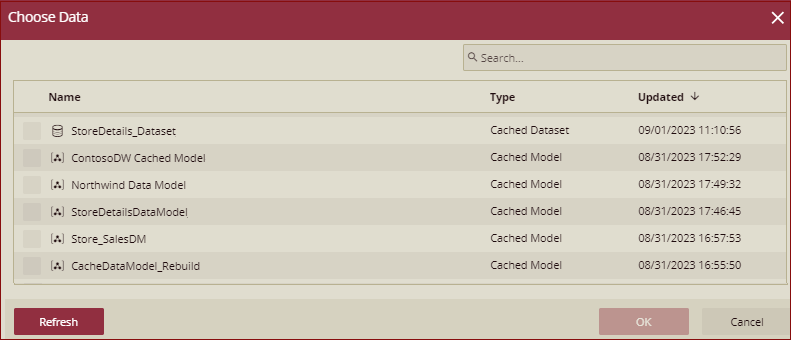
Select the data from this list and click OK. The dataset/data model will be added.
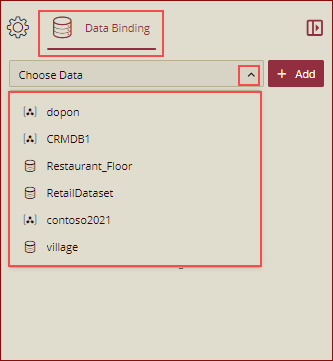
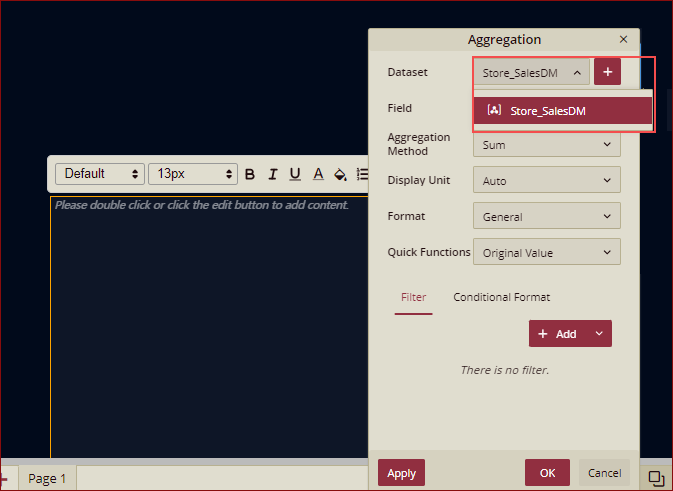
For the Rich Text scenario, you can bind the data as shown below. For details refer to Rich Text
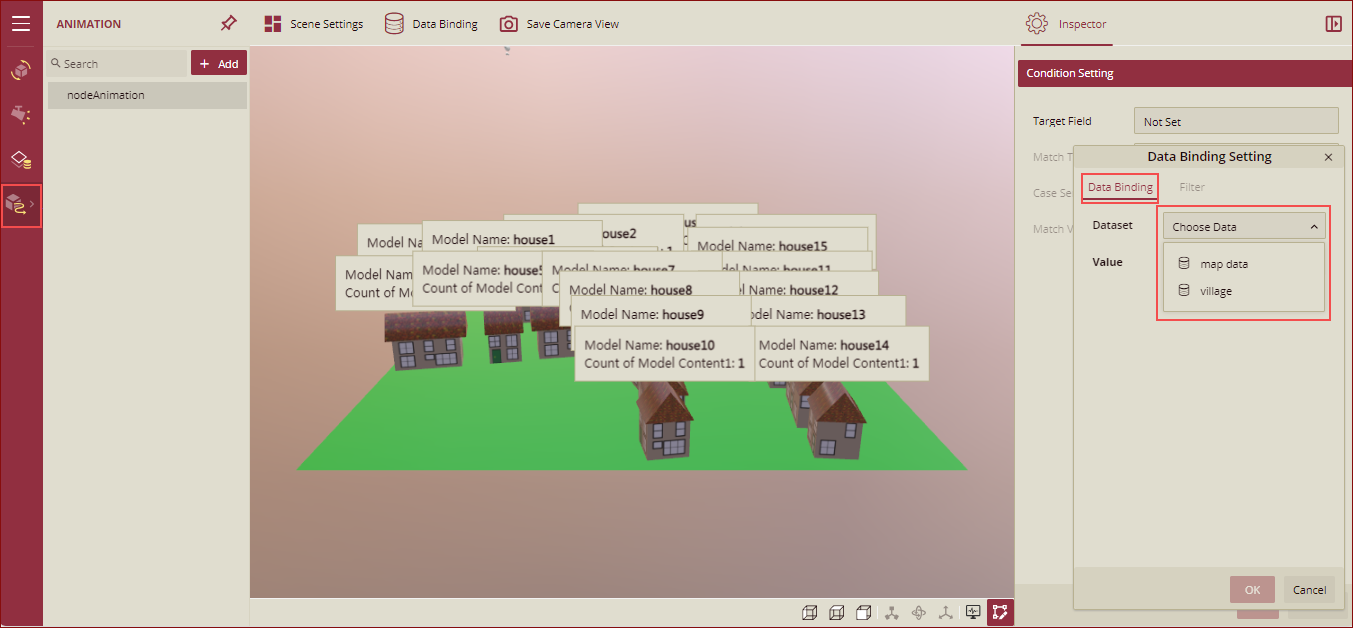
For the 3D Scene scenario, you can bind the data as shown below.
You can Refresh, or Auto-Refresh the selected dataset.
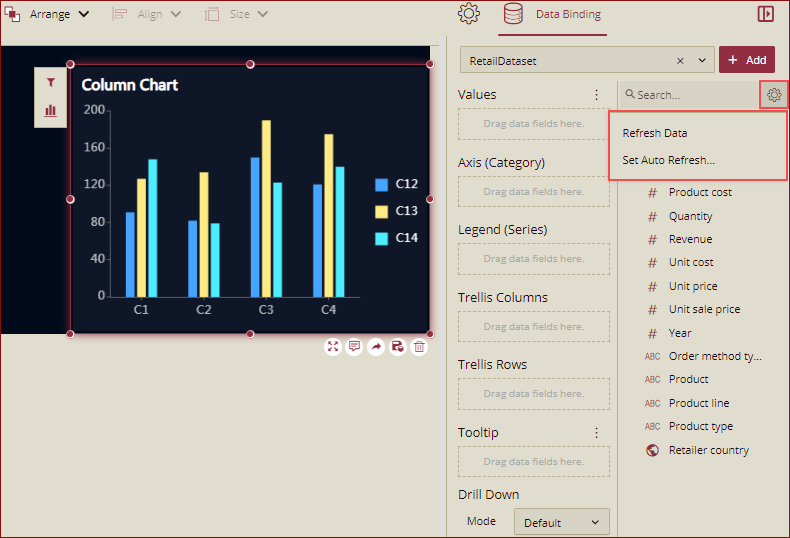
To refresh the dataset, click the icon
 , and select the Refresh Data option.
To auto-refresh the dataset, click the icon
 , and select the Set Auto Refresh option. The Auto Refresh Setting dialog box is displayed.
The Set Auto Refresh dialog box has the following options.

Select the desired option and click the Ok button.

Case 2: Select the data and then drag-drop the scenario
Select the dashboard and click the Data Binding panel.
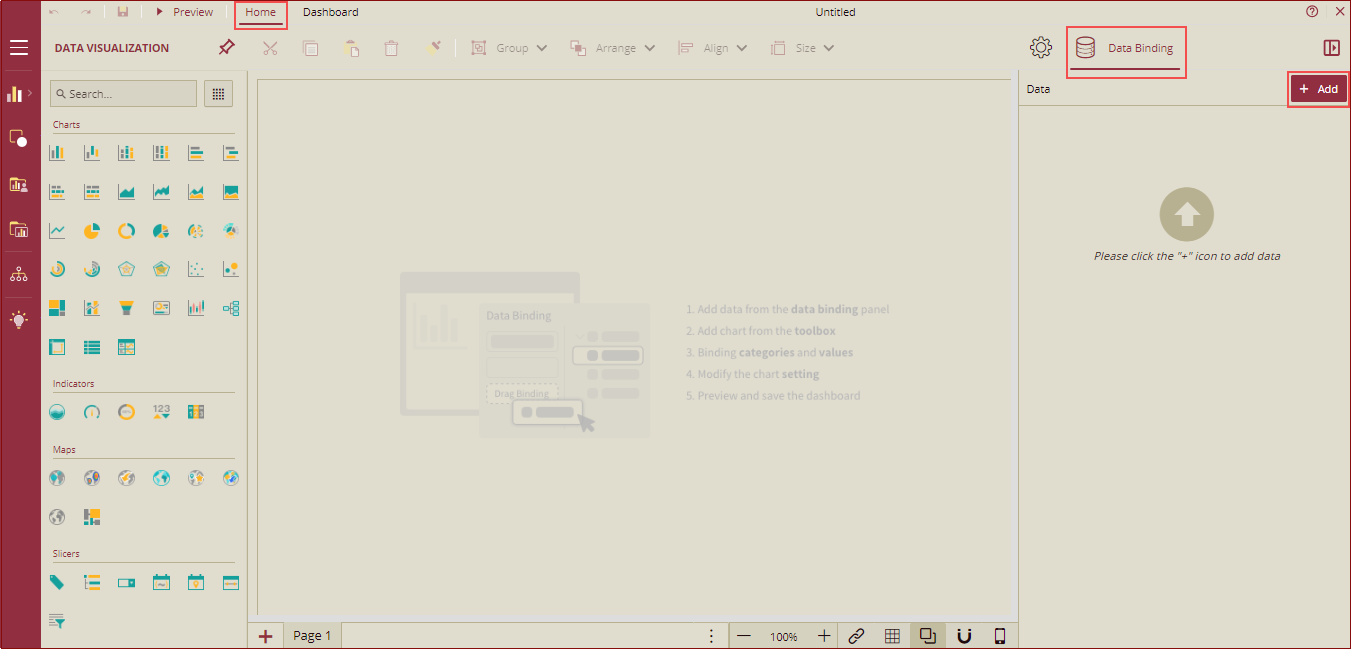
You can the dataset/data model as per your requirement for all scenarios. To add the datasets/data models, click the Add button. The Choose Data dialog box is displayed.
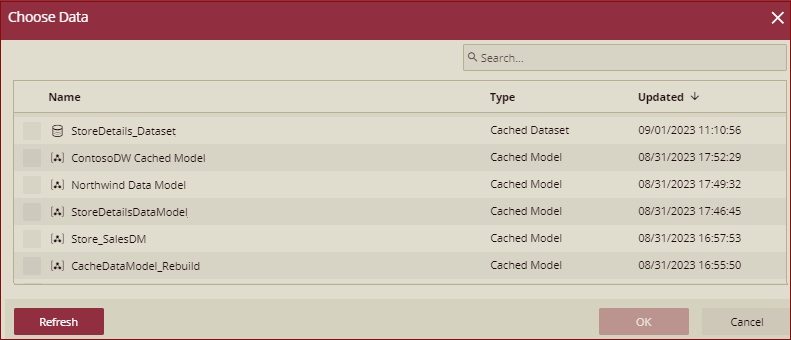
Select the data from this list and click OK. The dataset/data model will be added.
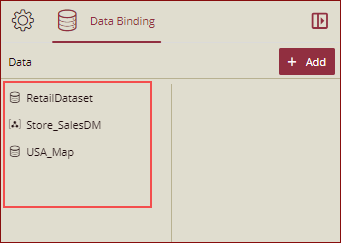
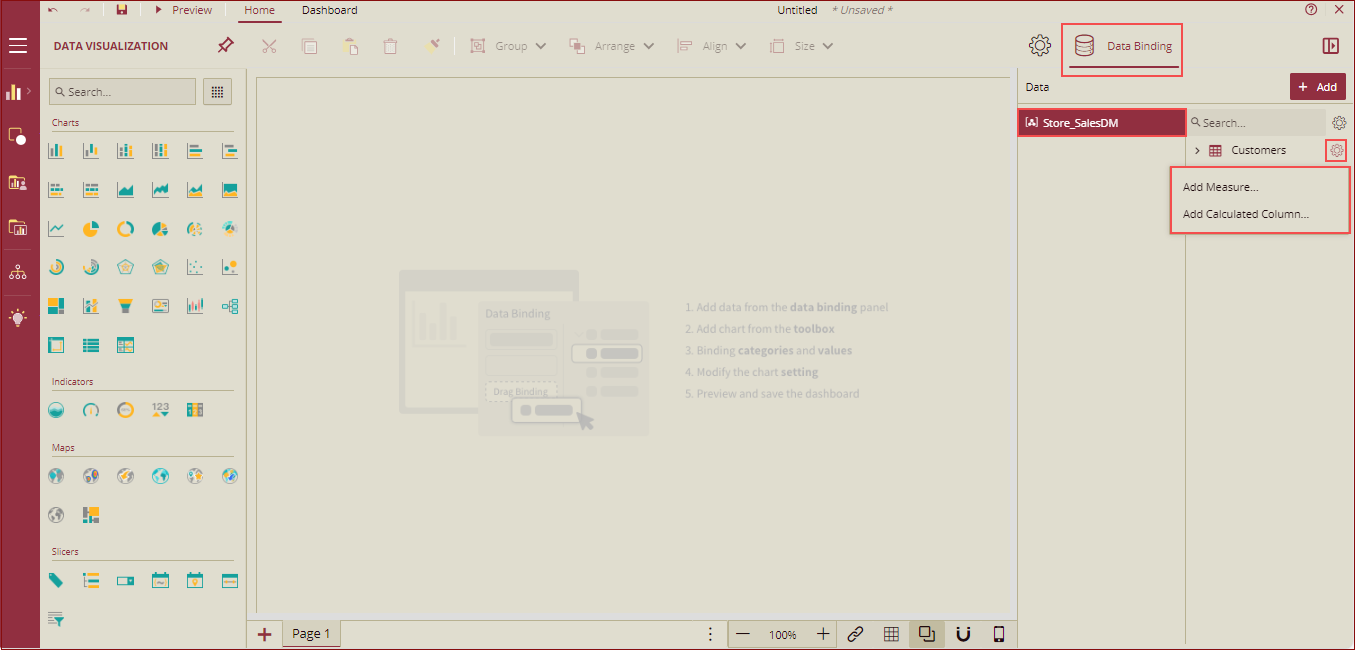
Once data is selected, you can update the dataset schema for example, add measures, calculated columns, rename data columns, and set data format, etc.
You can Refresh, or Delete the selected dataset.
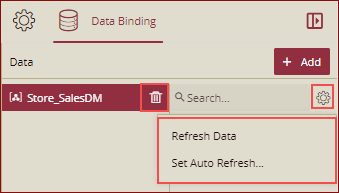
To refresh the dataset, click the icon
 , and select the Refresh Data button.
To auto-refresh the dataset, click the icon
 , and select the Set Auto Refresh option. The Auto Refresh Setting dialog box is displayed.
The Set Auto Refresh dialog box has the following options.

Select the desired option and click the Ok button.

In this example, we have selected the option Real Time. So, when the cache of the dataset changes, refresh is triggered, and the content of the rich text in the dashboard will be updated accordingly.
If you select the Polling option, then you need to set the refresh interval as required. By default, the None option is selected.
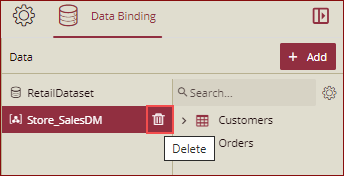
To delete the dataset from the list, click the Delete button.
Drag-drop the scenario and select the data from the list.
Bind Direct Dataset
On selecting a direct dataset from the dropdown list, you will have the following options,
When the dataset directly incorporates user input parameters, you have the option to assign a value to these parameters within the dashboard. These assigned values can then be used for query purposes.
Use the settings icon next to the search box to configure and set the parameter values.
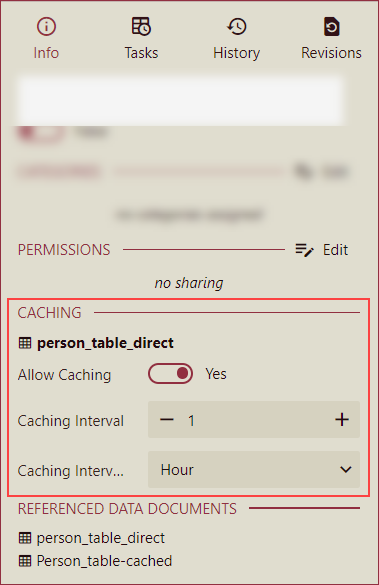
Configure the Cache Settings for direct datasets referenced by dashboards from the info panel. Within the Info panel, proceed to the Caching section where you can enable the Allow Caching flag. Additionally, specify the Caching Interval and select the appropriate unit for the interval.
