- Getting Started
- Administration Guide
-
User Guide
- An Introduction to Wyn Enterprise
- Document Portal for End Users
- Data Governance and Modeling
- Working with Resources
- Working with Reports
-
Working with Dashboards
- Dashboard Designer
- Selecting a Dataset
- Data Attributes
- Dashboard Scenarios
- Dashboard Templates
- Component Templates
- 3D Scene
- Explorer
- Visualization Wizard
- Data Analysis and Interactivity
- Dashboard Appearance
- Preview Dashboard
- Export Dashboard
- Dashboard Lite Viewer
- Using Dashboard Designer
- Animating Dashboard Components
- Document Binder
- Dashboard Insights
- View and Manage Documents
- Understanding Wyn Analytical Expressions
- Section 508 Compliance
- Subscribe to RSS Feed for Wyn Builds Site
- Developer Guide
Document Binder
The Document Binder feature in Wyn Enterprise serves as a powerful tool for organizing and managing a collection of dashboards and reports within the platform. This functionality is designed to enhance user experience by allowing the grouping of multiple reports and dashboards, facilitating easy access and navigation.
Using a document binder, you can efficiently schedule tasks related to specific sets of reports and dashboards. A Document Binder is instrumental in creating a cohesive and structured environment, enabling users to view and manage their curated content effortlessly. The Document Binder is integrated into the navigation panel, providing a centralized location for users to access and review their grouped reports and dashboards. This ensures a user-friendly experience, as individuals can conveniently locate and revisit their desired content without navigating through multiple interfaces.
In this help article, you will find the following information on Document Binder;
Create Document Binder
Navigate to the Resource or Document Portal and follow the instructions below.
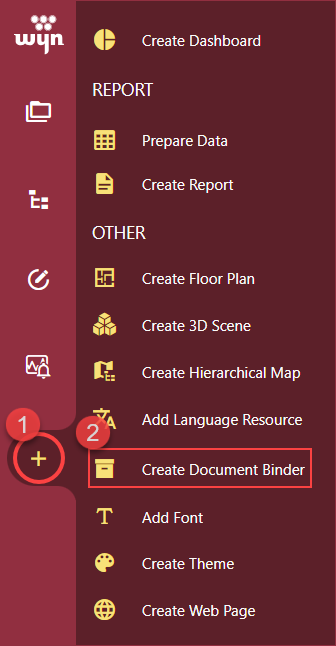
Click the + Create button and then, click the Create Document Binder option. This action will open the Document Binder Designer page on your screen.
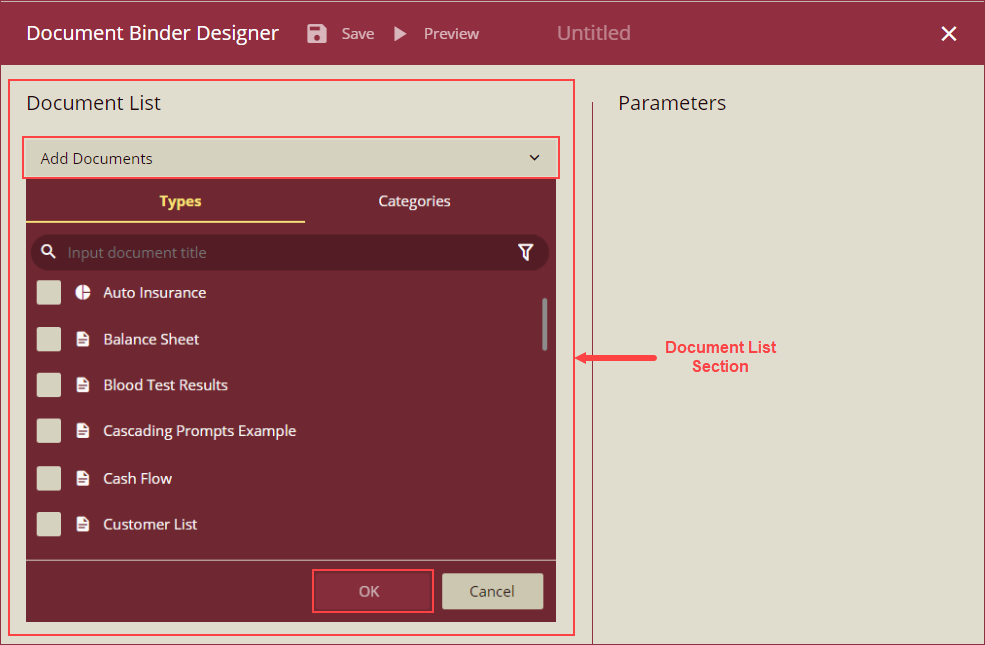
Now, select the documents from the Add Documents dropdown under the Document List section. You can select multiple documents from the Types or Categories section of the dropdown and click OK to confirm.
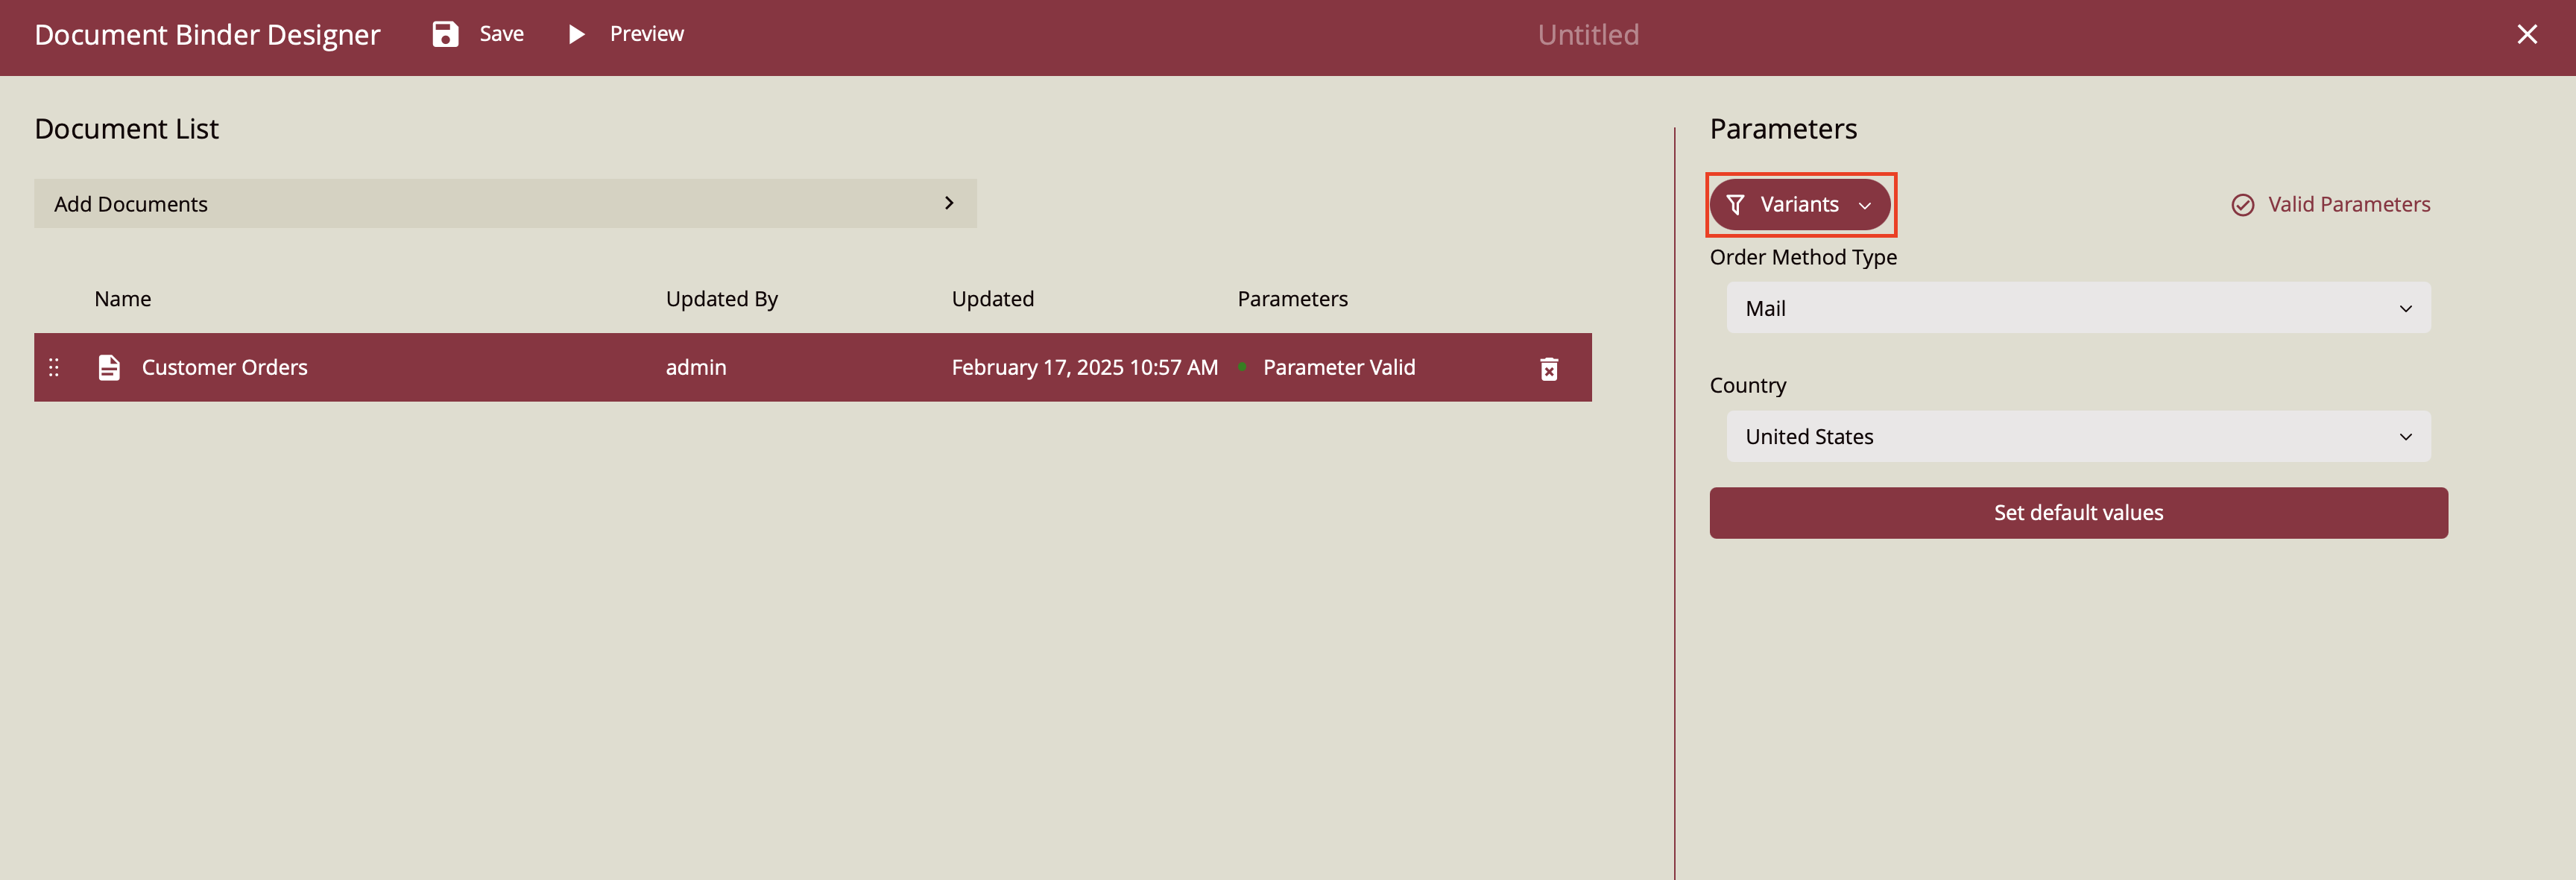
From the Parameters section, select the applicable parameters to apply. The selected parameter will be used as the default parameter when previewing the document using the document binder. To reset the parameter value, click the Set default values button.

If you have used the Date Range/DateTime Range Editors to set the parameters in the custom parameter view, then you can set the Specific Date/DateTime range and Relative Date/DateTime range for the reports in document binders. Refer to the example below for details.
If you select a report with multiple variants to add to your document binder, then you will see the option of which variant you would like to add to your Document Binder. Click on the variants button to select your report variant. You can also manually select the parameters you would like your report to have by clicking on the data binding slot for the parameters.
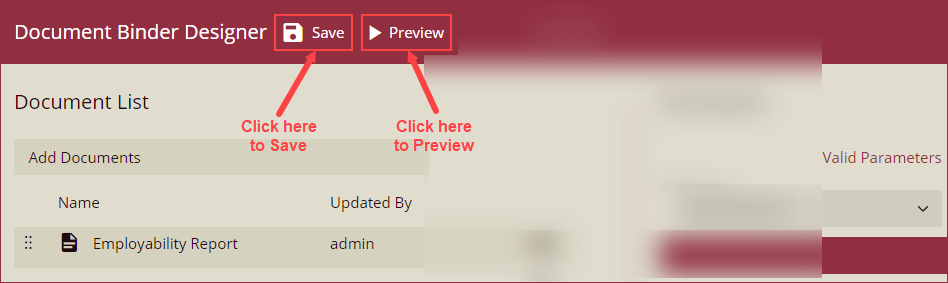
To save the Document Binder, click the Save button in the top-left corner of your screen.
To preview the document binder, click the Preview button. Preview of the Document Binder will appear on your screen with a list of documents on the left navigation bar and a preview of the selected document.
Example: Setting "From relative date", "To relative date" when the DateRange editor and DateTimeRange editor are used to set the parameters.
In this example, we have used the DateRange and DateTimeRange editors to set the parameters. On the Add Task screen, we have selected the From relative date and To relative date.
Add date shift by day, week, month, and year. Add date shift functionality consists of enhancing date controls, allowing tasks to be set on specific days relative to the current date. In this case, we used the day and shifted the days as shown in the image below:

On preview, we can see the report set as per the relative dates as shown below.

View Document Binder
To view a Document Binder, follow the instructions below.
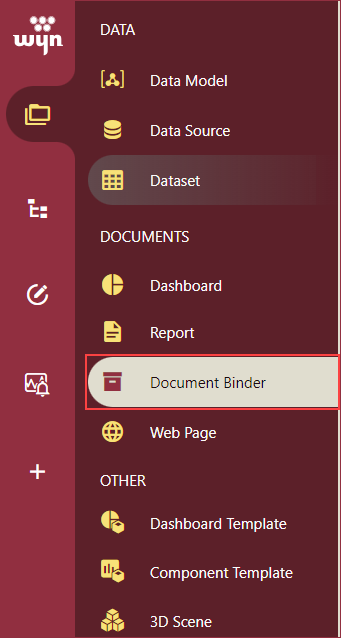
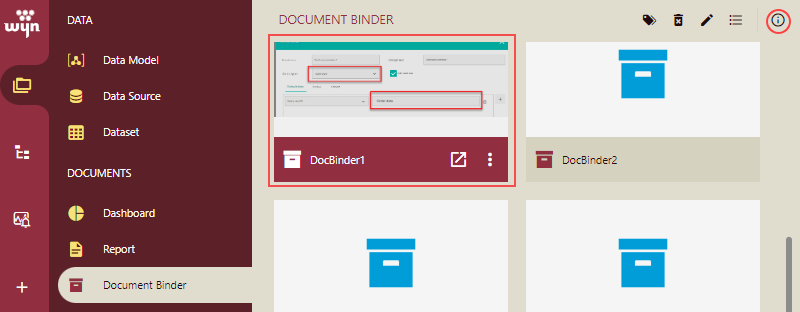
Navigate to the Document Types section of the left navigation bar and click the Document Binder option under the Documents section.
A list of saved document binders will appear on your screen. You can perform various operations on the Document Binder as shown image below and explained later.
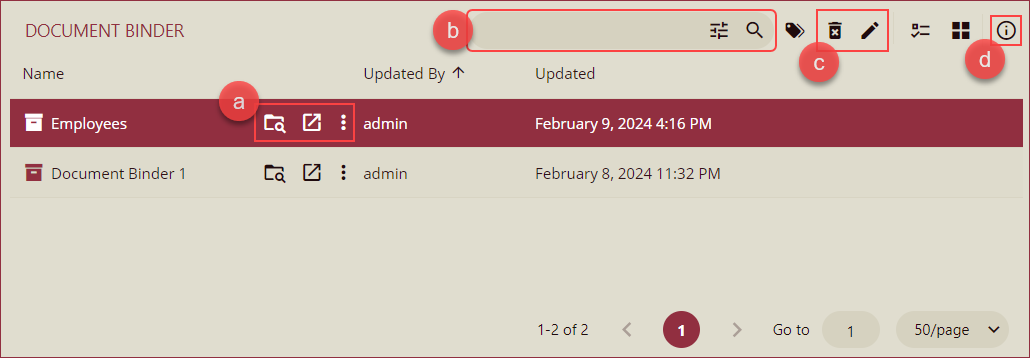
Actions Toolbar: Includes option to preview, and view document binder in a new window, and context menu options like Edit, Copy URL, Rename, Delete, and Download.
Search Bar: Used to search a document binder from the list.
Actions: Includes Delete and Edit options to remove or edit the selected document binder.
Info Panel: Used to update the general information of the document binder, schedule tasks, view history, and revisions.
Note: Document Binder supports all functions of documents, including upload, download, import, export, and permissions. You can also add categories to your document binder.
Export as Merged PDF
To export the document binder as a merged PDF using a scheduled task, navigate to the Document Binders on Resource or Document Portal and follow the instructions below.
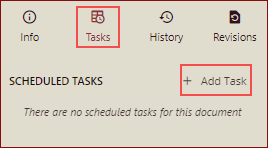
Select a Document Binder and click the Info icon on the top right corner of your screen.
The info pane will appear on the right side, navigate to the Tasks tab, and click the + Add Task button to access the Add Task pop-up.
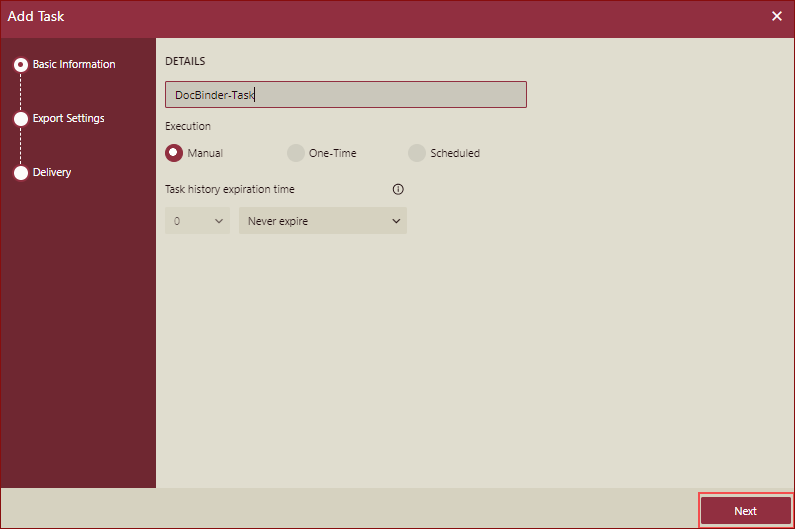
Basic Information: On the Add Task pop-up, add the basic information, including Task Description, select an Execution option, and add execution details for the selected execution option. Click Next to continue.
Export as Merged PDF: The document binder has more than one document, so the checkbox Export as Merged PDF is displayed. Select this checkbox to merge the exported multiple PDFs into one PDF.
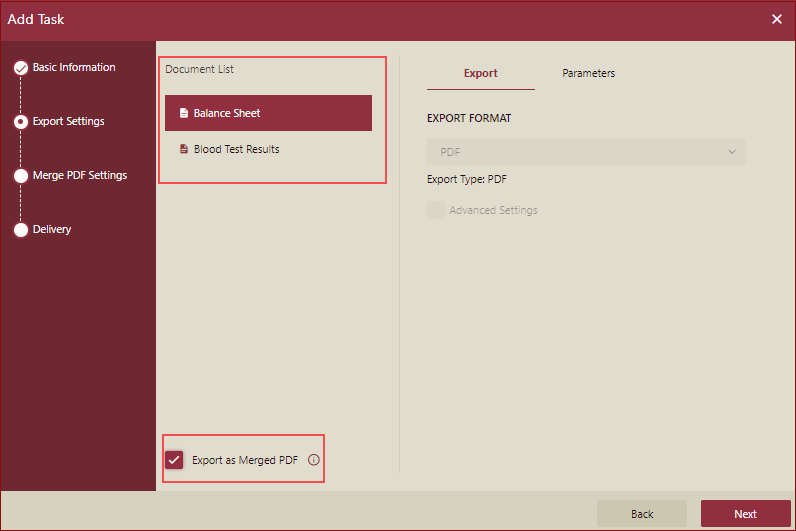
Note: To add parameters individually, select a document from the Document List and make the changes on the Parameters tab.
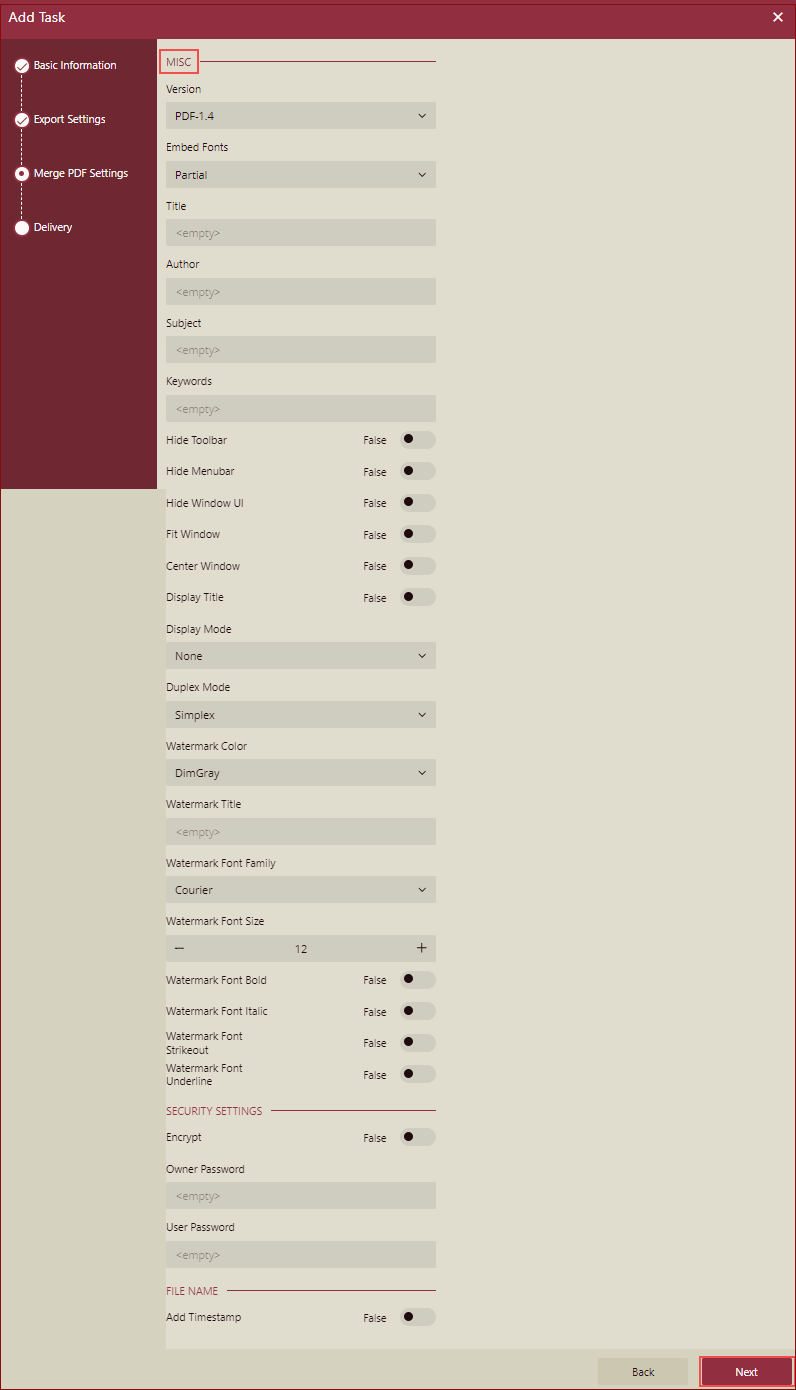
Merge PDF Settings: Properties for merged PDFs.
MISC: The following properties will be available for the merged PDF under MISC. Set the properties and click Next.
Delivery: Document Binding supports attachment-type distribution with e-mail delivery options only. Set the delivery options by adding the recipient's email address in the Email To, and the sender's email address in Reply-To, Subject, and Body of the email. Select Attachment Type from the dropdown and select a storage duration. To allow anonymous emails, select the Allow Anonymous checkbox. Click OK to finish.
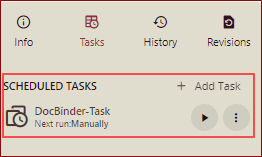
The scheduled task appears on the Tasks tab under the Scheduled Tasks section.