-
Interactive DashboardsCreate interactive BI dashboards with dynamic visuals.
-
End-User BI ReportsCreate and deploy enterprise BI reports for use in any vertical.
-
Wyn AlertsSet up always-on threshold notifications and alerts.
-
Localization SupportChange titles, labels, text explanations, and more.
-
Wyn ArchitectureA lightweight server offers flexible deployment.
-
 Wyn Enterprise 7.1 is ReleasedThis release emphasizes Wyn document embedding and enhanced analytical express...
 -
 Choosing an Embedded BI Solution for SaaS ProvidersAdding BI features to your applications will improve your products, better serve your customers, and more. But where to start? In this guide, we discuss the many options.
-
Visual GalleryInteractive sample dashboards and reports.
-
BlogExplore Wyn, BI trends, and more.
-
WebinarsDiscover live and on-demand webinars.
-
Customer SuccessVisualize operational efficiency and streamline manufacturing processes.
-
Knowledge BaseGet quick answers with articles and guides.
-
VideosVideo tutorials, trends and best practices.
-
WhitepapersDetailed reports on the latest trends in BI.
-
 Choosing an Embedded BI Solution for SaaS ProvidersAdding BI features to your applications will impr...
 -

- Getting Started
- Administration Guide
-
User Guide
- An Introduction to Wyn Enterprise
- Document Portal for End Users
- Data Governance and Modeling
- View and Manage Documents
- Working with Resources
- Working with Reports
- Working with Dashboards
- Working with Notebooks
- Wyn Analytical Expressions
- Section 508 Compliance
- Subscribe to RSS Feed for Wyn Builds Site
- Developer Guide
Create Theme
When working with reports and dashboards, you will notice a Theme property. This property comprises the color, font, and constant settings of your document. In addition to the sample themes that Wyn Enterprise provides, you can also create your own custom theme.
Create Custom Theme
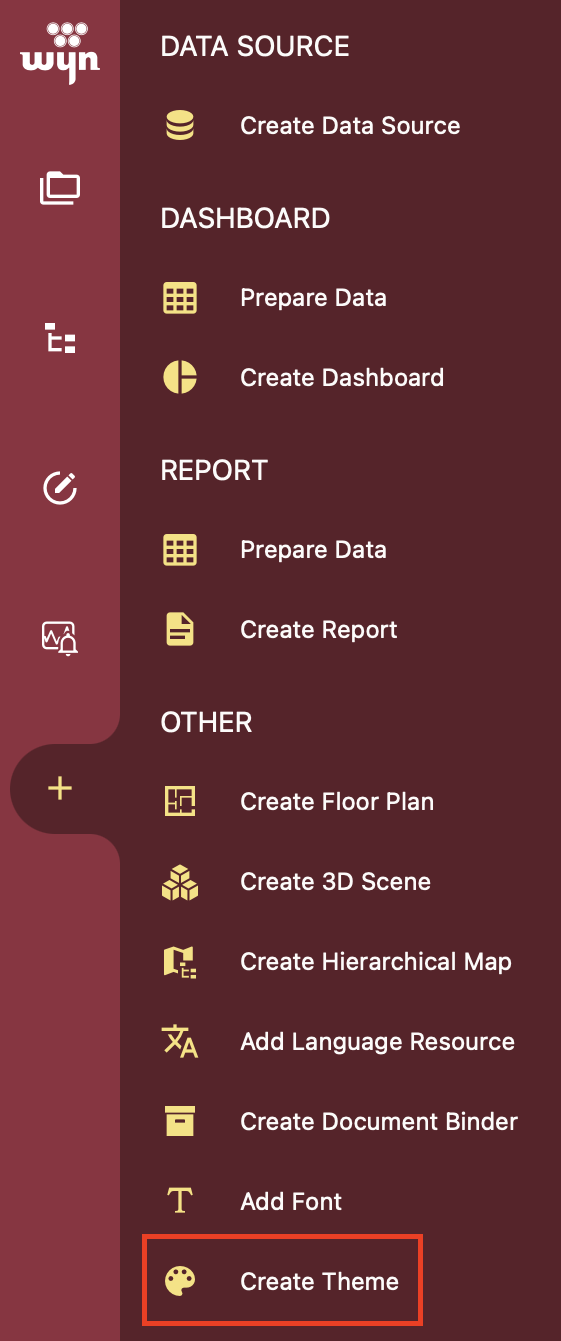
You can create your own report theme in the Theme Designer. Simply open the Resource Portal, navigate to the + button, and select Create Theme from the left-side pane.
You can either create your theme by customizing an existing theme or create one from scratch. For the first option, select a theme from the left-side pane and modify it accordingly.
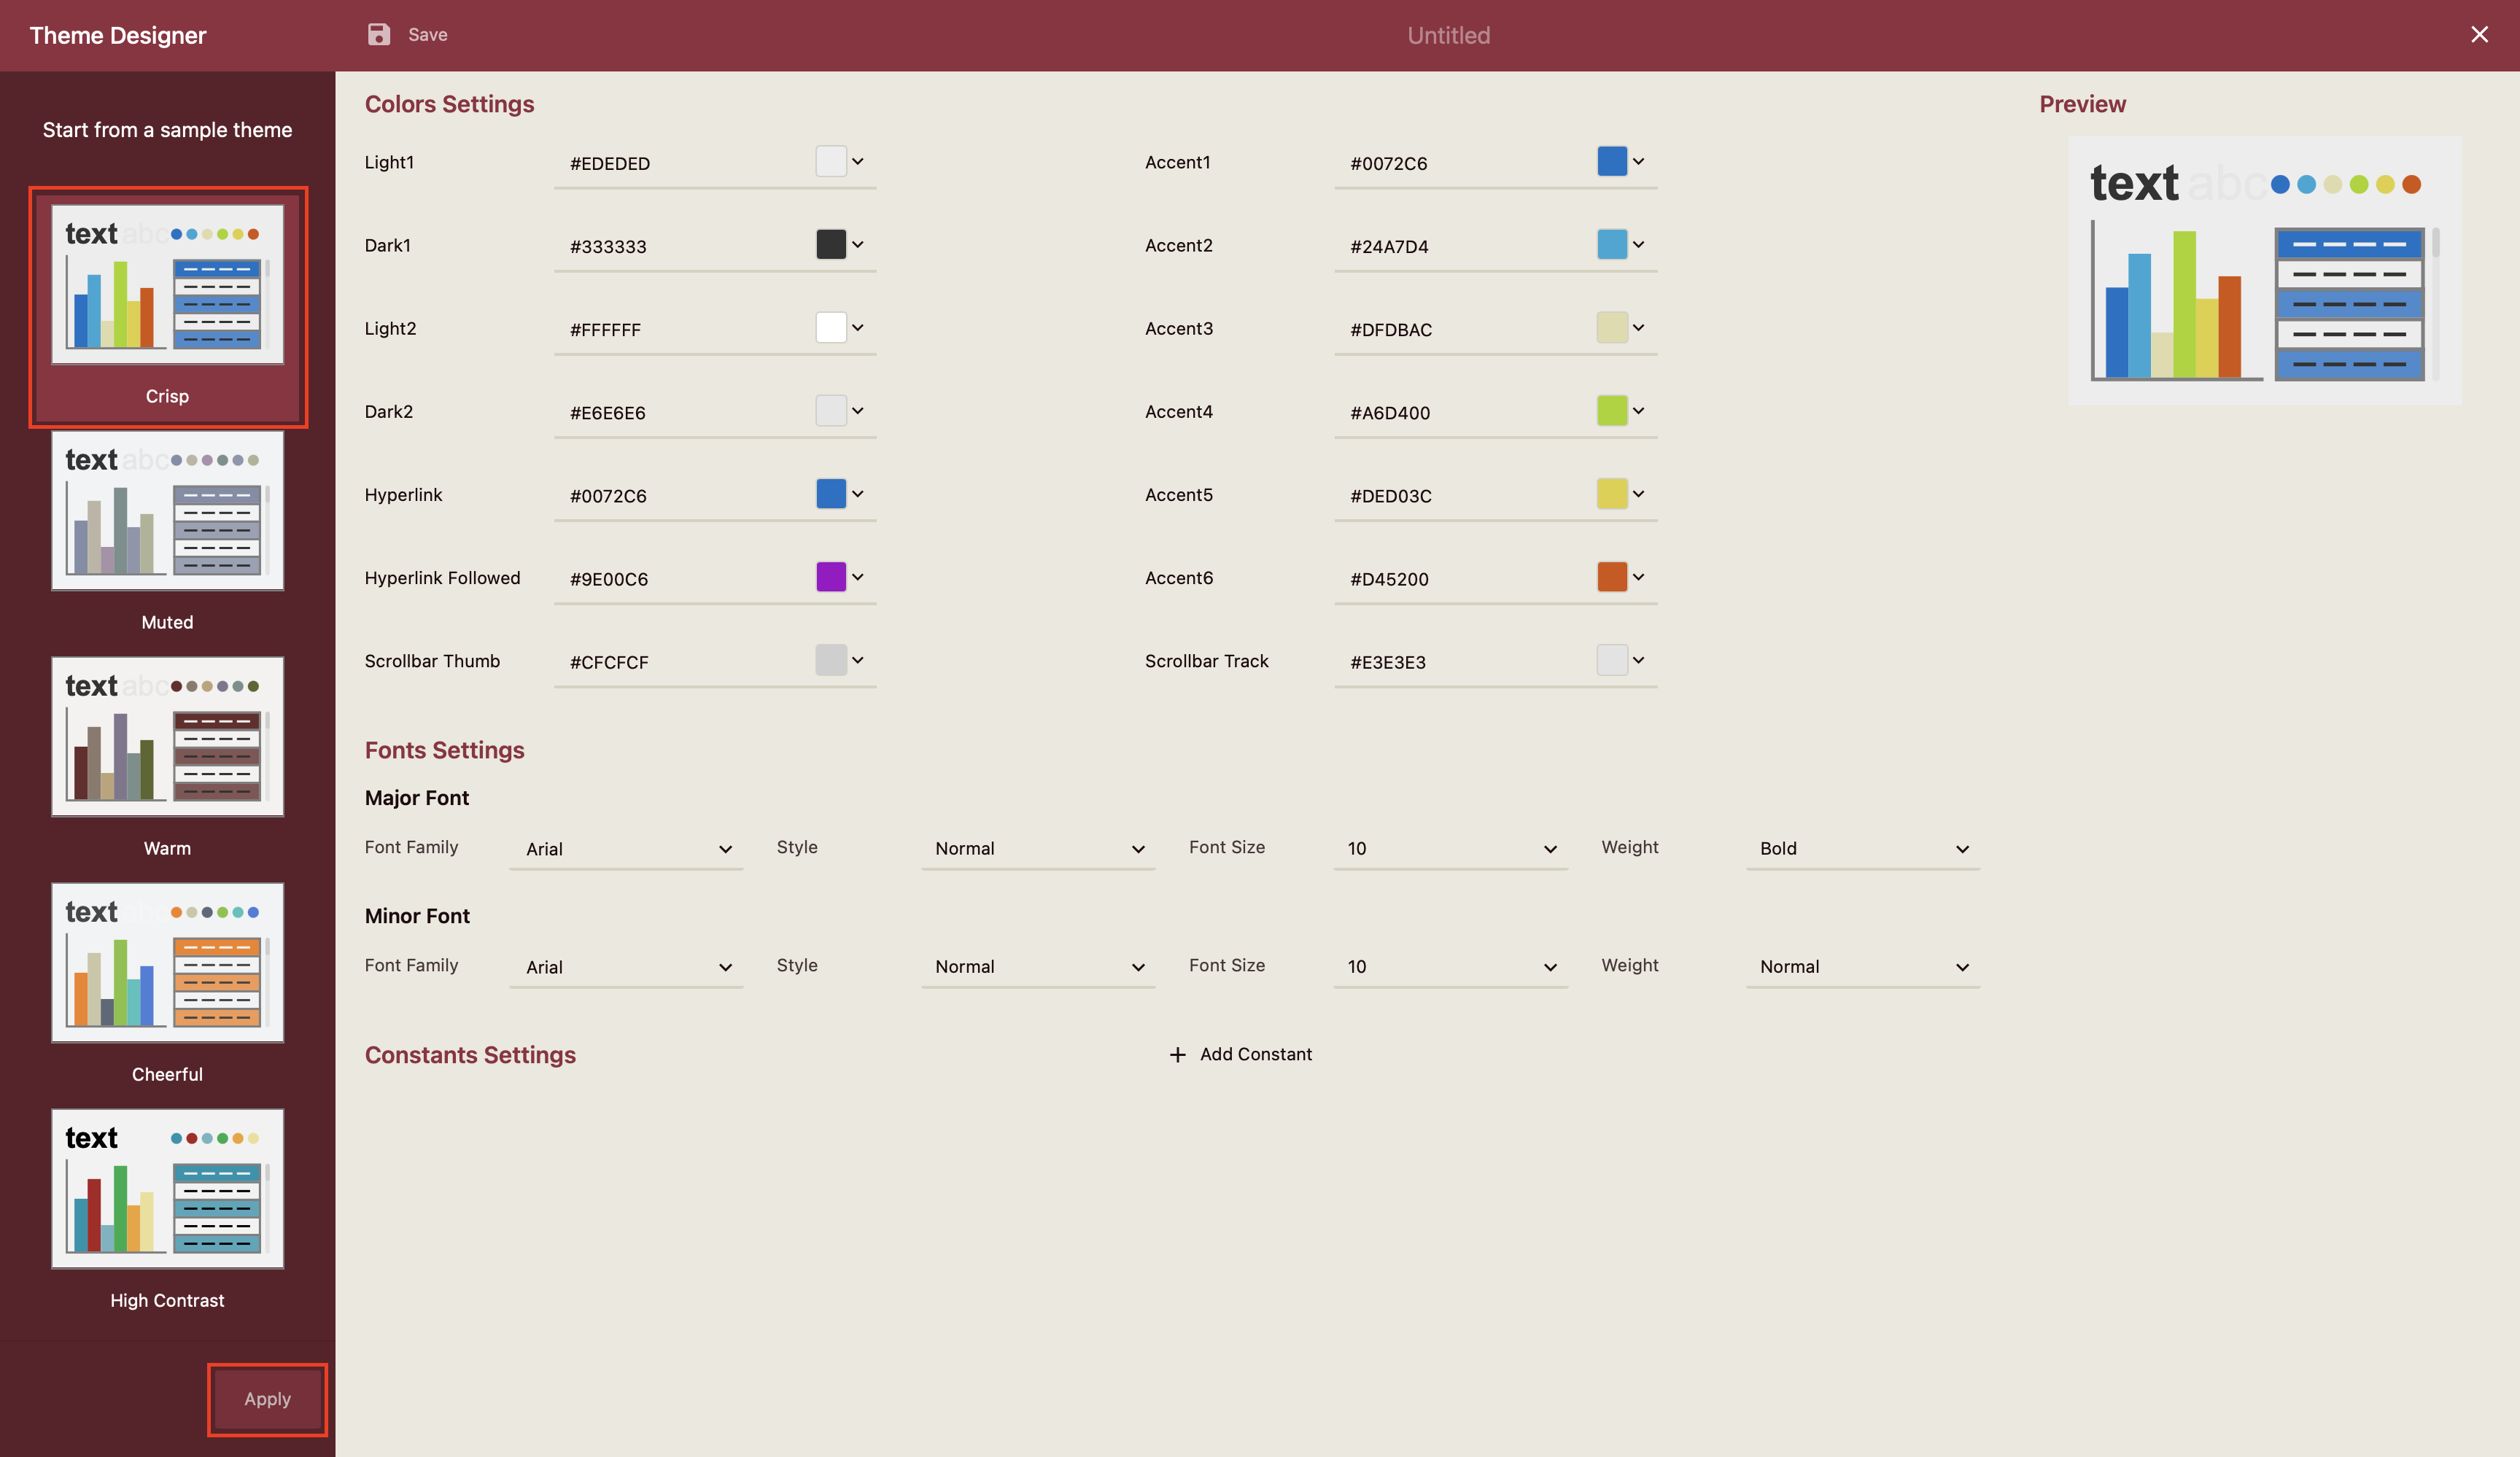
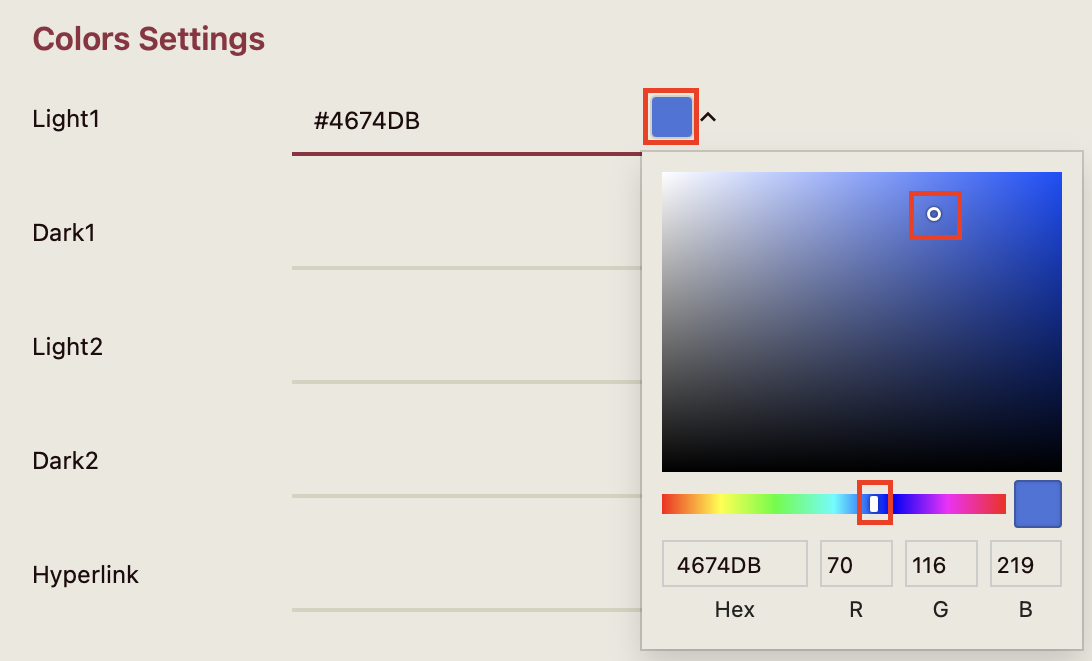
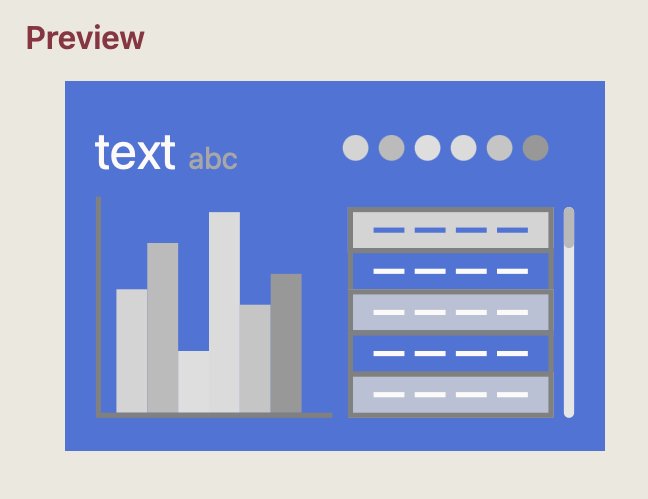
If you would like to create your own theme from scratch, click on the color value slots of each element of the Colors Settings property to open the color editor. There, you can select a color from the color gradient slider. Dragging the color handle to any point on the slider will modify the hue selector for the color that you choose. Click on any point on the hue selector to pick the color for that element.
Note: The colors that you choose will preview on the right side of the Theme Designer.
Set Theme Fonts
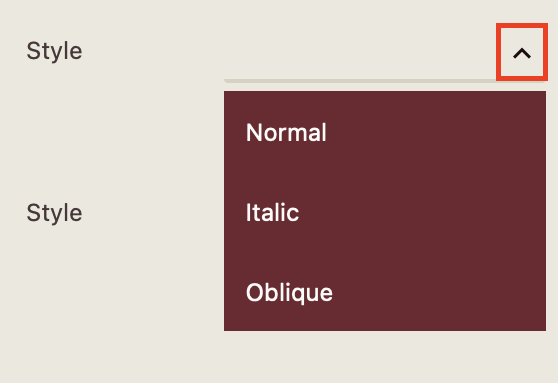
After finishing choosing your color settings, you can select your theme's Font Settings.

Choose your Font Family, Style, Font Size, and Weight from the dropdown menu. To open the dropdown menu, simply click the arrow next to the value slot.
Set Theme Constants
Theme Constants are an invaluable tool when designing your reports, which help in defining fixed values for properties that can be reused in many places. Properties can be defined once and reused in many properties. If you need to change those properties, you change the value of the theme constant, and all those properties will get updated. Instead of having to manually enter values for foreground color, background color, fonts, and font styles, or text values like report title, headers, footers, contact information, or more, you can simply save them as values within your own custom report theme.
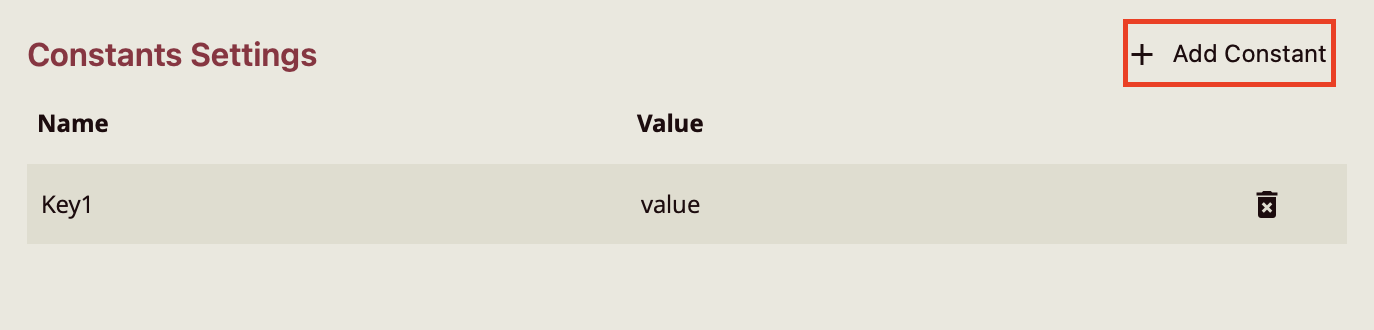
To add your theme constants, click on the + Add Constant button. Make sure to scroll down to view the constant you just added. There are two elements to each theme constant: the Name by which you will refer to the constant and the Value that you wish for it to take. Select the default text value and replace it with your own. To delete a theme constant, simply click on the trashcan icon next to it.
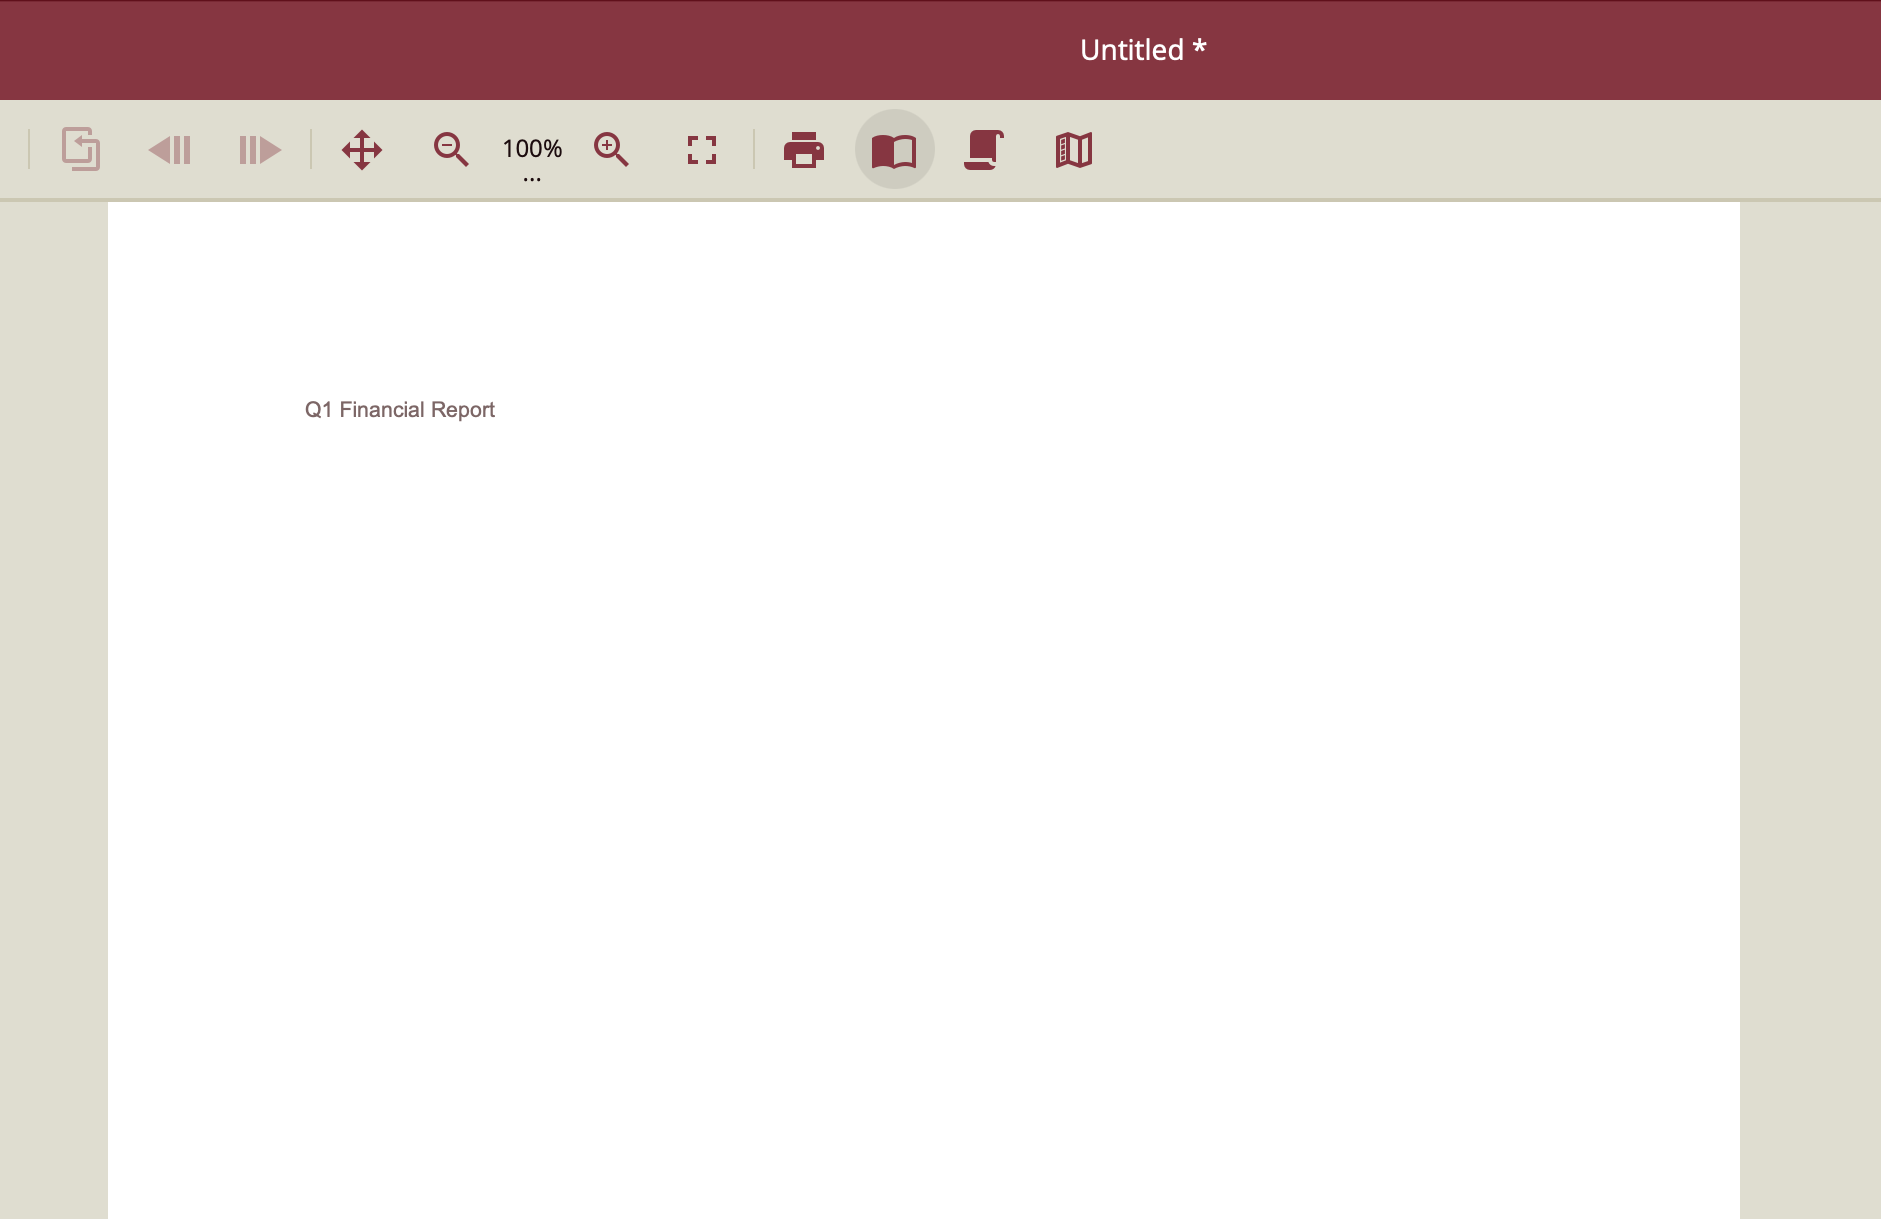
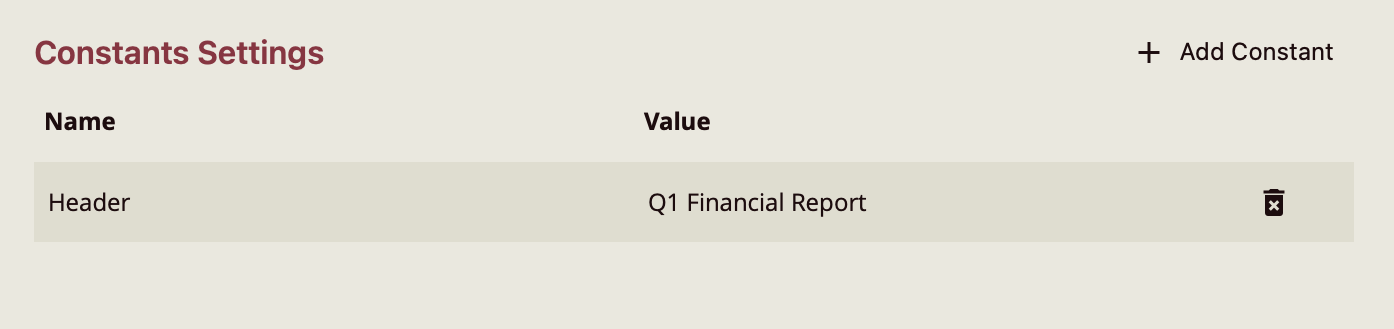
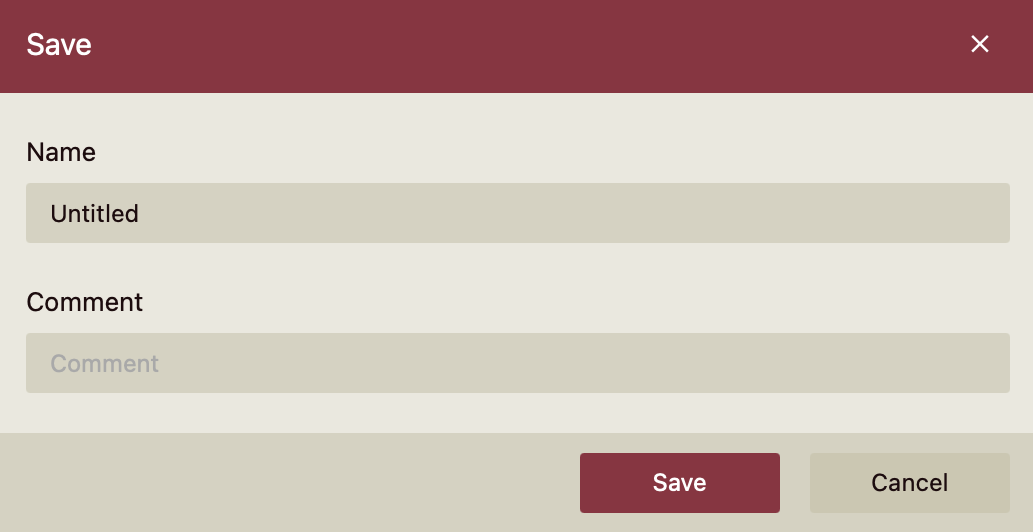
In this example, a theme constant entitled "Header" was given the value "Q1 Financial Report".
To save your theme constant, click on the Save button  on the Theme Designer ribbon.
Finally, this will open the Save window. Name your theme and click Ok.
Preview Theme Constant
To preview your theme constant, begin by heading over to the Document Portal and clicking on the + to create a report. For more information on creating a report, refer to the following article: Create Report.
Once you select the report you want to create, you can add the header we mentioned in the previous section to your report.
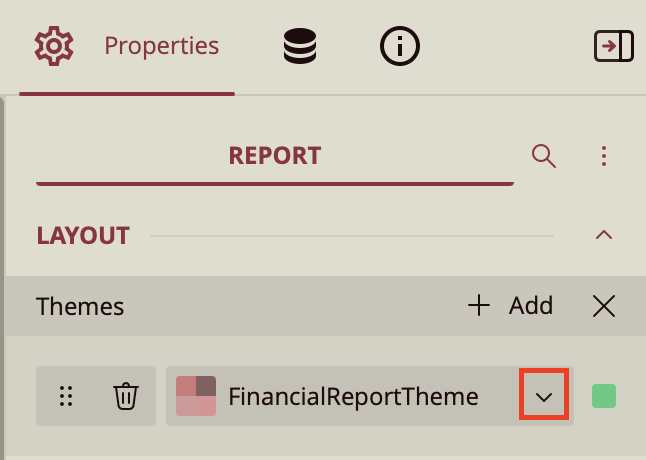
First, you need to set the theme you created for your report. On the right-hand side of the reports designer, you will see the Properties Tab. Under the Layout properties, you will find your Themes setting. Click on the dropdown to select your theme. The image below shows an example with a custom theme, labeled "FinancialReportTheme".
Then, on the left-side pane, click on the textbox element to add it to the report designer. You can drag the sides of your textbox to make it larger.

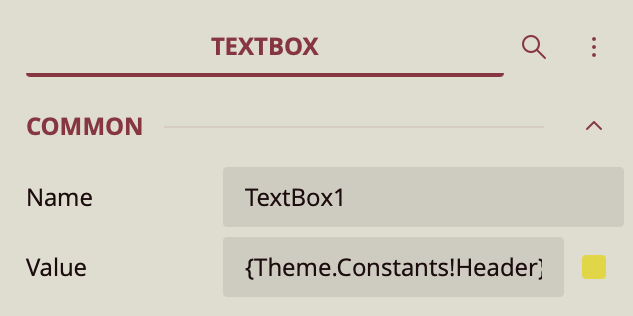
Upon completing the aforementioned actions, you will notice that the inspector tab is open on the right-hand side of the designer. Click on the Value property slot and write the following expression,
{Theme.Constants!Header}
Alternatively, you can replace "Header" with the name you have specified for your theme constant.
Click Preview to view your report. The expression that you have typed is replaced with the value of your theme constant.