- Getting Started
- Administration Guide
- User Guide
-
Developer Guide
- Embed Wyn Enterprise into Web Applications
- Embed Dashboard Lite Viewer in Web Applications
- Creating Custom Visualization
- How To
- Breaking Changes
- API Documentation
Develop a .NET Custom Data Source
A .NET Custom Data Provider
A custom .NET data connector is required .NET8 SDK and the steps to create it involve creating a library project in Visual Studio, referencing the Wyn assembly (Wyn.Data.Provider.Custom.dll) and the NuGet package of the data source, and finally, writing a class that implements a single interface (Wyn.Data.Provider.Custom.dll.INativeQueryDataProvider) which includes few properties and methods.
Here are the step-by-step instructions on how to build an example custom data provider for Firebird.
Developing a Firebird Data Source
Create a Visual Studio Project
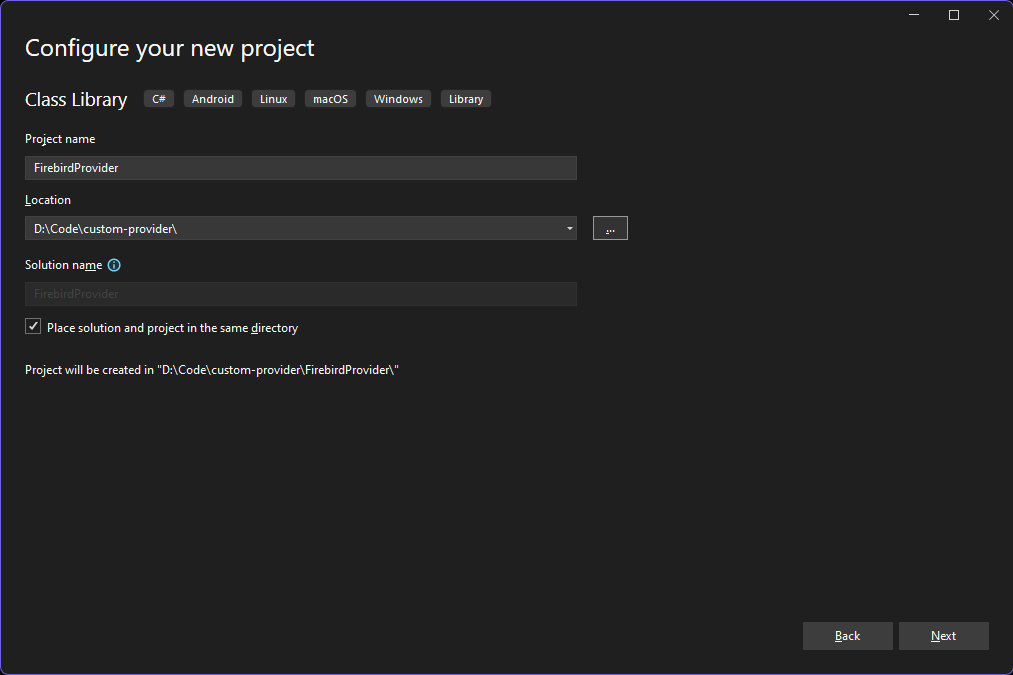
Create a Class Library project in Visual Studio.
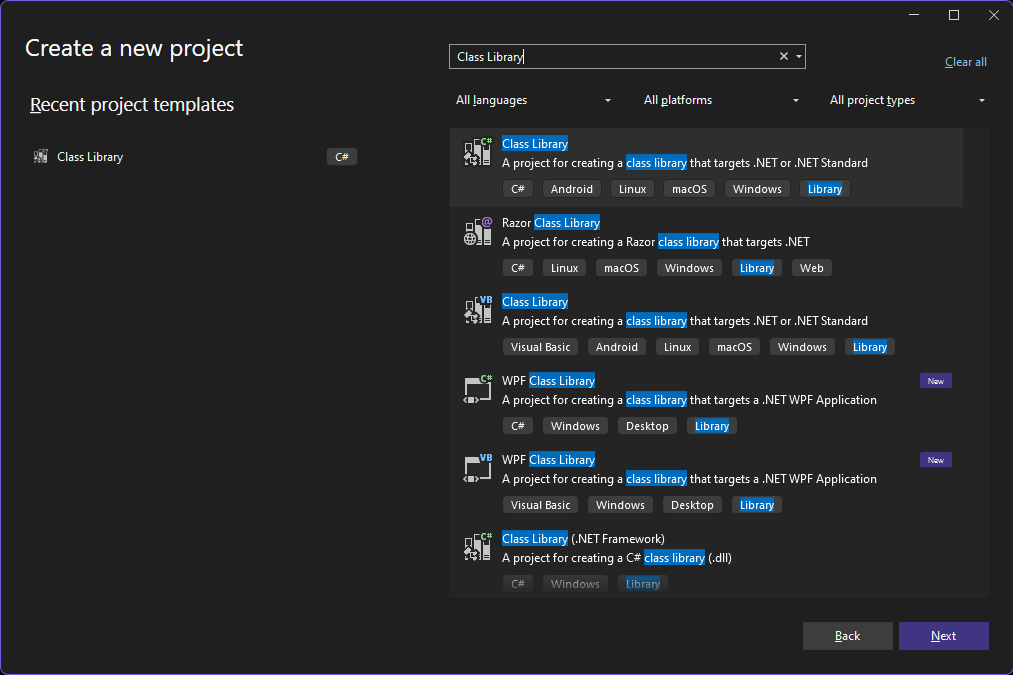
Choose a class library project.
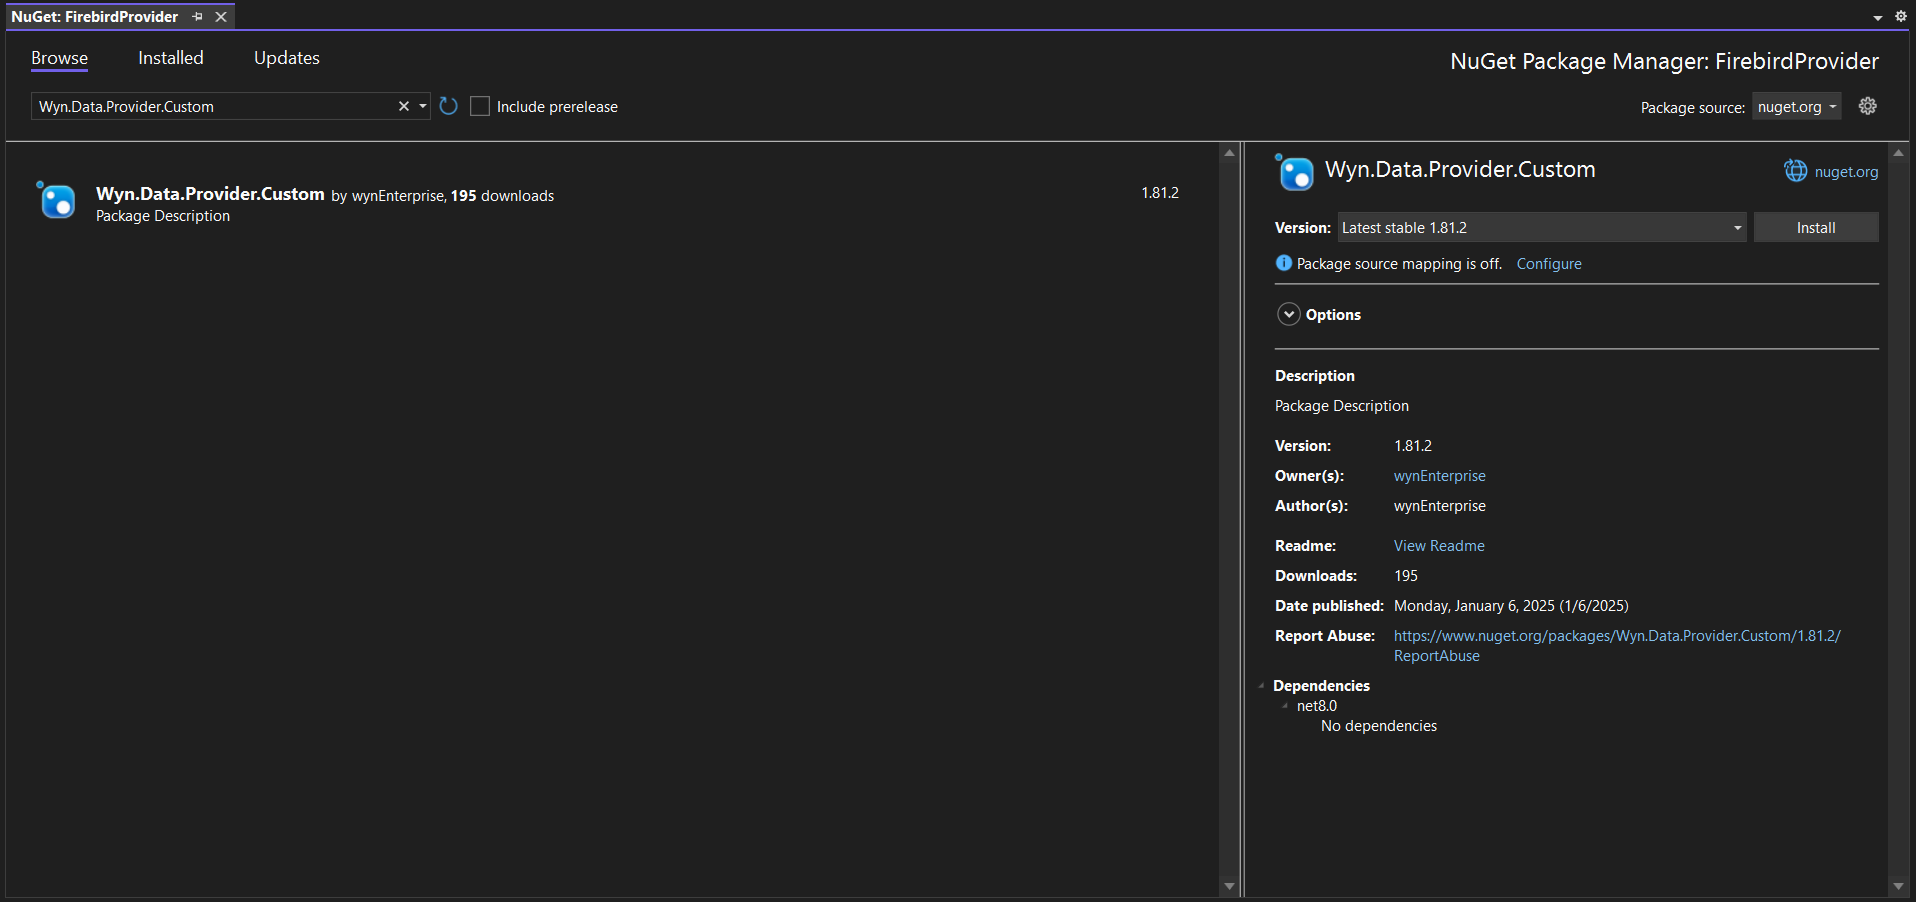
Reference the Custom Provider Library
Search on Nuget and add the Wyn.Data.Provider.Custom package to the project.
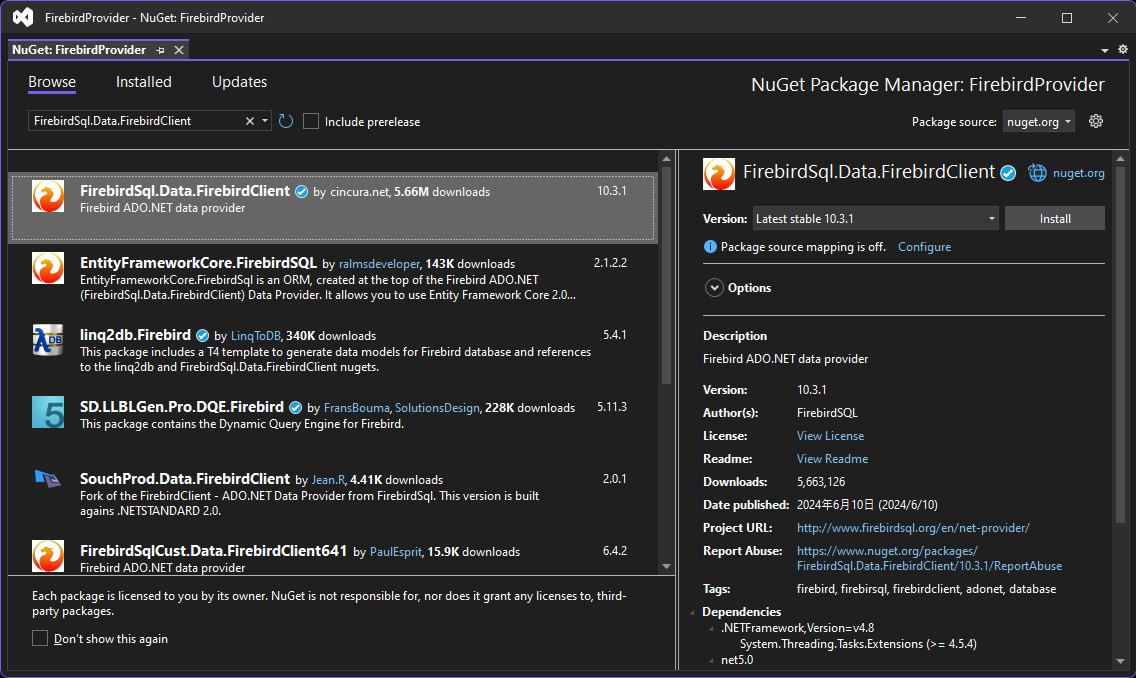
Reference the Firebird Client library
Similarly, search for and add the FirebirdSql.Data.FirebirdClient NuGet package to the project.
Add Project Resources
Three resource files should be added to the project:
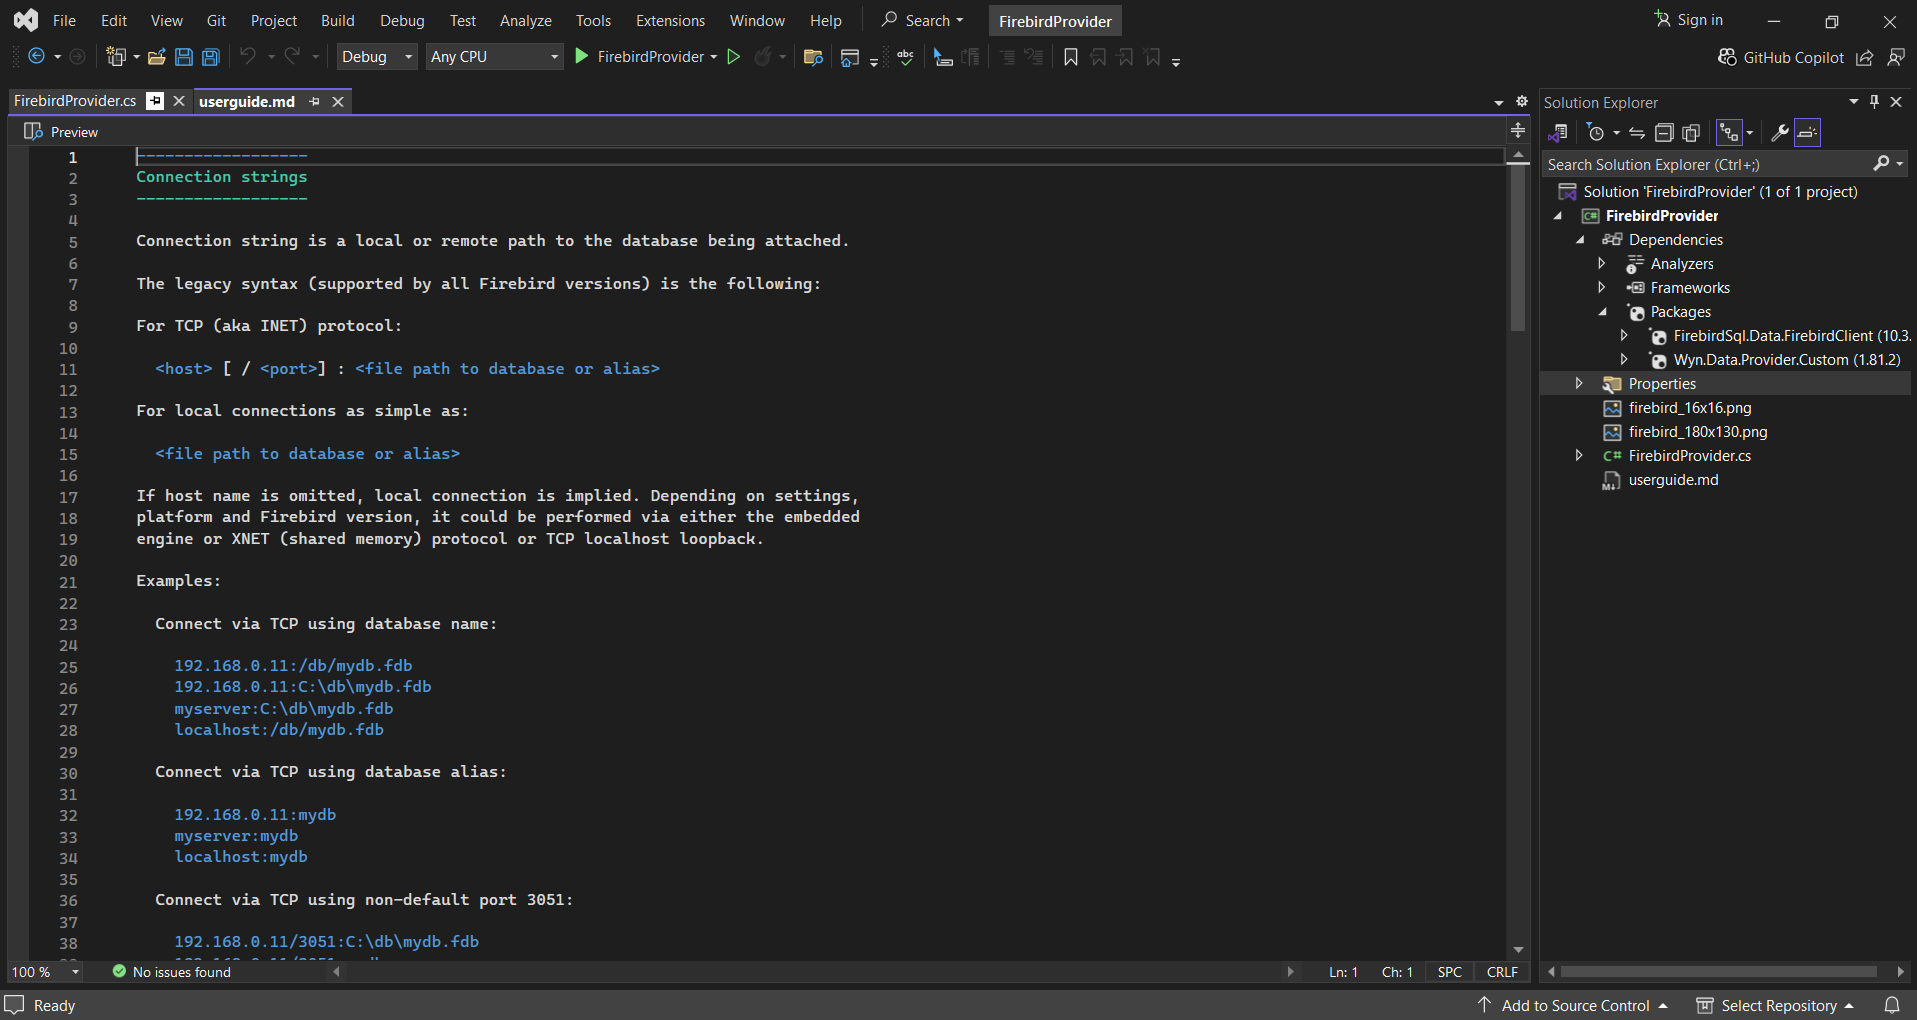
A small 16x16 icon that is shown in Wyn
A large 180x130 icon is shown in Wyn.
A markdown file named UserGuide.md file. This file explains how to add information about the database and the connection string.
To complete the Firebird example project, download these three resources from the link below.
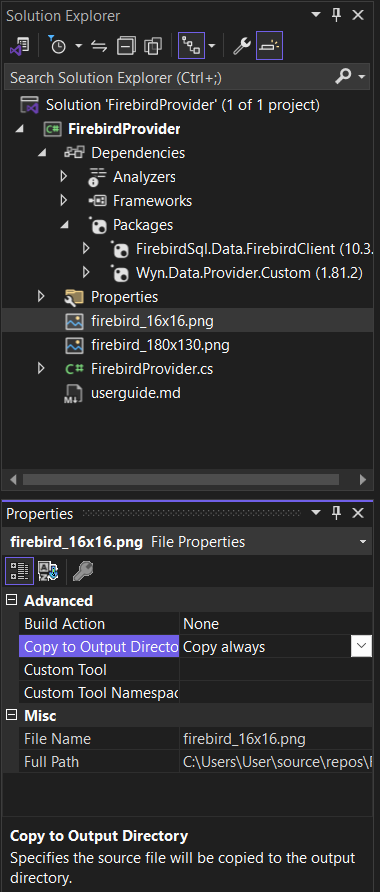
Select these resource files in the Visual Studio project and set Output Directory "Copy Always" in the properties window.
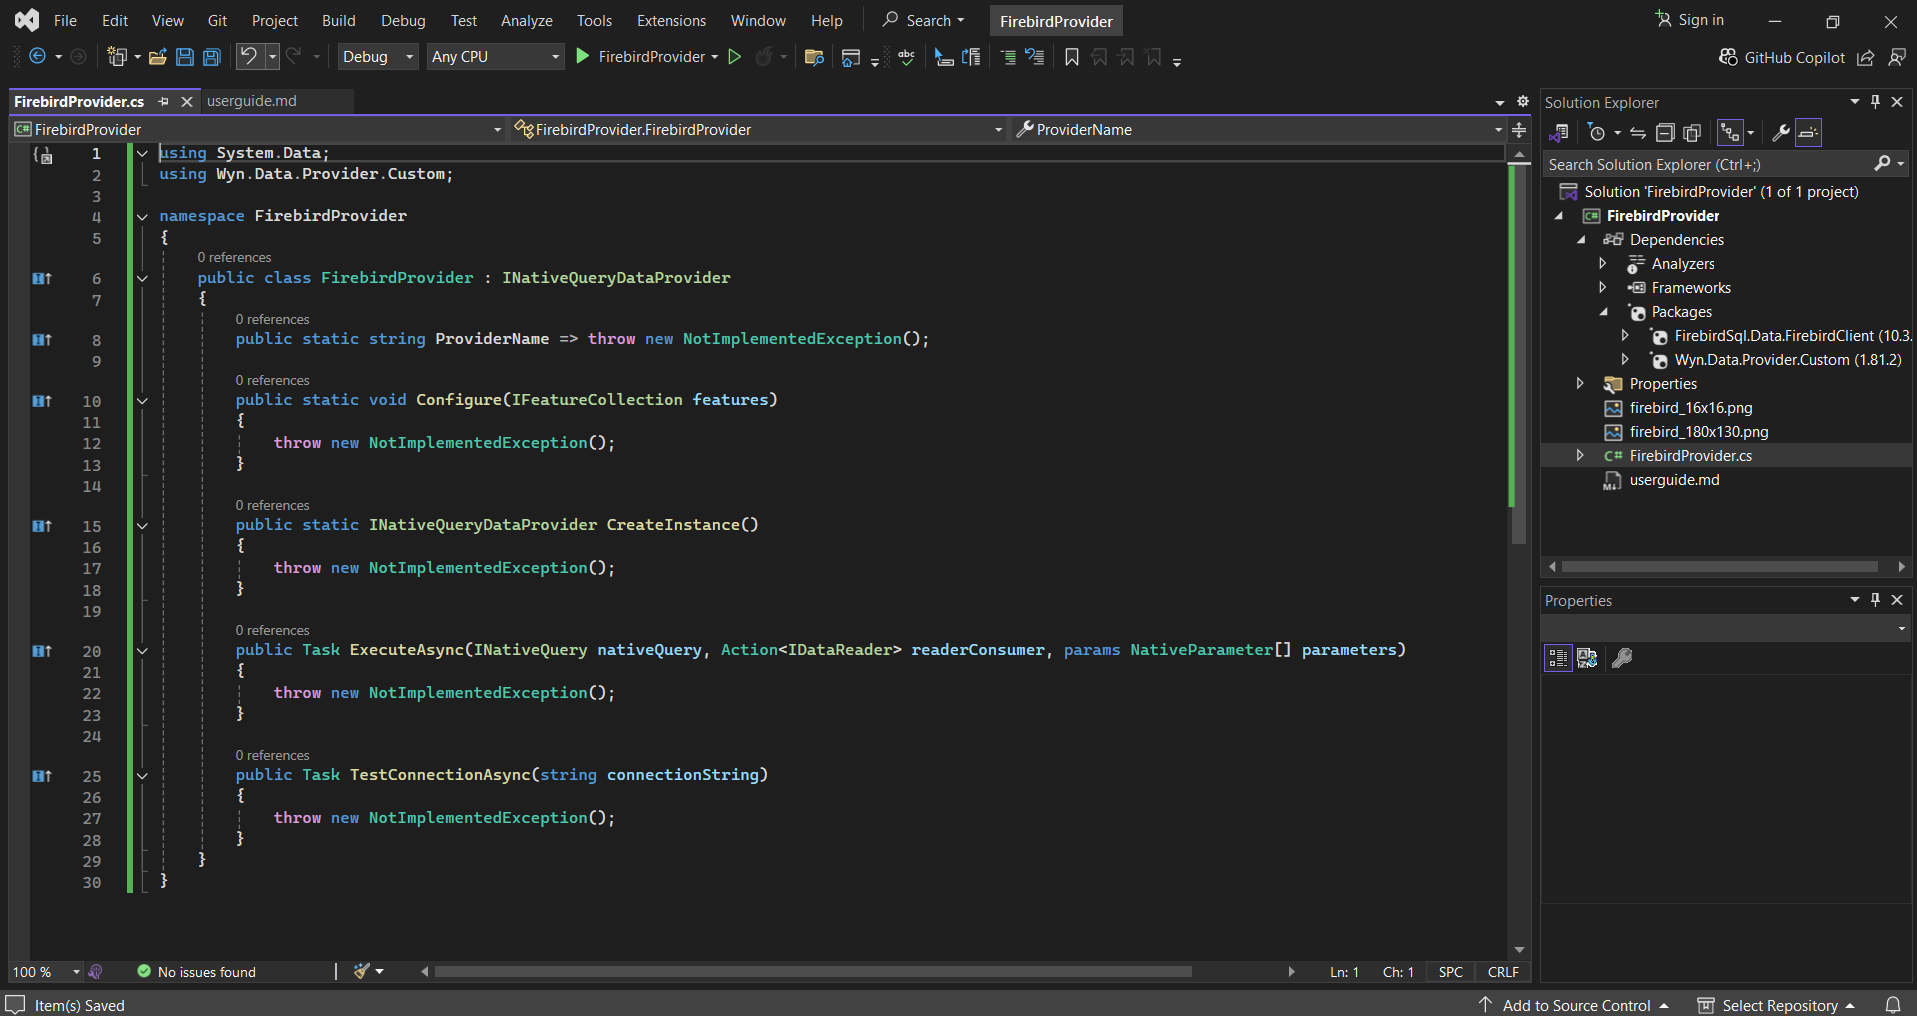
Implement the Interface in the Main class
The main class of the project should implement the INativeQueryDataProvider interface.
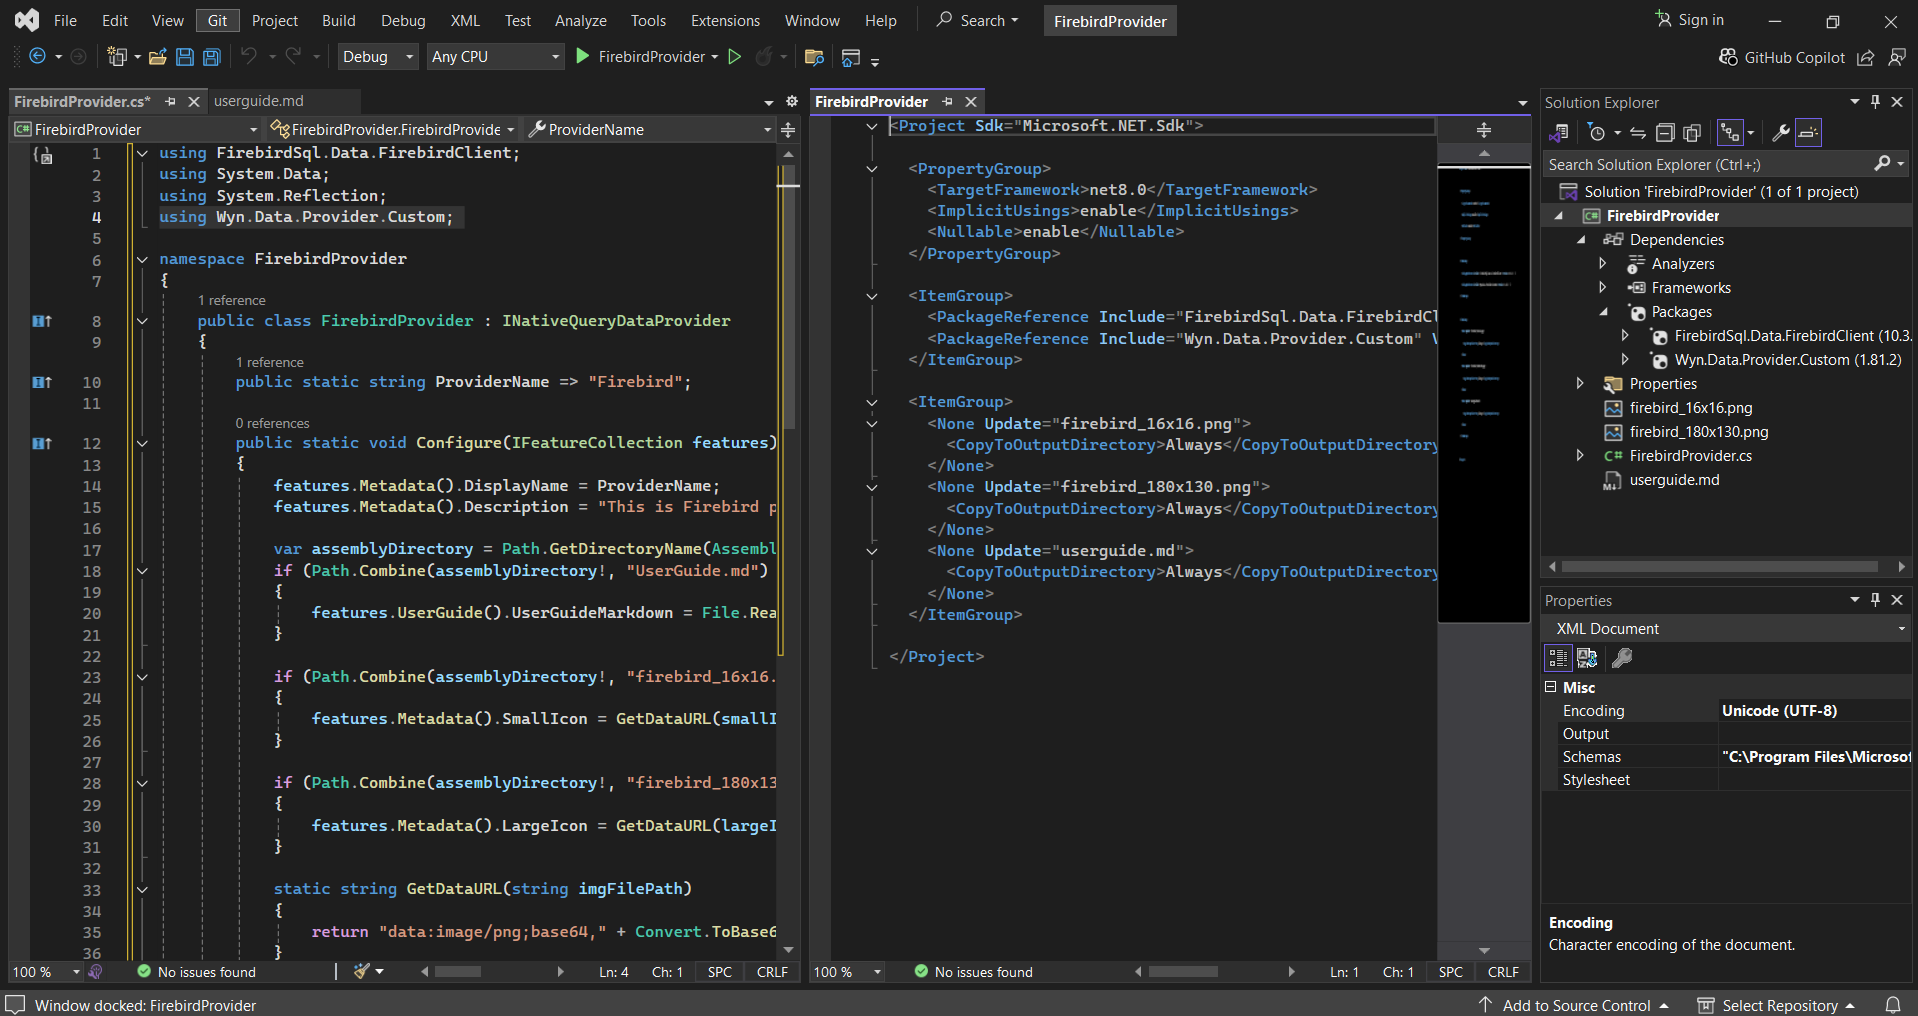
For the Firebird example, you can replace the content of the class with the complete example code below.
Implement the Interface
Implement the methods in the FirebirdProvider class.
using FirebirdSql.Data.FirebirdClient;
using Wyn.Data.Provider.Custom;
using System.Data;
using System.Reflection;

namespace FirebirdProvider
{
    public class FirebirdProvider : INativeQueryDataProvider
    {
        public static string ProviderName => "Firebird";

        public static void Configure(IFeatureCollection features)
        {
            features.Metadata().DisplayName = ProviderName;
            features.Metadata().Description = "This is Firebird provider.";

            var assemblyDirectory = Path.GetDirectoryName(Assembly.GetExecutingAssembly().Location);
            if (Path.Combine(assemblyDirectory!, "UserGuide.md") is var userGuidePath && File.Exists(userGuidePath))
            {
                features.UserGuide().UserGuideMarkdown = File.ReadAllText(userGuidePath);
            }

            if (Path.Combine(assemblyDirectory!, "firebird_16x16.png") is var smallIconPath && File.Exists(smallIconPath))
            {
                features.Metadata().SmallIcon = GetDataURL(smallIconPath);
            }

            if (Path.Combine(assemblyDirectory!, "firebird_180x130.png") is var largeIconPath && File.Exists(largeIconPath))
            {
                features.Metadata().LargeIcon = GetDataURL(largeIconPath);
            }

            static string GetDataURL(string imgFilePath)
            {
                return "data:image/png;base64," + Convert.ToBase64String(File.ReadAllBytes(imgFilePath));
            }

            features.Get<IParameterParseFeature>().NeedFillParameters = false;
        }

        public static INativeQueryDataProvider CreateInstance() => new FirebirdProvider();

        public async Task ExecuteAsync(INativeQuery nativeQuery, Action<IDataReader> readerConsumer, params NativeParameter[] parameters)
        {
            using var connection = new FbConnection(nativeQuery.ConnectionString);
            await connection.OpenAsync();
            var command = connection.CreateCommand();
            command.CommandText = nativeQuery.QueryText;
            foreach (var parameter in parameters)
            {
                var para = command.CreateParameter();
                para.ParameterName = parameter.Name;
                para.Value = parameter.ParameterValue;
                command.Parameters.Add(para);
            }
            readerConsumer(await command.ExecuteReaderAsync());
        }

        public async Task TestConnectionAsync(string connectionString)
        {
            using var connection = new FbConnection(connectionString);
            await connection.OpenAsync();
        }
    }
}
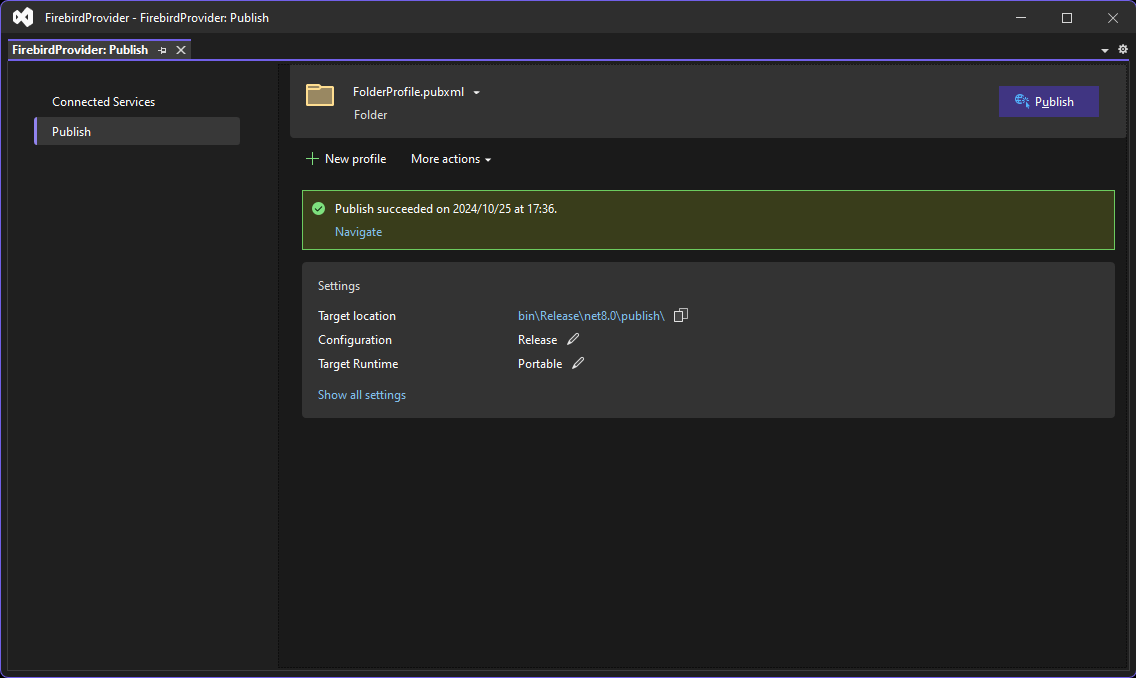
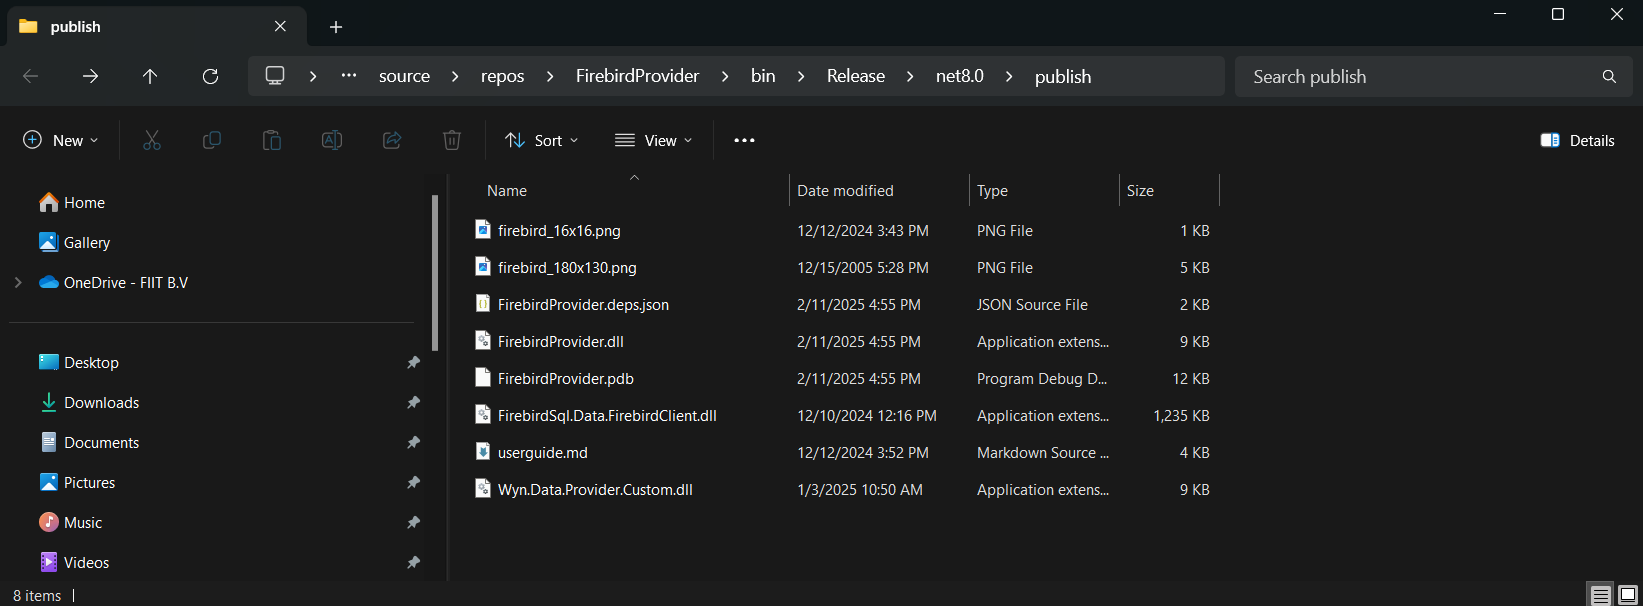
Publish the project to generate the artifact file.
Right-click the project name in Visual Studio. Choose a target folder and click "Publish" to publish your project.
Send to the Wyn Administrator
Zip the published artifacts folder and send it to the Wyn Server administrator to deploy to the Wyn Server machine. If you are the administrator, the instructions to deploy the custom connector and configure Wyn is in the Deploy and Configure a Custom Data Source.


