- Getting Started
-
Administration Guide
- Get Started with Administering Wyn Enterprise
- Configuration Settings
- Account Management
- Security Management
- System Management
- Document Management
-
How To and Troubleshooting
- Change Default Password
- Set Language Preference
- Slack Integration
- MS Teams Integration
- Create Custom Language Packages
- Configure Identity Server
- Configure Single Sign-on
- Convert Crystal Reports/MS Access Reports to Wyn Reports
- Encrypt or Decrypt Connection Strings
- Using ClickHouse as OLAP Database
- Hide Download Link in Scheduled Tasks
- Configure Redis Cluster using Username and Password
- User Guide
- Developer Guide
Azure AD B2C
Microsoft Azure Active Directory B2C (Azure AD B2C) is a cloud-based identity and access management service. Azure AD B2C provides a business-to-customer identity as a service for customer-facing applications. Azure AD B2C is designed to implement secure and customizable authentication, identity verification, and access control to your applications. Azure AD B2C is capable of supporting a large number of users and authentications. Azure AD B2C manages the scalability and security of the authentication platform, proactively monitors for potential threats, and automatically mitigates risks such as denial-of-service, password spray, or brute force attacks. Azure AD B2C is distinct from Azure Active Directory (Azure AD), utilizing the same underlying technology but serving a unique purpose. While Azure AD is designed for organizational identity and access management, Azure AD B2C is tailored for customer-facing applications. It empowers businesses to create applications accessible to the public, enabling unrestricted sign-up and sign-in for users without account limitations.
In this help article, you will find step-by-step instructions to configure Single Sign-on (SSO) in Wyn Enterprise using the Microsoft Azure AD B2C authentication service.
Before configuring the Wyn Enterprise application in the Azure AD B2C authentication environment, ensure the following;
Create an Azure AD B2C tenant. See the Create an Azure Active Directory B2C tenant help article for more information.
Register a web application in Azure AD B2C. See the Register a web application in Azure Active Directory B2C help article for more information.
Create user flows and custom policies in Azure AD B2C. See the Create user flows and custom policies in Azure Active Directory B2C help article for more information.
To enable single sign-on for users with Google accounts in Azure AD B2C, set up the sign-up and sign-in with a Google account. See the Set up sign-up and sign-in with a Google account using Azure Active Directory B2C help article for more information.
Configuration Steps
Follow the instructions below to configure SSO in Wyn using Azure AD B2C.
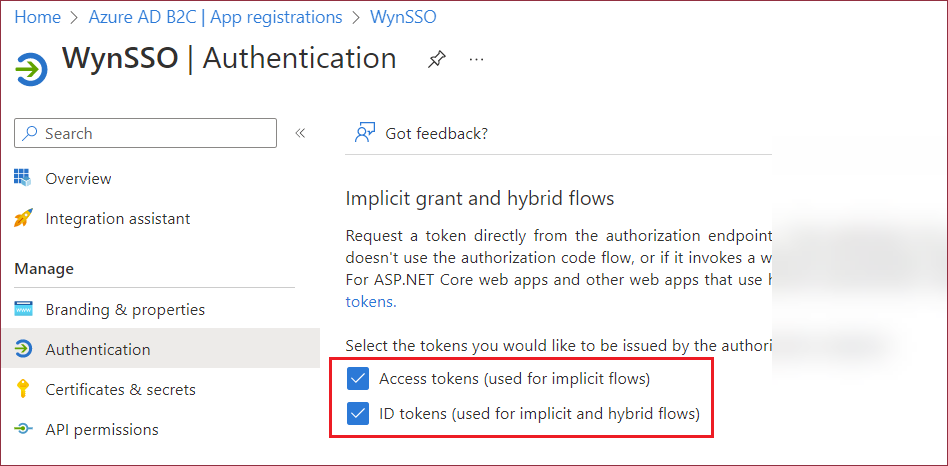
Once the web application is created, ensure that both the Access tokens and ID tokens checkboxes are selected.
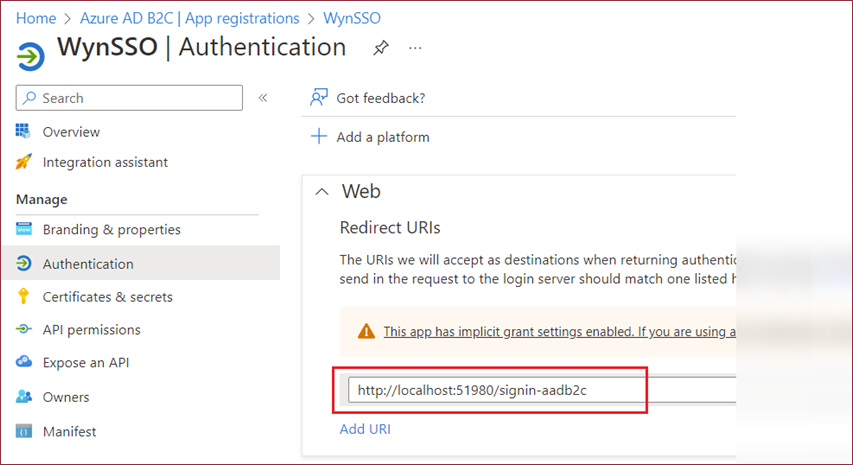
Additionally, take note of the Redirect URIs you have specified.
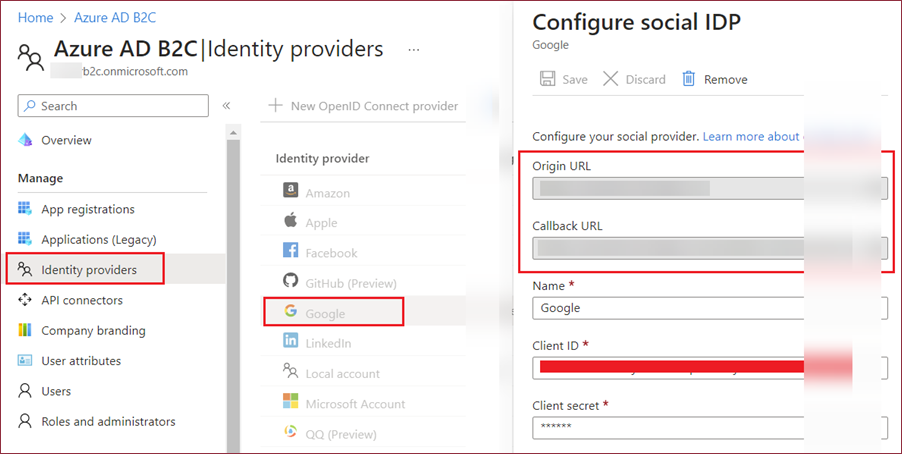
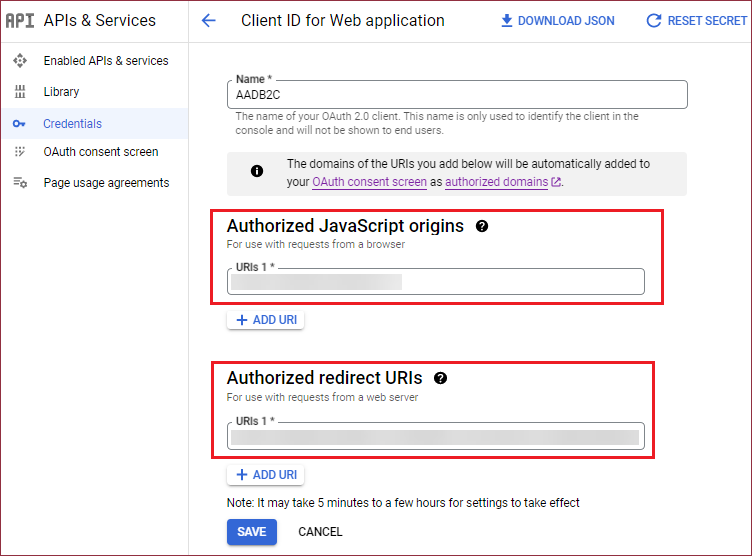
Check Google Application Settings: In case you have set up the sign-up and sign-in process with a Google account, ensure the following;
Copy the Origin URL and Callback URL associated with the Google Identity Provider (IDP) from the Azure AD B2C Identity Providers page.
Subsequently, navigate to your Google application settings page and insert the URLs copied previously. Ensure that all characters in the Authorized redirect URIs are in lowercase.
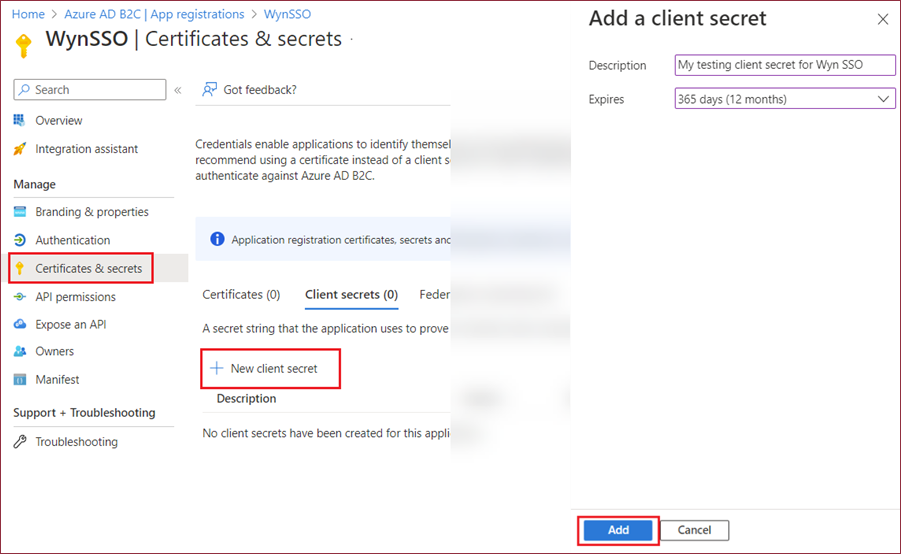
Add Client Secret: Navigate to the App registrations page, choose your application, and navigate to Certificates & secrets > Client secrets > New client secret. Be sure to copy and securely store the client secret value, as it won't be visible once you navigate away from this page.
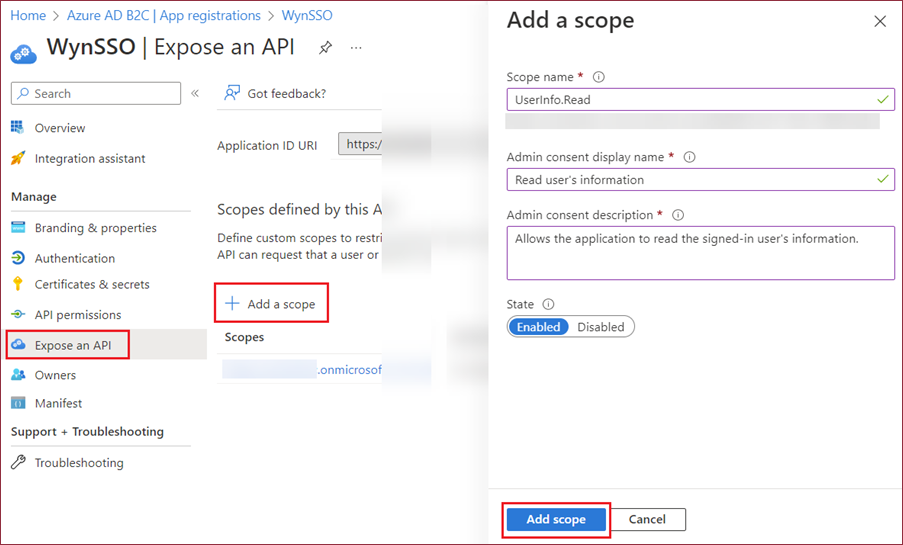
Add API Scope: Navigate to the App Registrations page and select the web application created in the earlier step. Now, click the Expose an API option and then click the + Add a scope option to add a new API scope. You can customize the API scope information like name, display name, etc.
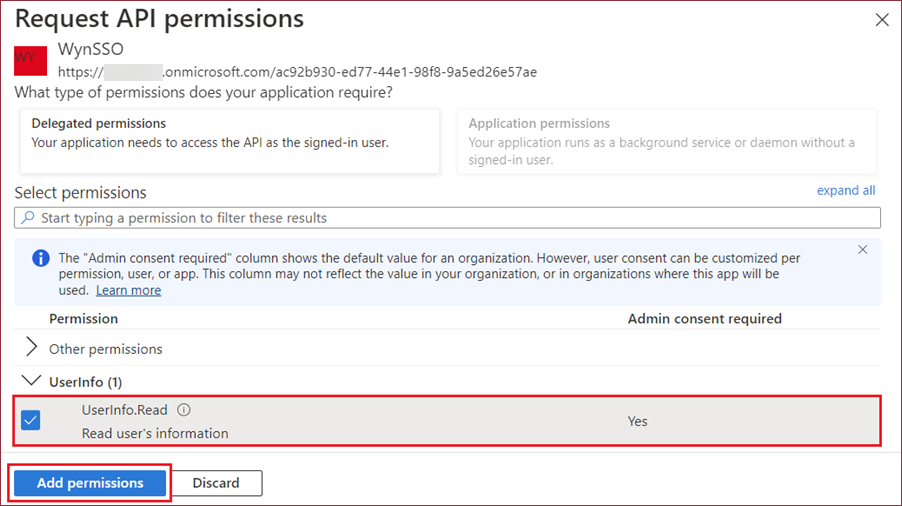
Add API Permissions: Follow the instructions below to add API permissions,
Navigate to the API permissions page and click the + Add a permission option. Now, navigate to the My APIs tab to add permission.
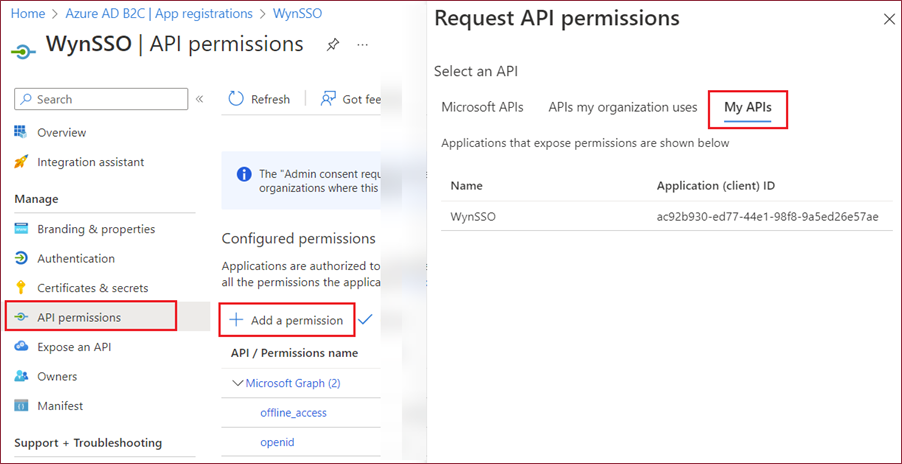
Select the permission created earlier and click the Add Permissions button.
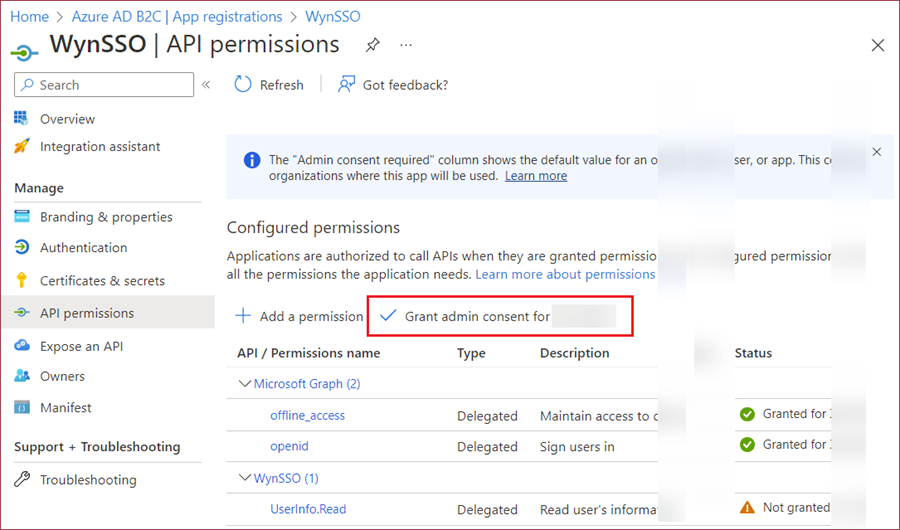
Once the permission is added, click the Grant admin consent to ****.
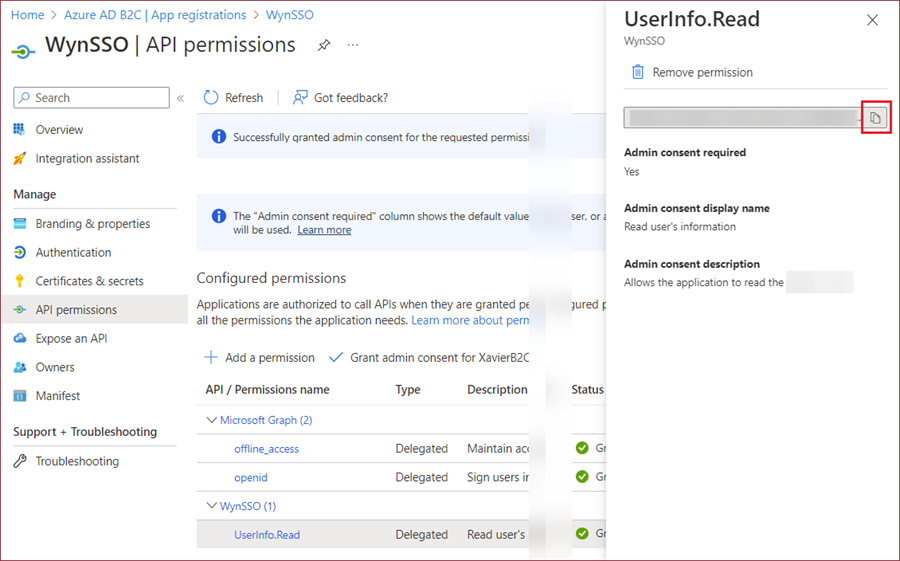
Following the grant of admin consent for the newly added API permission, select this permission and copy its value.
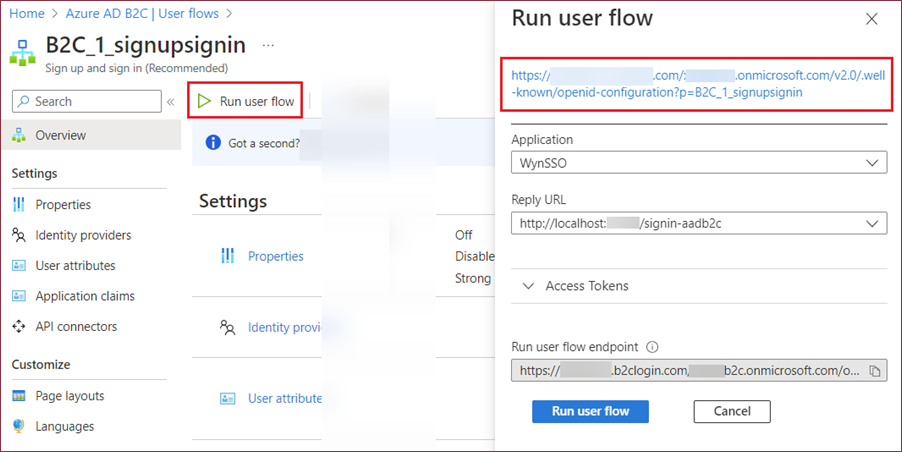
User Flow Endpoint: Now, navigate to the User Flows page under the Policies section and select your user flow.
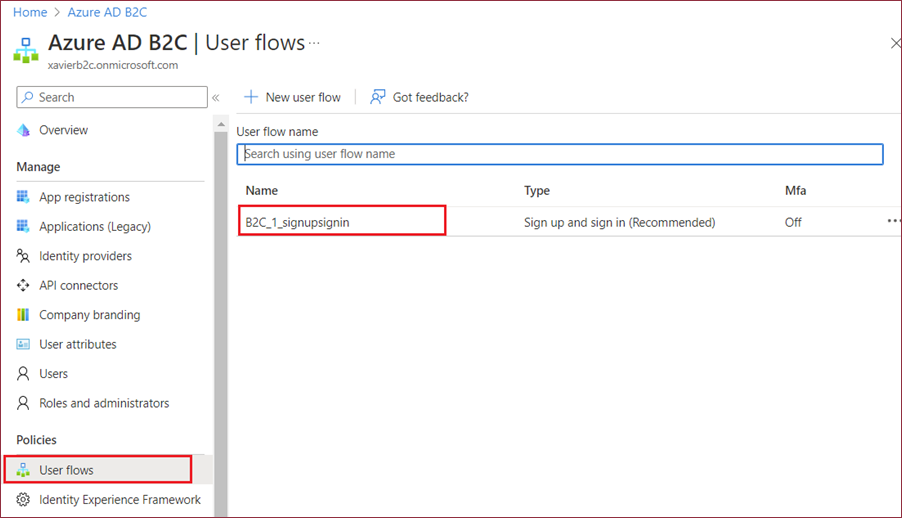
On the User Flow overview page, click the Run user flow button and copy the user flow's endpoint address.
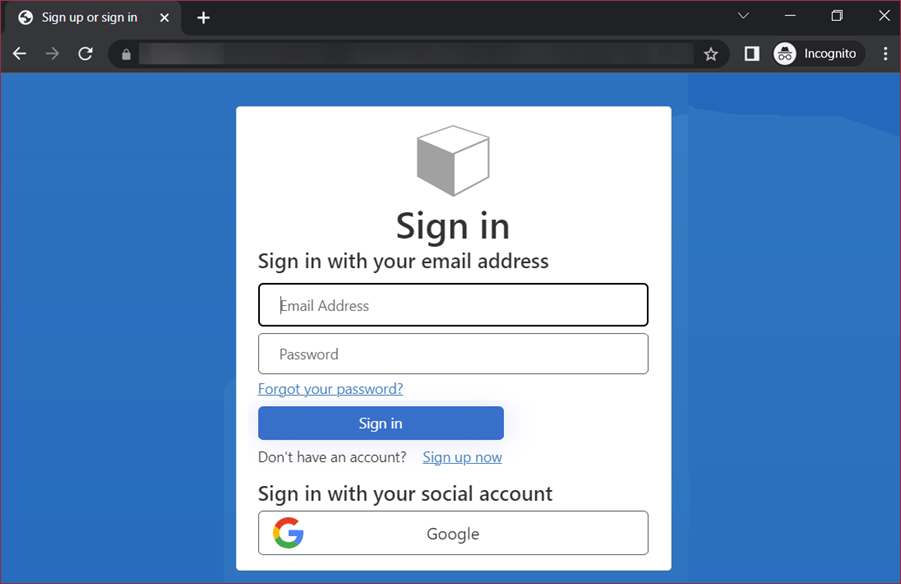
Lastly, modify the configuration file Wyn.conf by adding the following configuration items in the Server section. Note that,
The AuthenticationProtocol must be OIDC.
For Scheme, specify a scheme name, such as AADB2C or any name preferred by you.
For MetadataAddress, the OIDC discovery endpoint must be the value copied in step 5.
For ClientId, the application (Client) ID of your Azure AD B2C application.
For ClientSecret, find it in step 2.
For CallbackPath, such as /signin-aadb2c, find it in step 1. Note that the callback path cannot be an absolute URL, and cannot contain the path base.
Scopes must contain openid and customer-defined API permission.
<Cookie>
  <ShareCookie>false</ShareCookie>
  <SameSite>None</SameSite>
  <Secure>true</Secure>
</Cookie>
<Authentication>
  <SSO>
    <AuthenticationProtocol>OIDC</AuthenticationProtocol>
    <Scheme>{schme}</Scheme>
    <MetadataAddress>{your_user_flow_endpoint_address_you_copied_in_step_5}</MetadataAddress>
    <ClientId>{your_client_id}</ClientId>
    <ClientSecret>{your_client_secret}</ClientSecret>
    <CallbackPath>{the_callback_path_you_typed_in_step_1}</CallbackPath>
    <ResponseType>token id_token</ResponseType>
    <Scopes>
      <sys:string>openid</sys:string>
      <sys:string>{the_api_permission_value_you_copied_in_step_4}</sys:string>
    </Scopes>
    <ClaimMappings>
      <sys:Item>
        <Key>sub</Key>
        <Value>sub</Value>
      </sys:Item>
      <sys:Item>
        <Key>name</Key>
        <Value>nickname</Value>
      </sys:Item>
      <sys:Item>
        <Key>given_name</Key>
        <Value>given_name</Value>
      </sys:Item>
      <sys:Item>
        <Key>family_name</Key>
        <Value>family_name</Value>
      </sys:Item>
      <sys:Item>
        <Key>email</Key>
        <Value>email</Value>
      </sys:Item>
      <sys:Item>
        <Key>avatar</Key>
        <Value>picture</Value>
      </sys:Item>
   </ClaimMappings>
  </SSO>
</Authentication>
Save the configuration file and restart the Wyn Enterprise service. And, visit the Wyn portal using the login URL (like http://localhost:51980). You will be automatically redirected to the Azure AD B2C login page.