- Getting Started
- Administration Guide
-
User Guide
- An Introduction to Wyn Enterprise
- Document Portal for End Users
- Data Governance and Modeling
- Working with Resources
- Working with Reports
- Working with Dashboards
- View and Manage Documents
- Understanding Wyn Analytical Expressions
- Section 508 Compliance
- Subscribe to RSS Feed for Wyn Builds Site
- Developer Guide
Create Multi-Section RDL Report
The RDL Multi-Section report provides you the ability to define multiple layouts in a report for the flexible presentation of your report data. In this report, you can place data regions that require different viewing layouts on separate sections and set margins, page size, and page orientation for pages in each section to accommodate the data regions.
For example, you want to present data using multiple charts and tables. Therefore, the choice of RDL Multi-Section report would be suitable in this case, with separate report sections for charts and tables. The report sections with charts can have page orientation set to landscape and the charts will be presented clearly, and report sections with tables can have page orientation set to portrait to avoid any blank spaces.
Key Features
An RDL Multi-Section report has the following additional features.
Manage Report Sections
a. Add multiple sections: You can add many sections using any of the options described below:
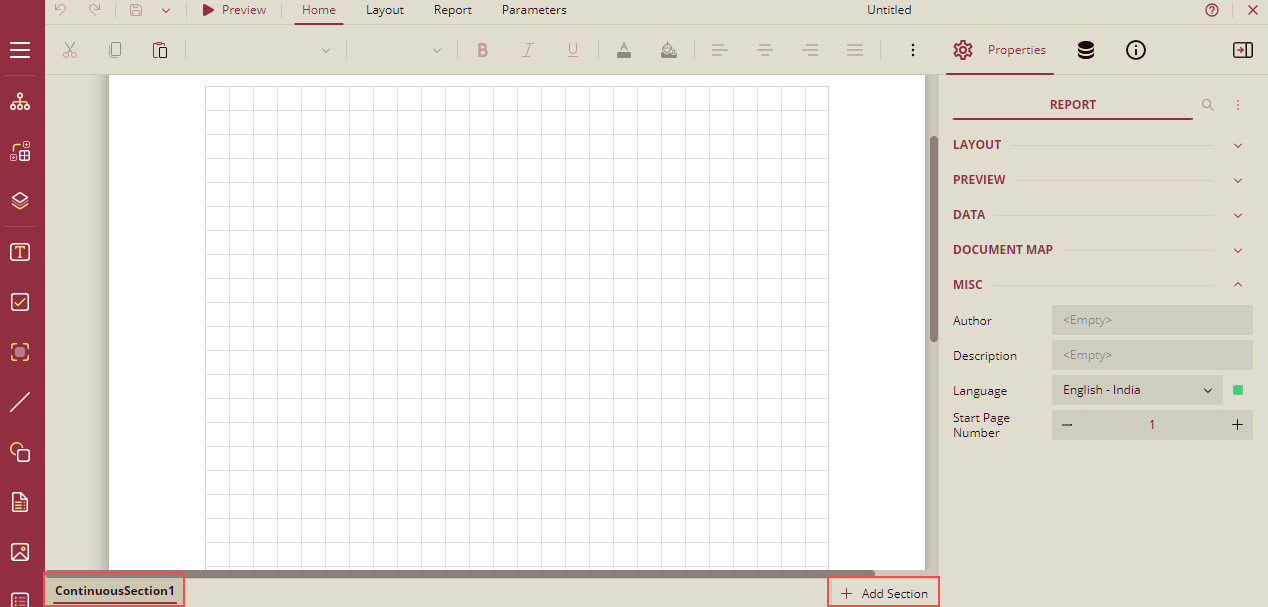
Clicking the Add section tab that appears below the design area.

Clicking the Insert Section option from the section property in the section tab on the header.

Clicking Add Continuous Section from report tab on header.

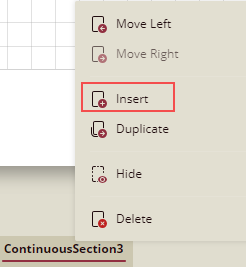
You can also add new sections by selecting the Insert option from the context menu.
b. Context Menu
By right clicking the Report Section tab, you get the Context menu.
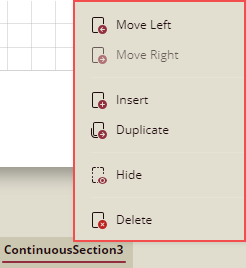
You can add new sections by selecting the Insert option.
You can duplicate the report section by selecting the Duplicate option.
You can drag the section tabs to reorder report sections or select the section and click the Move Left or Move Right option.
You can hide the section, by selecting the Hide option.
You can delete the section, by selecting the Delete option.
c. Section Tab Properties
You can see the following properties on the Section tab.

Add Header and Footer:To quickly add a Page Header/ Page Footer to the section, select the section and click the Section tab. Now select the Add Header, and Add Footer options. A report section can have its own page header and footer.
Reorder Section: Select the section and click Move Section Left or Move Section Right option to reorder the sections.
Insert Section: You can insert a new section by clicking the Insert Section option.
Duplicate Section: Select the option Duplicate Section, to duplicate the section.
Hide Section: Select the option Hide Section, to hide the section.
Delete Section: Select the option Delete Section, to delete the section.
Set Layout of Each Section
The layout of pages in each report section can be independently controlled using the following properties:
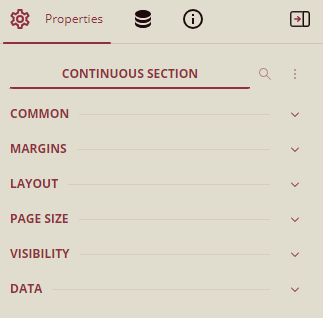
a. Common
Name: Set the name of the section here.

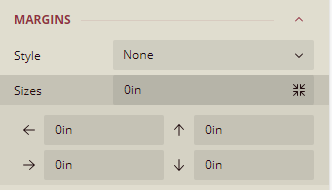
b. Margins
Style: Select the margin style as None, Narrow, Normal, and Wide.
Sizes: Set the Left, Right, Top, and Bottom margins size here.
c. Layout
Columns: Divide the section into columns.
Column Spacing: Set the column spacing here.

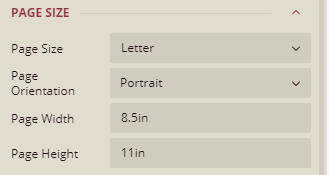
d. Page Size
Page Size: Select the page size from the dropdown list. It has the following options: Letter, Tabloid, Legal, Executive, A3, A4, A5, A6, B4(JIS), B5 (JIS), B6(JIS), B5(ISO).
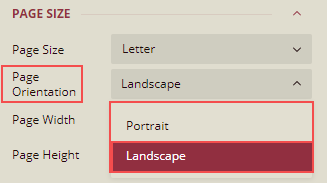
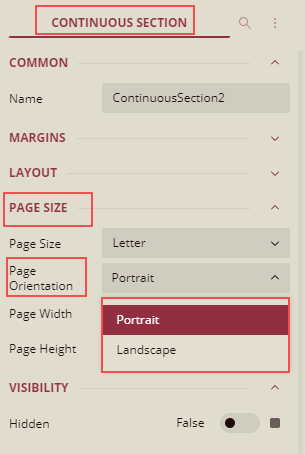
Page Orientation: Set page orientation to Landscape or Portrait.
Page Width: Set the page width.
Page Height: Set the page height.
e. Visibility
Hidden: Set this property to True, to hide the section.

This property controls the visibility of the report sections based on the expression that you specify or the value you set, that is, True or False. If you want to hide the report section, set the property to True. In case you want to conditionally hide the report section, enter a suitable expression.
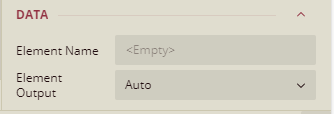
f. Data
Element Name: Specify the element name.
Element Output: Select the element output from the dropdown list. It has the following options: Auto, Output, NoOutput, ContentsOnly.
Create RDL Multi-Section Report
Create a Report
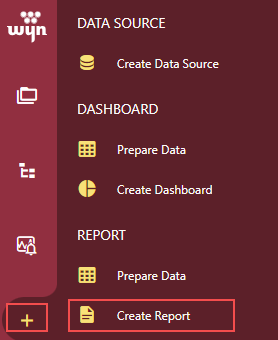
In the Document Portal, create a report by selecting Create > Create Report.
In the Report Templates dialog box that appears, select a Blank RDL Report.
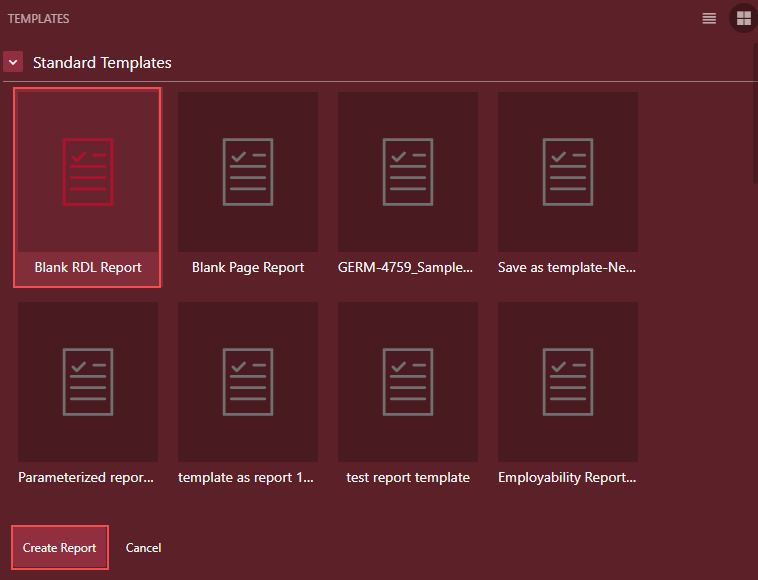
After selecting the template, click the Create Report button.
A new report with a ContinuousSection1 is displayed with an option to Add Section.
Bind to DataSource
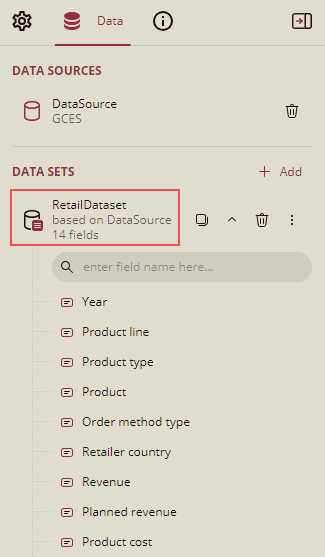
Bind the report to a dataset. In this example, we have taken RetailDataset.
Design the Report Layout
You can design the report layout by adding multiple sections.
ReportSection1
In ReportSection1, which is open by default in the design area, click the Chart option from the toolbox, select Column Chart, and click the Next button.
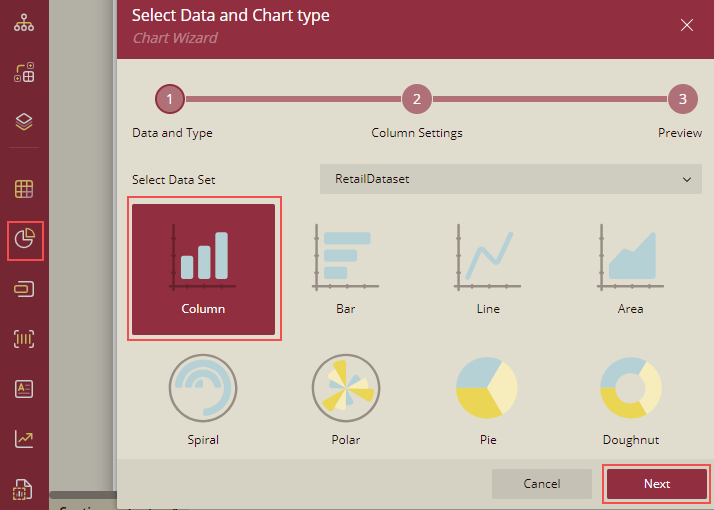
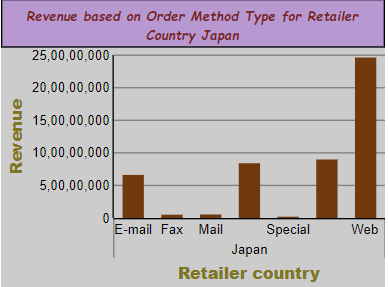
Design a chart that shows the total revenue for Retailer country Japan based on Order Method type by specifying the Column Settings and click Next.
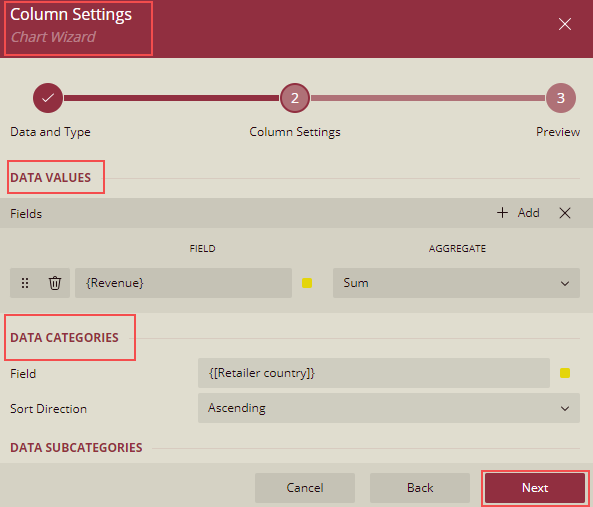
Click the ReportSection1 tab and from the Properties panel, set Page Orientation to Landscape.
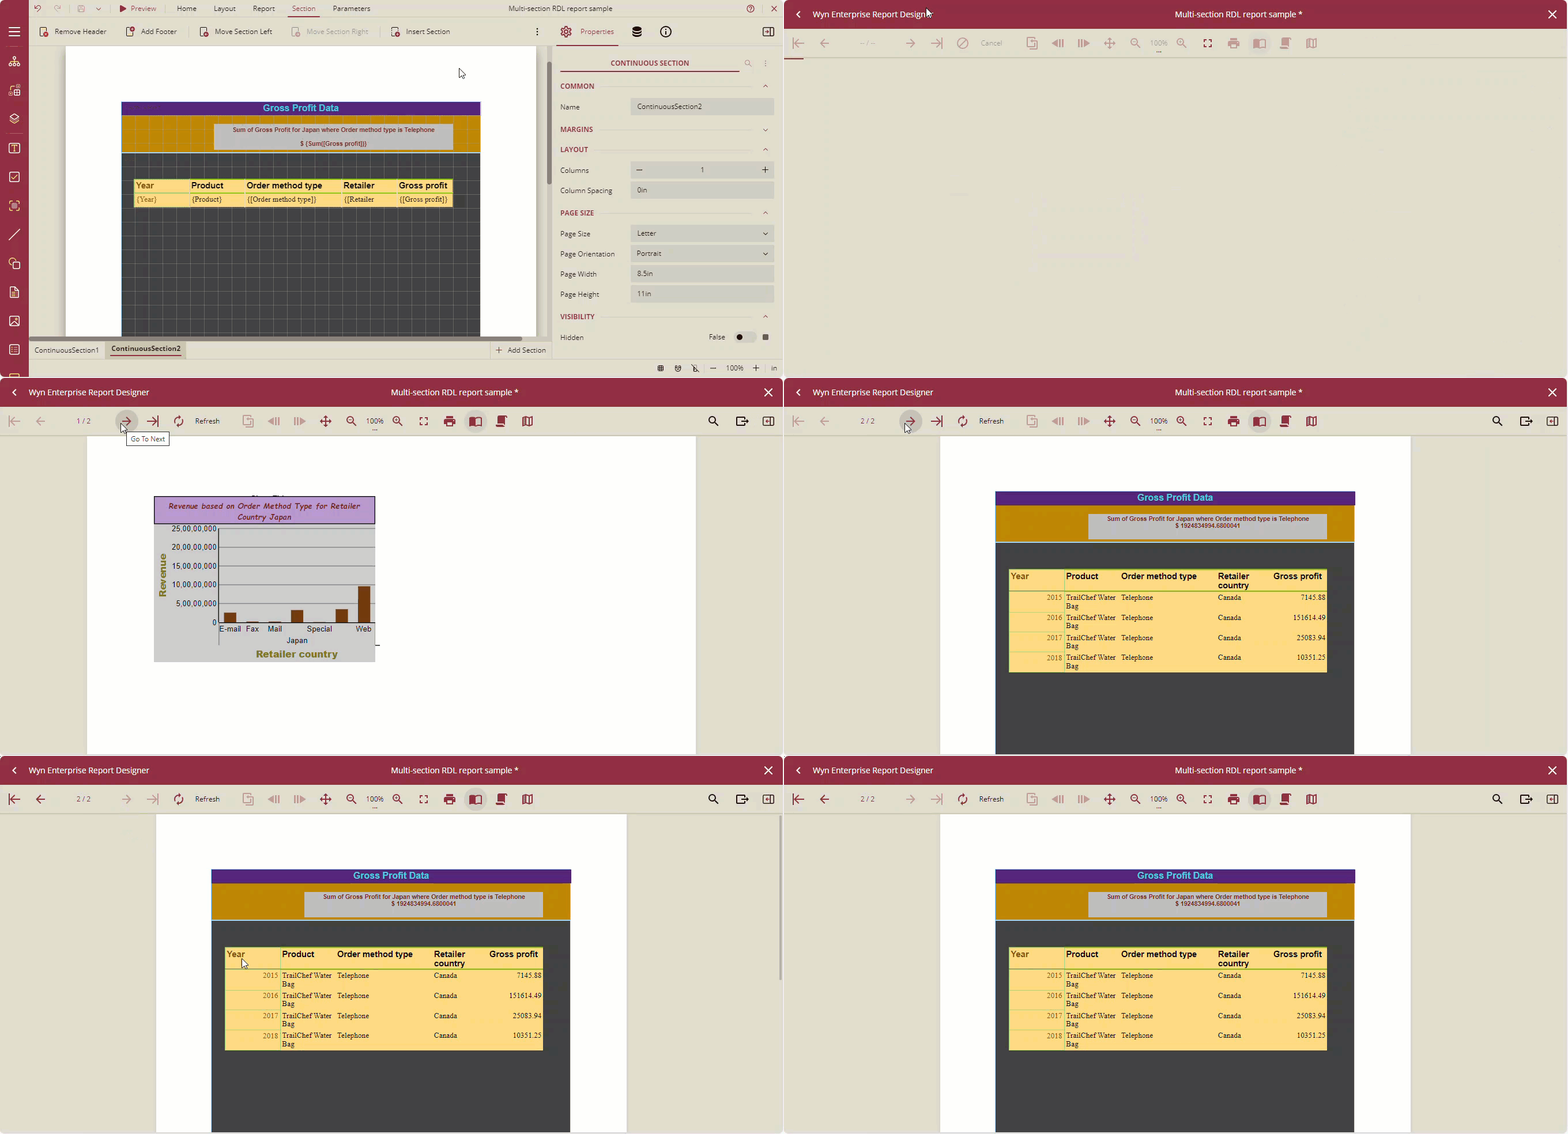
The report will look like the one shown below.
ReportSection2
Click the Add Section tab in the design area to add another section ContinuousSection2.
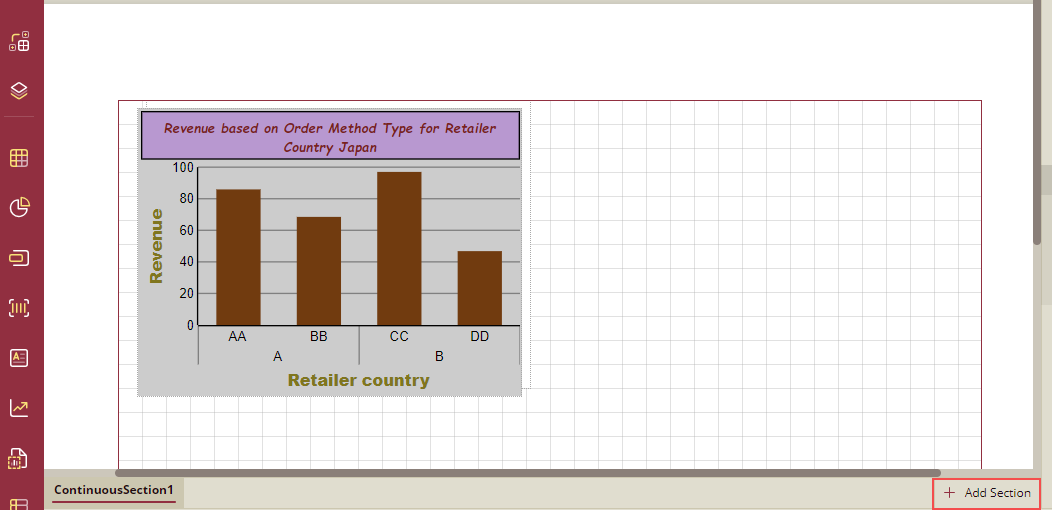
Another section will be added.
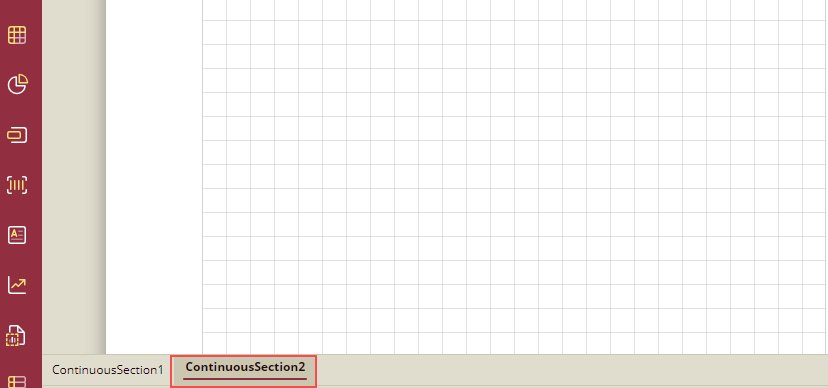
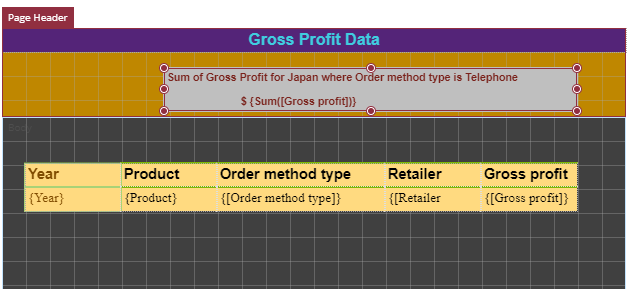
In this section of the report, drag-drop the Table data region. Here we will display the Gross Profit, for the products for Retailer Country Japan and Order method type as Telephone.
We will be adding Group by Year.

Click the ReportSection2 tab and from the Properties panel, set Page Orientation to Portrait.
The report will look like the one shown below.
Preview the Report. The report will have multiple sections.
