-
Interactive DashboardsCreate interactive BI dashboards with dynamic visuals.
-
End-User BI ReportsCreate and deploy enterprise BI reports for use in any vertical.
-
Wyn AlertsSet up always-on threshold notifications and alerts.
-
Localization SupportChange titles, labels, text explanations, and more.
-
Wyn ArchitectureA lightweight server offers flexible deployment.
-
 Wyn Enterprise 7.1 is ReleasedThis release emphasizes Wyn document embedding and enhanced analytical express...
 -
 Choosing an Embedded BI Solution for SaaS ProvidersAdding BI features to your applications will improve your products, better serve your customers, and more. But where to start? In this guide, we discuss the many options.
-
Visual GalleryInteractive sample dashboards and reports.
-
BlogExplore Wyn, BI trends, and more.
-
WebinarsDiscover live and on-demand webinars.
-
Customer SuccessVisualize operational efficiency and streamline manufacturing processes.
-
Knowledge BaseGet quick answers with articles and guides.
-
VideosVideo tutorials, trends and best practices.
-
WhitepapersDetailed reports on the latest trends in BI.
-
 Choosing an Embedded BI Solution for SaaS ProvidersAdding BI features to your applications will impr...
 -

- Getting Started
-
Administration Guide
- Installing Wyn Enterprise
- Configuration Settings
- Account Management
- Security Management
- System Management
- Document Management
- How To and Troubleshooting
- User Guide
- Developer Guide
External Storage
As an admin of the Wyn Enterprise portal, you can configure the external storage FTP, SFTP, and AWS_S3 to store exported documents generated by the Schedule task. Users can choose these methods to store the scheduled task results. You can create and manage the External Storage. Admin can control their permissions as well.
To Add a New External Storage
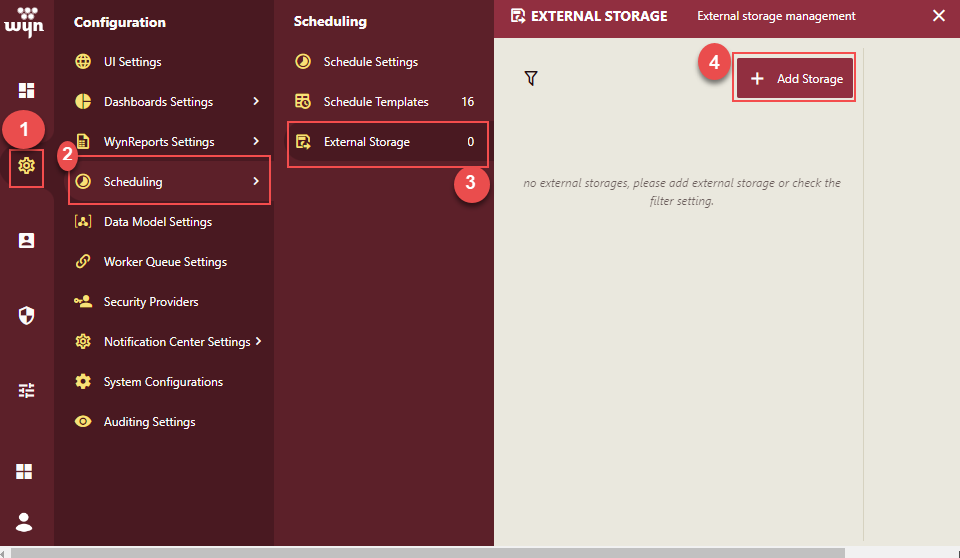
On the Admin Portal, navigate to Configuration Settings >> Scheduling>>External Storage, click Add Storage.
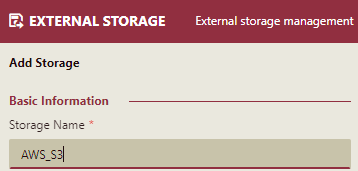
Add the following Basic Information
Give a Storage Name.
Select the Storage Type (AWS_S3, FTP, SFTP, and SharePoint) from the dropdown list.

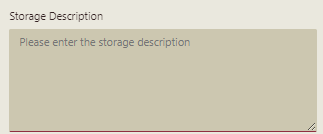
Describe the storage.
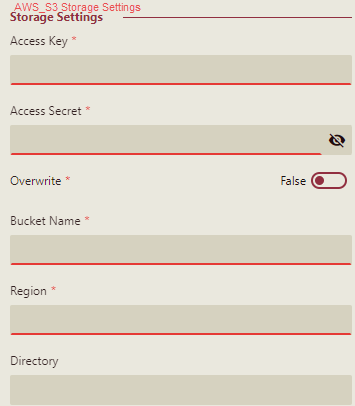
Enter the Storage Settings. The fields for the storage settings differ based on the storage type selected.
For Storage Type - AWS_S3, the following fields are displayed.
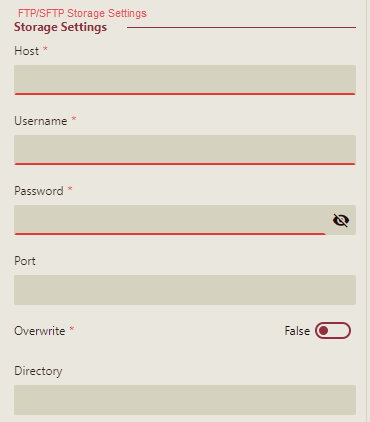
For Storage Type - FTP and SFTP, the following fields are displayed.
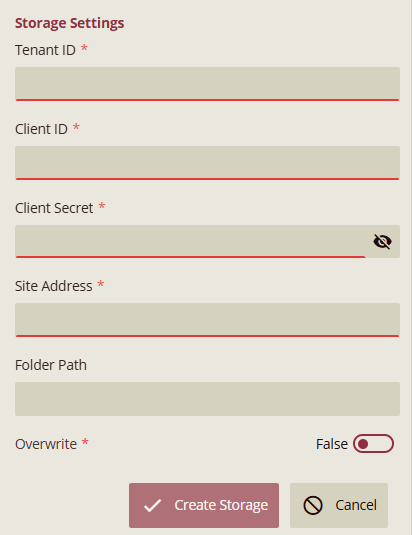
For Storage Type - SharePoint, the following fields are displayed.
To enable file uploads to a SharePoint Online site, you must complete several configuration steps in Azure Active Directory and SharePoint Online.
Register an Application in Azure AD
Register a new application in Azure Active Directory. This app registration represents Wyn Enterprise when accessing Microsoft Graph.
You will obtain:
Tenant ID
Client ID
Client Secret
These values must be entered into Wyn Enterprise when configuring SharePoint delivery.
Assign Microsoft Graph Permissions
Grant the application the required Microsoft Graph permissions for SharePoint access. The recommended approach is to use: Sites.Selected.
This permission restricts the application's access so it only applies to specific sites that you explicitly grant.
Alternatively, broader permissions like Files.ReadWrite.All may be used if required, though they are less secure.
Grant Site-Level Access
If using Sites.Selected, you must assign site-level access via Microsoft Graph API to the specific SharePoint site where documents will be uploaded.
For guidance on configuring site access, refer to: https://techcommunity.microsoft.com/blog/spblog/develop-applications-that-use-sites-selected-permissions-for-spo-sites-/3790476
Specify the Target SharePoint Location
Provide the following information:
SharePoint site URL
Document library name and optional folder path Example:
/sites/Reports/Shared Documents/WynExports
Enter the details and click the Create Storage button to create the external storage.
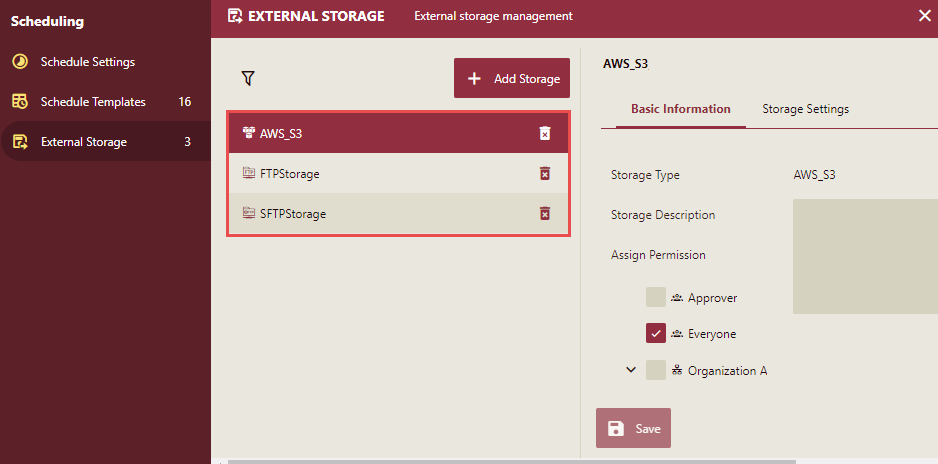
New storage is added to the External Storage section, where you can edit the basic information, assign permissions to both roles and organizations, and manage storage settings.
Note:
a. You can configure multiple external storage devices of the same and different types.
b. The default storage directory is used when the directory is not specified in the storage configuration.
To Edit an External Storage
On the External Storage section, select the storage to edit. The editor will open on the right side of the page.
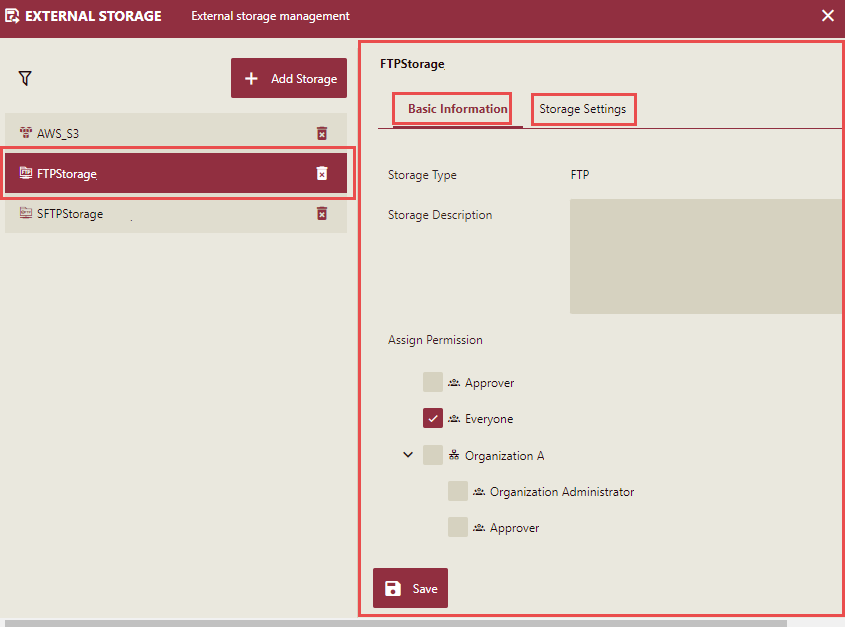
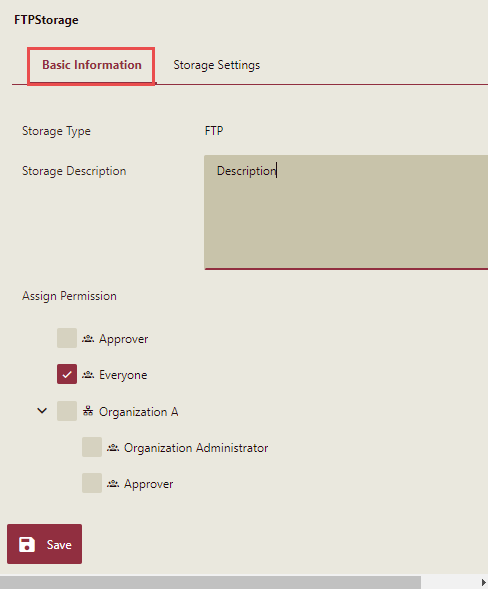
Under the Basic Information tab, you can modify the following properties of the external storage:
Storage Description: You can edit the description if required.
Assign Permission - Select the checkbox next to each role and organization to allow users to have access to the external storage created.
Under the Storage Settings tab, you can edit the storage setting details.
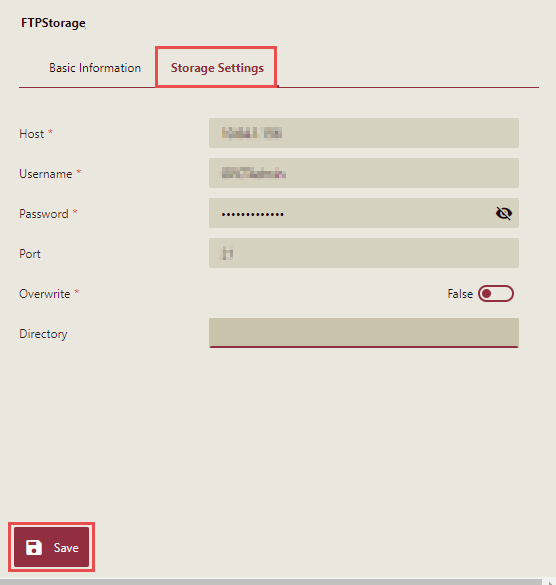
Click the Save button to save the changes.
To Delete an External Storage
On the External Storage section, select the storage to delete and click the delete button
 corresponding to it.
Delete External Storage confirmation message is displayed.
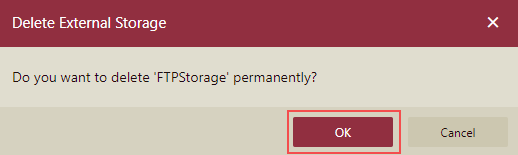
Click OK on the message box to delete the storage, or click the Cancel button.