-
Interactive DashboardsCreate interactive BI dashboards with dynamic visuals.
-
End-User BI ReportsCreate and deploy enterprise BI reports for use in any vertical.
-
Wyn AlertsSet up always-on threshold notifications and alerts.
-
Localization SupportChange titles, labels, text explanations, and more.
-
Wyn ArchitectureA lightweight server offers flexible deployment.
-
 Wyn Enterprise 7.1 is ReleasedThis release emphasizes Wyn document embedding and enhanced analytical express...
 -
 Choosing an Embedded BI Solution for SaaS ProvidersAdding BI features to your applications will improve your products, better serve your customers, and more. But where to start? In this guide, we discuss the many options.
-
Visual GalleryInteractive sample dashboards and reports.
-
BlogExplore Wyn, BI trends, and more.
-
WebinarsDiscover live and on-demand webinars.
-
Customer SuccessVisualize operational efficiency and streamline manufacturing processes.
-
Knowledge BaseGet quick answers with articles and guides.
-
VideosVideo tutorials, trends and best practices.
-
WhitepapersDetailed reports on the latest trends in BI.
-
 Choosing an Embedded BI Solution for SaaS ProvidersAdding BI features to your applications will impr...
 -

- Getting Started
-
Administration Guide
- Installing Wyn Enterprise
- Configuration Settings
- Account Management
- Security Management
- System Management
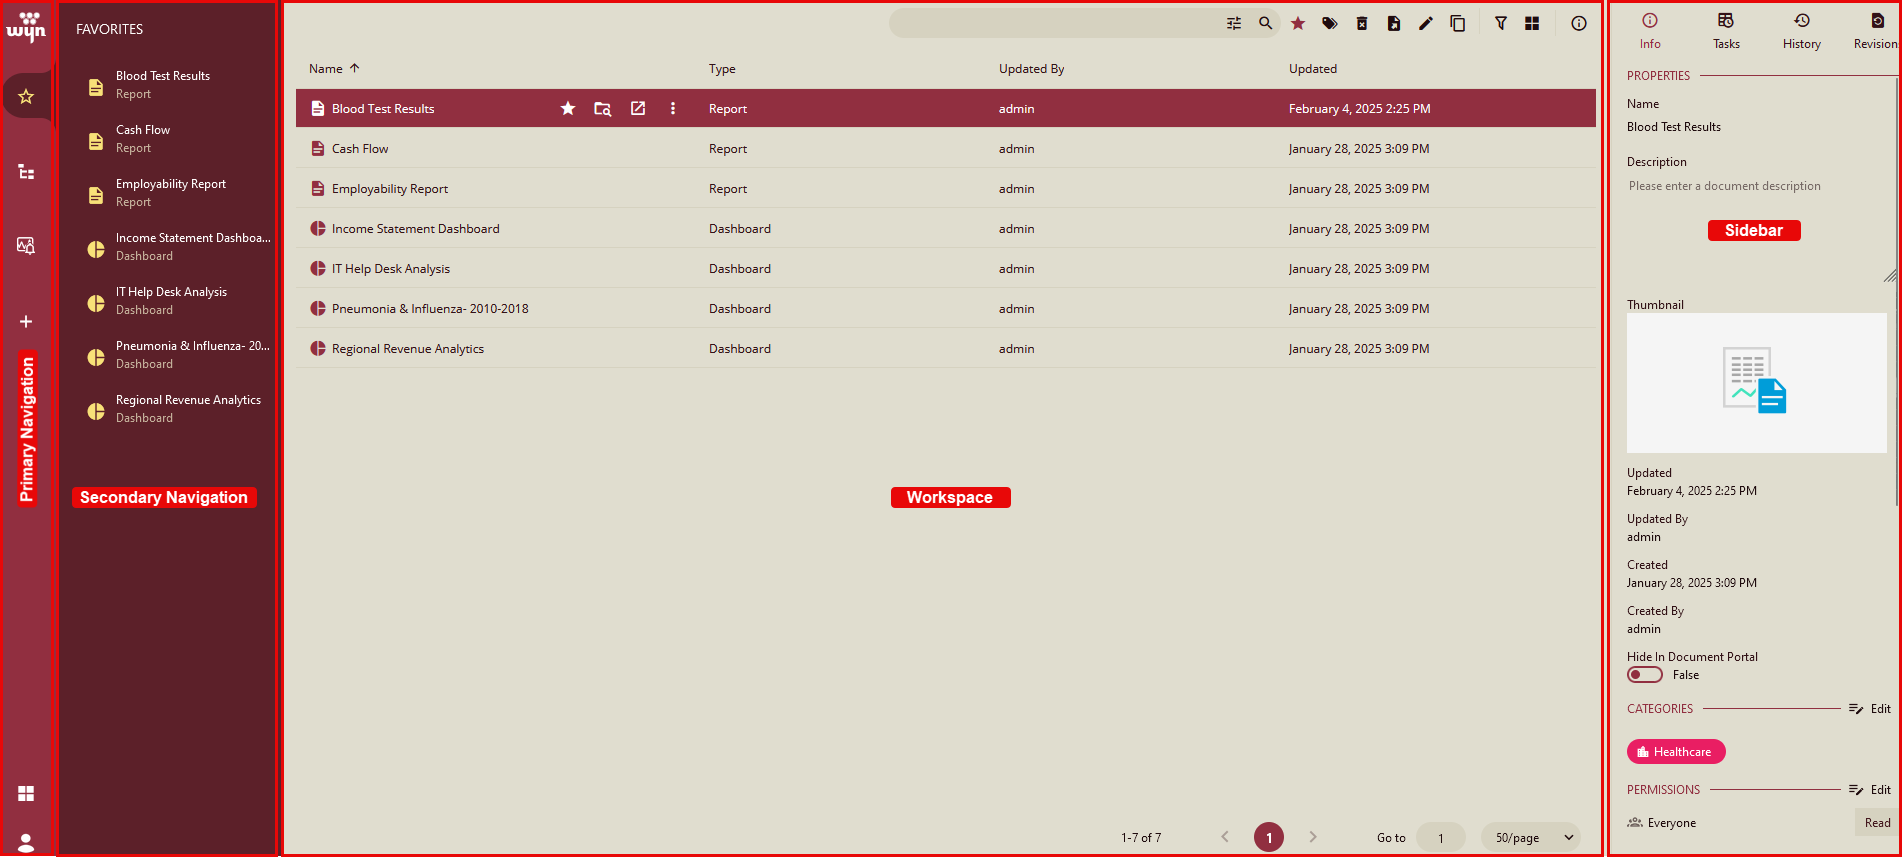
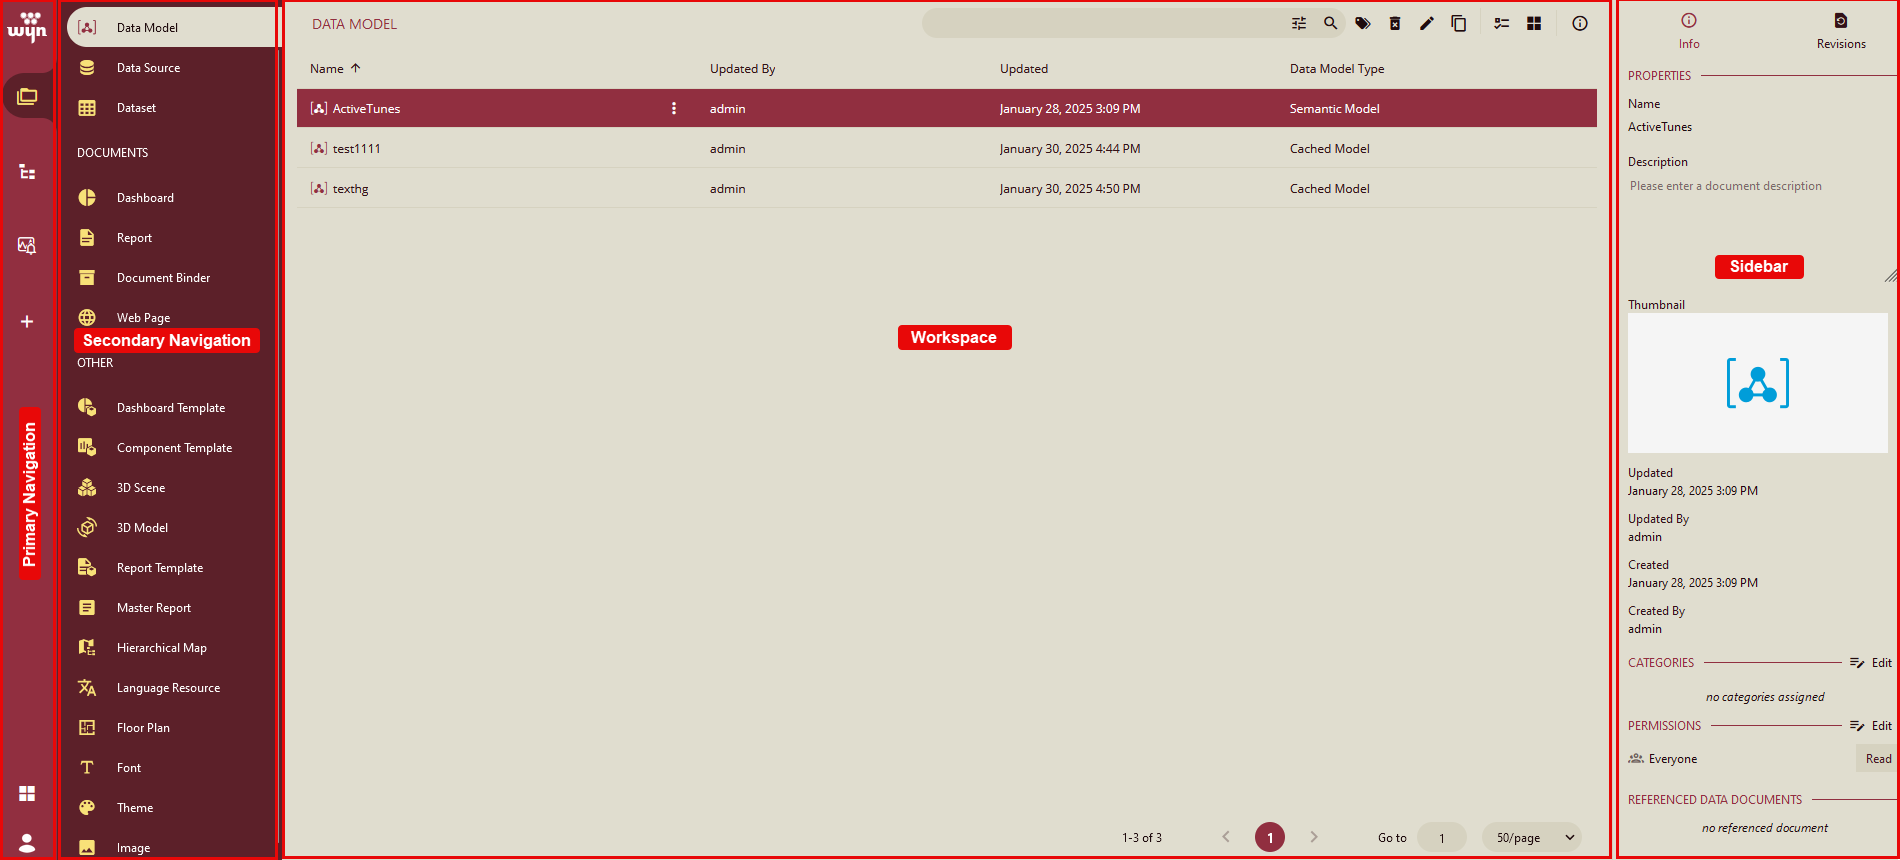
- Document Management
- How To and Troubleshooting
- User Guide
- Developer Guide
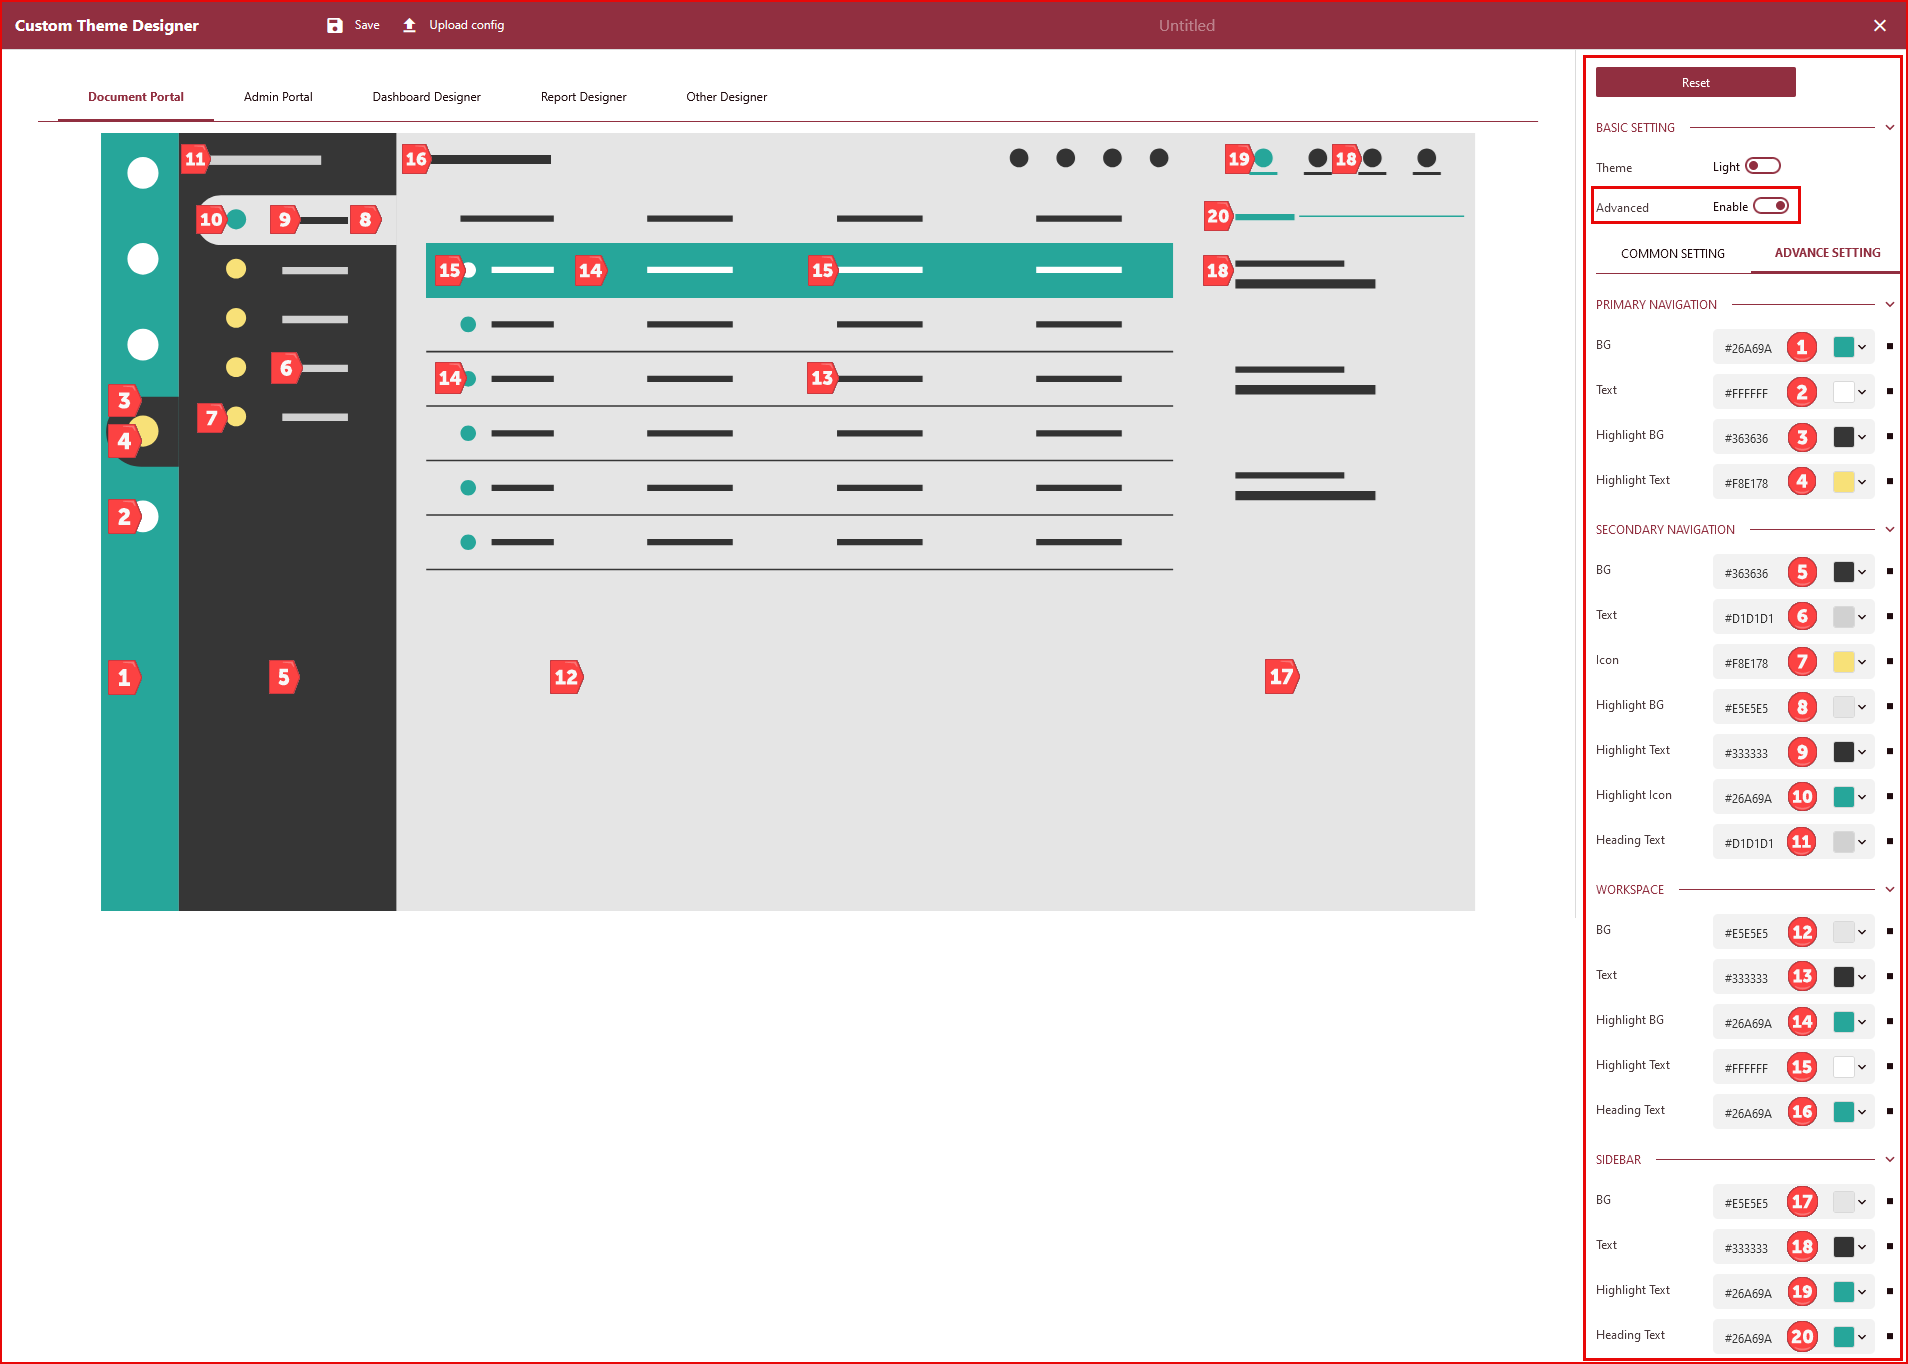
Custom Theme
When creating dashboards and reports, you can set the document's overall style using the built-in theme in Wyn Enterprise. In addition to built-in themes, Wyn Enterprise supports user-defined themes to meet personalized needs, such as matching organizational branding and colors.
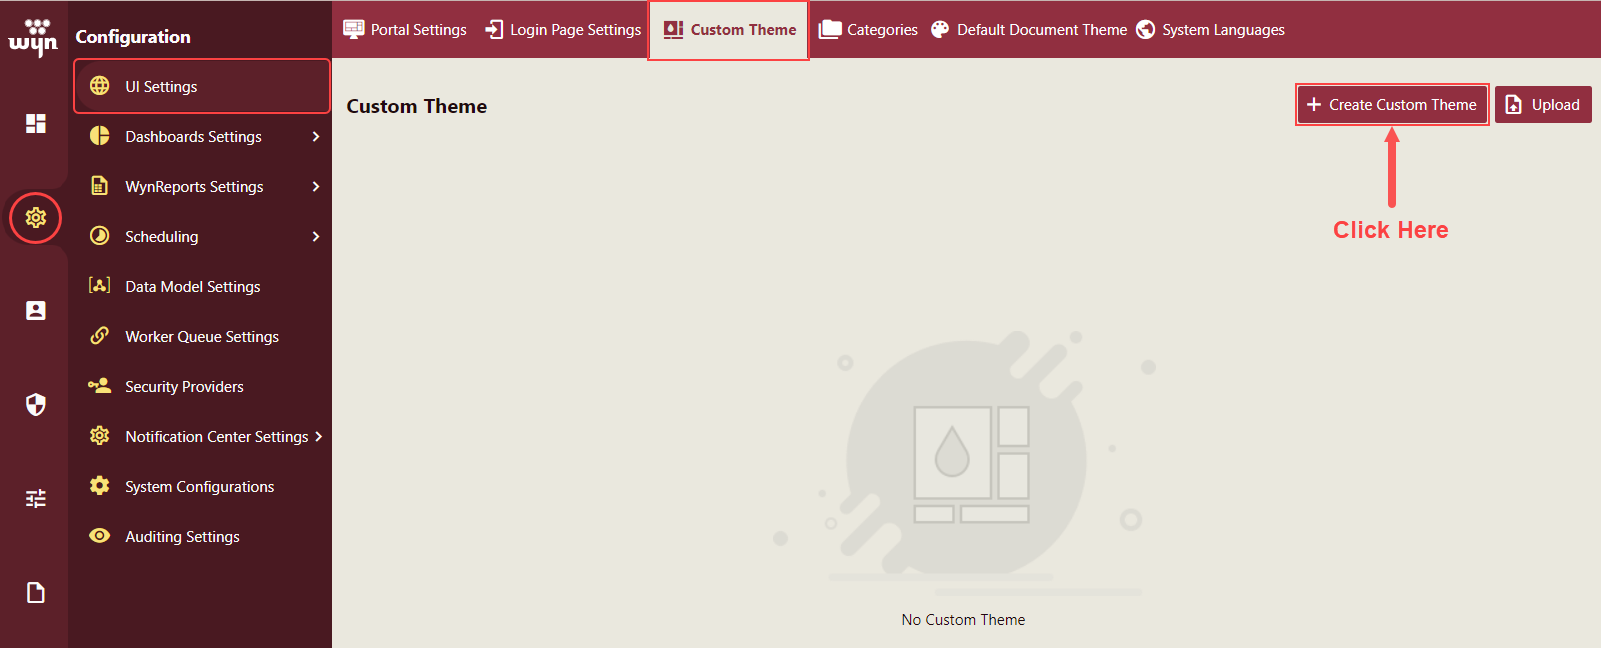
Create Custom Theme
Navigate to Configuration Settings >> UI Settings >> Custom Theme tab and click the + Create Custom Theme button.
The Custom Theme Designer page will appear on your screen. Select the Portal or Designer for which you want to build the custom theme. The following portals and designers available for Custom Themes in Wyn Enterprise are Document Portal, Dashboard Designer, Report Designer, Other Designer, and Admin Portal.
With the Portal or Designer selected, modify the theme by choosing the Dark or Light option from the Basic Setting section and adjusting the colors from the Common Setting section.
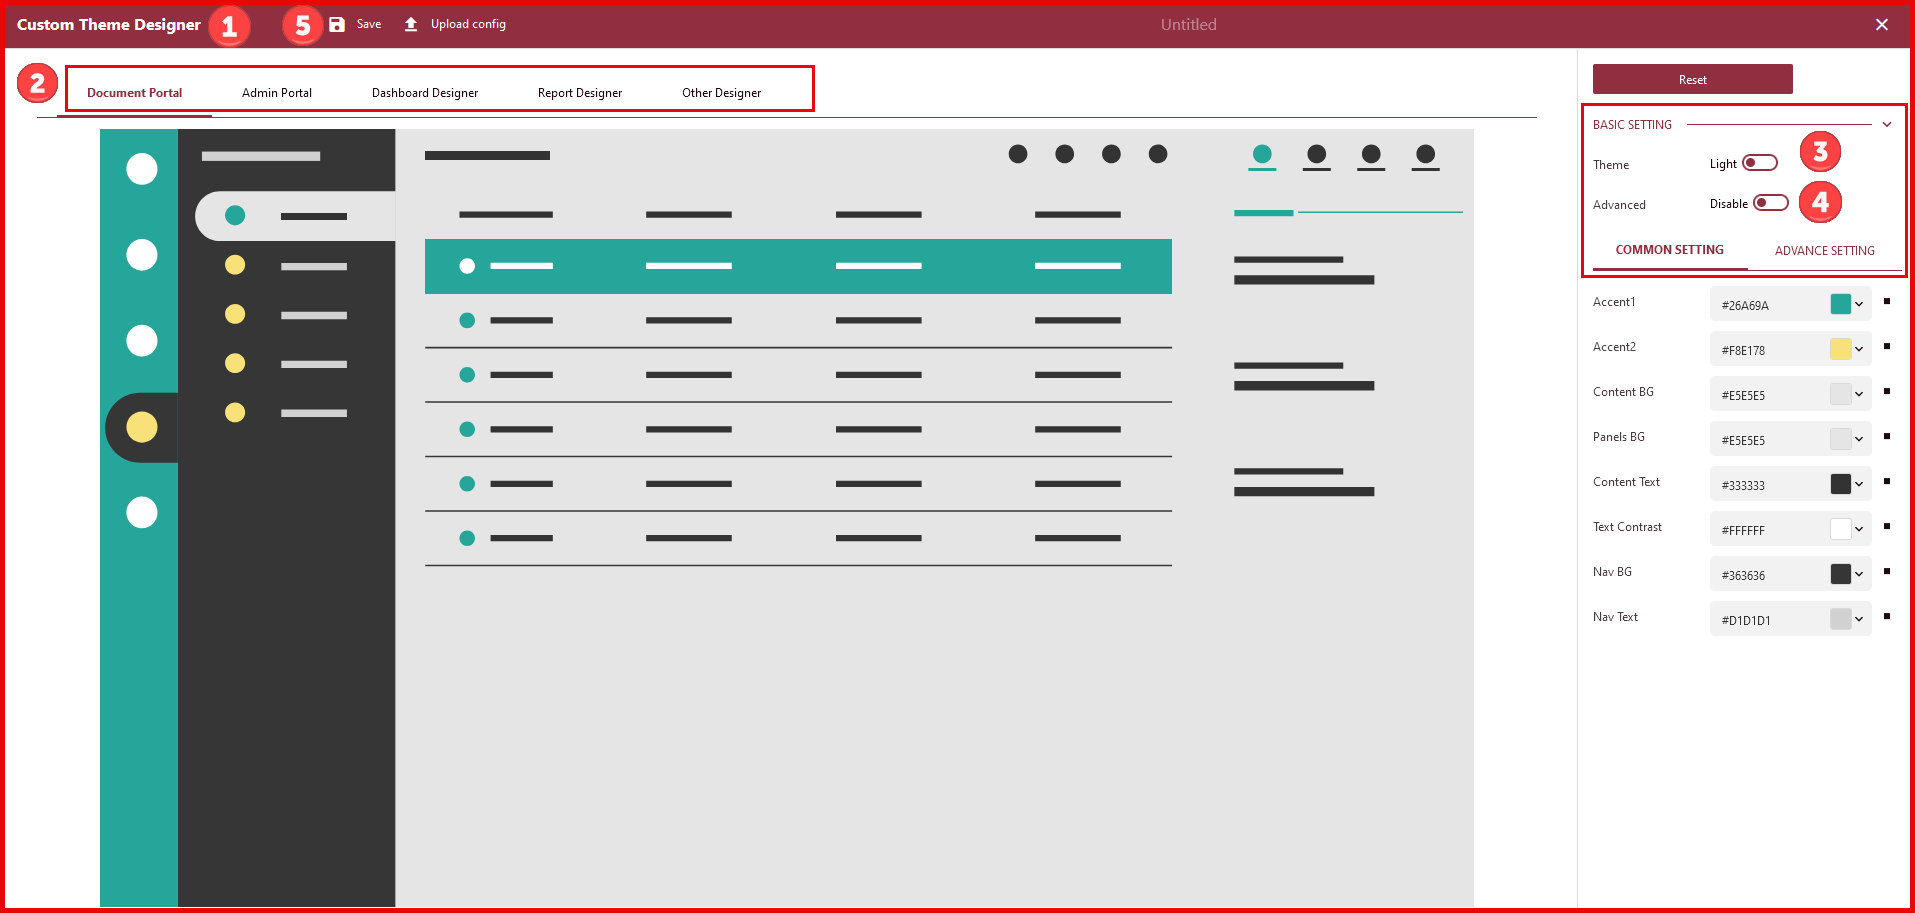
Enable Advanced to edit on Advanced Setting. It consists of customizing the desired colors on different areas of the Document Portal and Resource Portal pages.
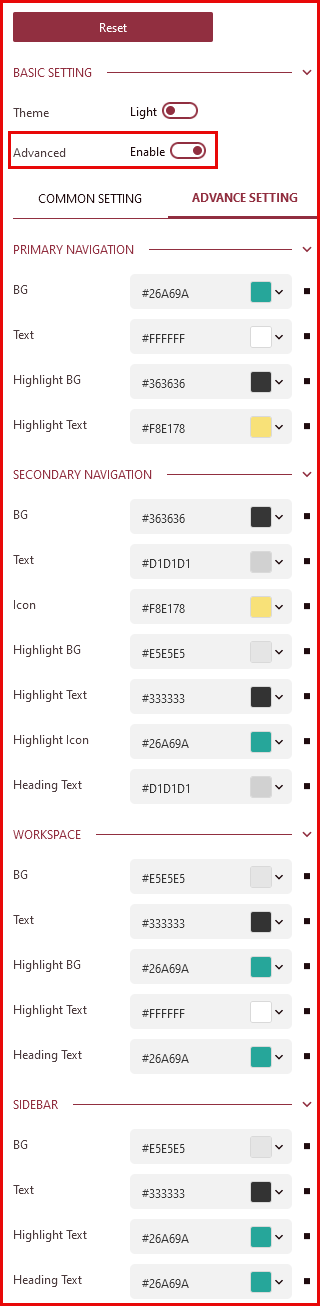
The affected areas for the Document Portal and Resource Portal are Primary Navigation, Secondary Navigation, Workspace, and Sidebar.
The image below shows the exact location where the color customization affects the Document Portal and Resource Portal.
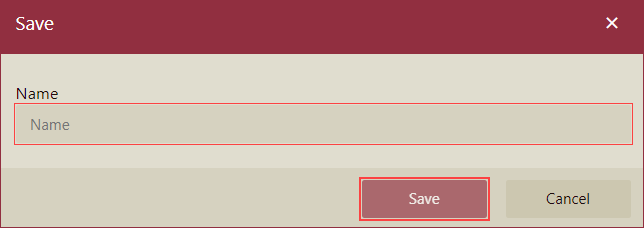
Click the Save button to save the custom theme.
Give a name to the custom theme and click the Save button.
The saved custom theme is added to the Custom Theme tab of the UI Settings.
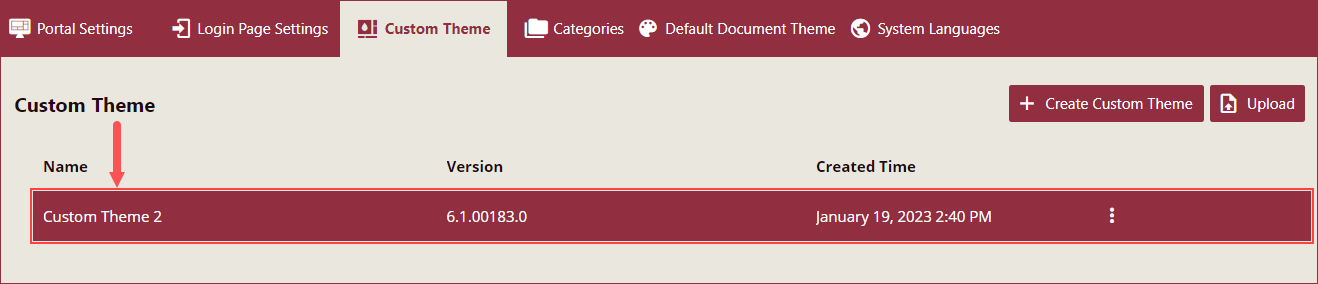
To access the context menu options - Edit theme, Upgrade theme, Download config file, Download theme archive, and Delete, click the ellipses button on the saved theme and select the option. The content menu options are described below,
Edit Theme: To edit the custom theme settings, click the Edit theme option, and you will be navigated to the Custom Theme Designer page. Make the changes and click the Save button.
Upgrade Theme: When upgrading the Wyn Enterprise application to the latest version, you need to upgrade the Custom Theme also. Update the Wyn Enterprise application and then click the Upgrade theme option to upgrade the custom theme to the latest version.
Download Config File: Click the Download config file option to download the configuration file of the custom theme.
Download Theme Archive: Download the archive file with the CSS styles of the custom file as a zip file.
Delete: To delete the Custom Theme, click the Delete button and confirm.
Upload Custom Theme
To upload a custom theme, navigate to Configuration >> UI Settings >> Custom Theme tab and click the Upload button. Upload pane will appear on the right side of your screen. Click the Upload button, select a zip file, name the custom theme, and click the Submit button.

You can also upload a custom theme from the Custom Theme Designer page. Click the Upload config button next to the Save button, select the config file of the custom theme, and click Open to proceed.
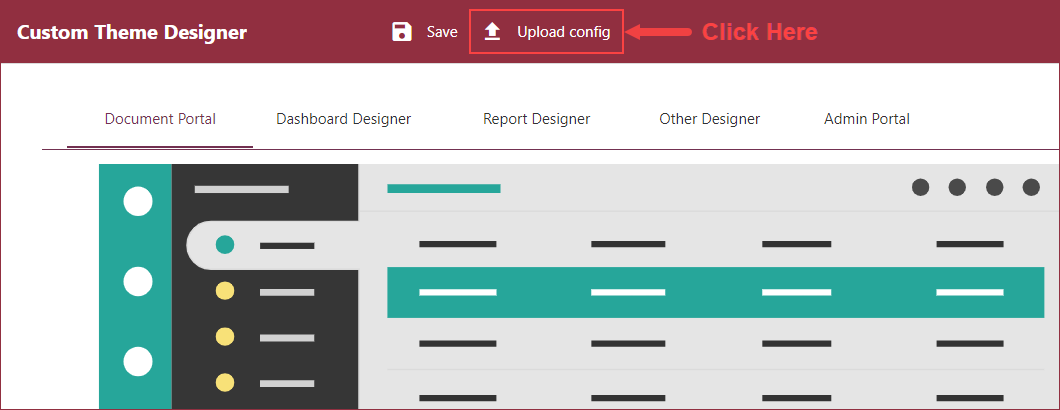
Custom theme is uploaded to the Custom Theme tab of the UI Settings.
Note: The custom theme name cannot start with a number and should not contain the following special characters: "/", "?", "#", "[", "]", "@", "!", "$", "&", "'", "(", ")", "*", "+", ",", ";", and "=".
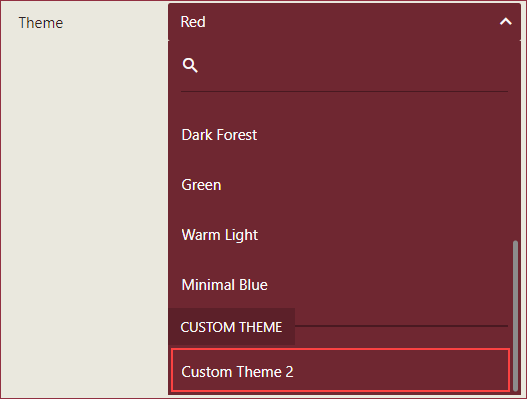
Apply Custom Theme
Navigate to the Configuration >> UI Settings >> Portal Settings tab.
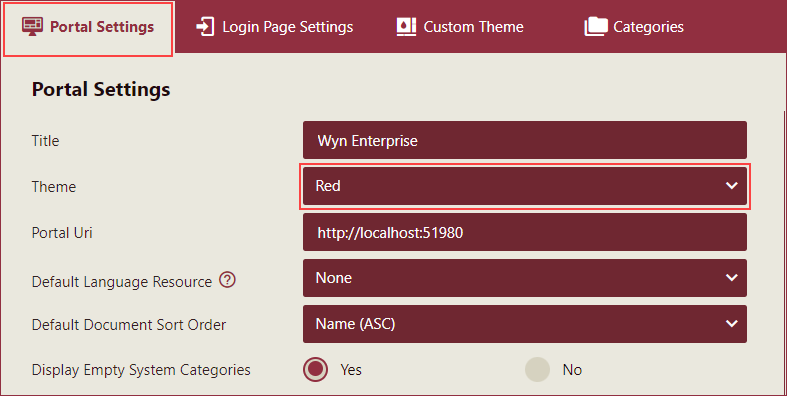
Select the custom theme available under the Custom Theme section of the Theme dropdown.