- Getting Started
- Administration Guide
-
User Guide
- An Introduction to Wyn Enterprise
- Document Portal for End Users
- Data Governance and Modeling
- Working with Resources
- Working with Reports
-
Working with Dashboards
- Dashboard Designer
- Selecting a Dataset
- Data Attributes
- Dashboard Scenarios
- Dashboard Templates
- Component Templates
- 3D Scene
- Explorer
- Visualization Wizard
- Data Analysis and Interactivity
- Dashboard Appearance
- Preview Dashboard
- Export Dashboard
- Dashboard Lite Viewer
- Using Dashboard Designer
- Animating Dashboard Components
- Document Binder
- Dashboard Insights
- View and Manage Documents
- Understanding Wyn Analytical Expressions
- Section 508 Compliance
- Subscribe to RSS Feed for Wyn Builds Site
- Developer Guide
Images
Images can be added to your dashboard using the image component from your dashboard toolbox. Follow the steps below to add an image to your dashboard.
1. Add Image Component
From the dashboard toolbox,  drag the image component onto the canvas.
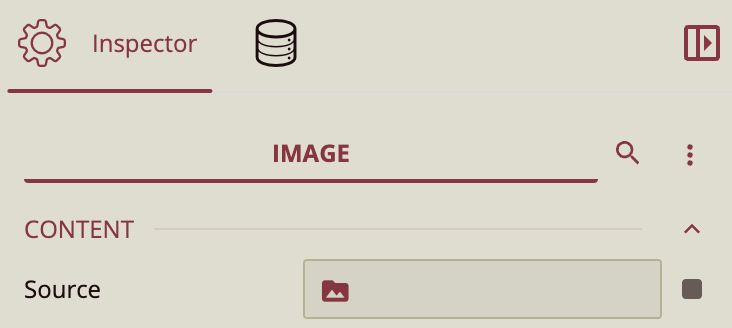
2. Upload Image
In the Inspector Panel, under the Content property group, select Source to upload your image.
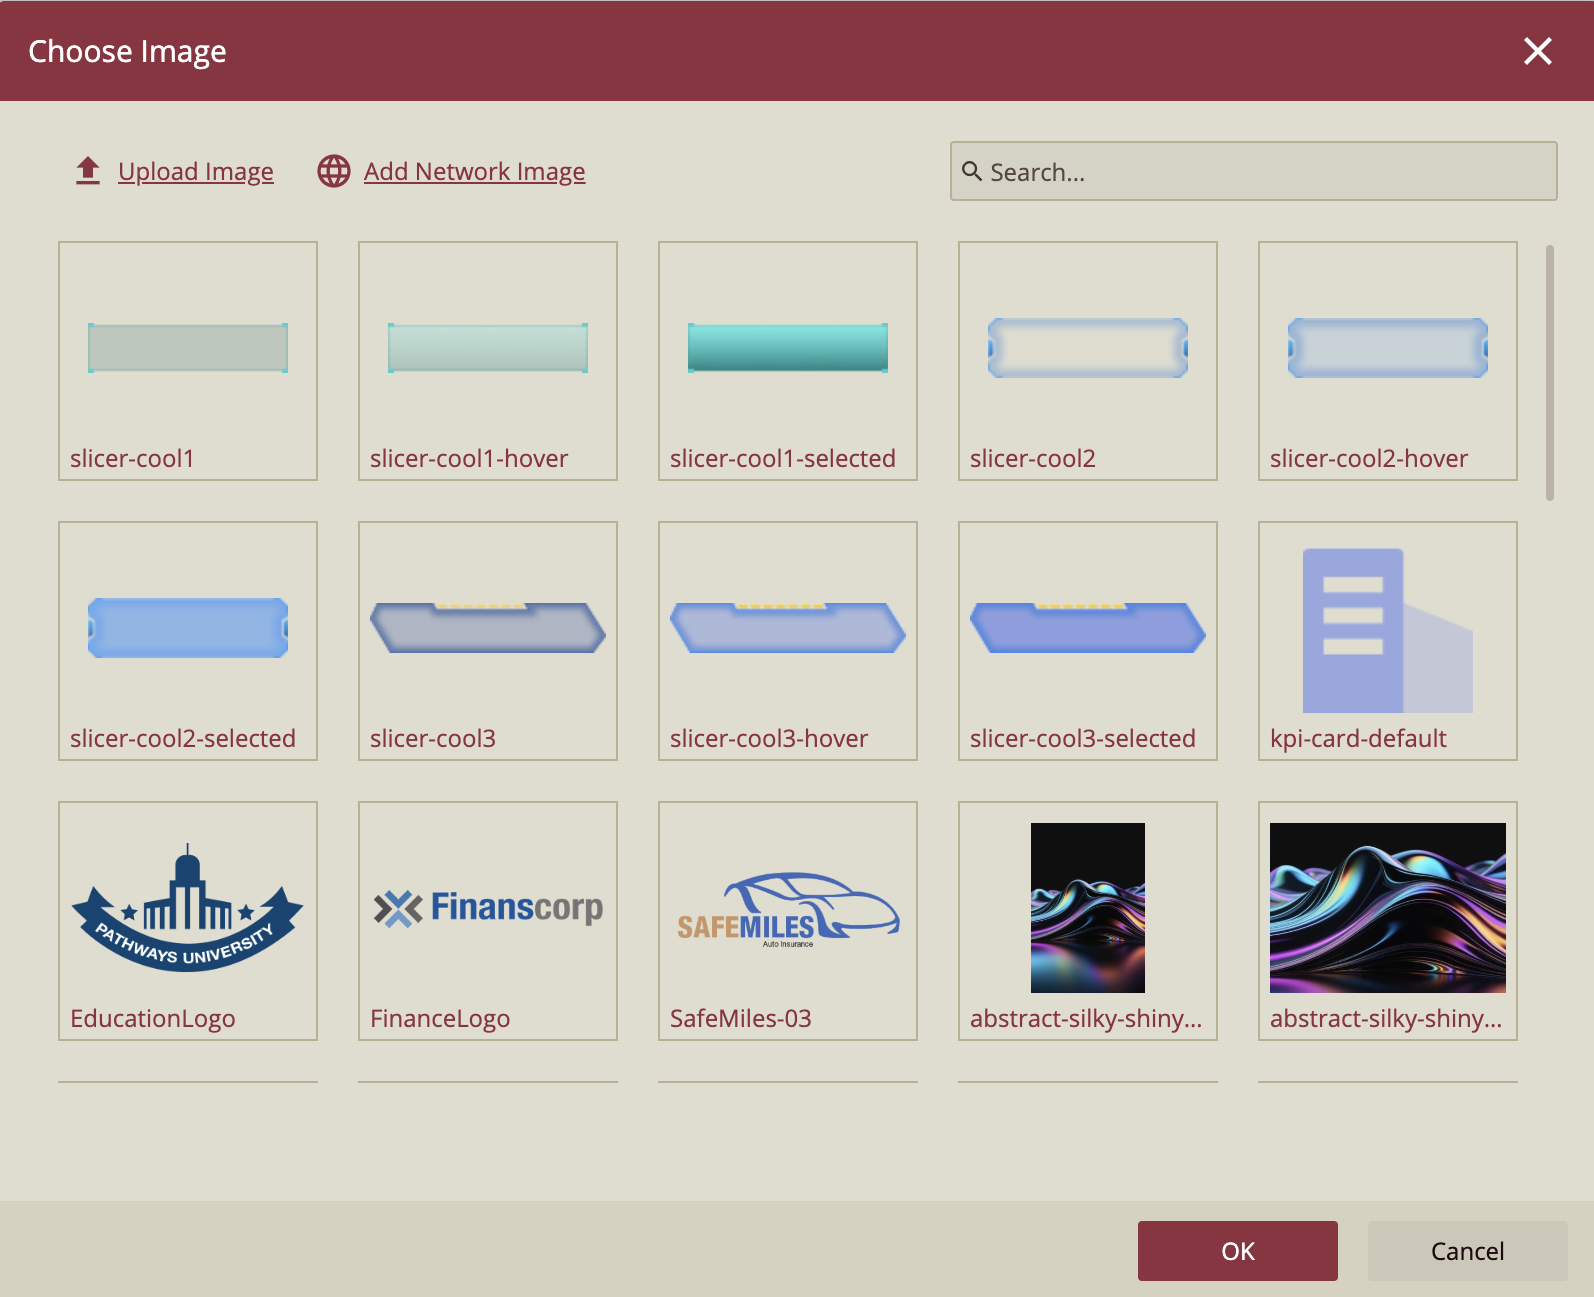
3. Select Image
In the dialogue window, you will see all the images available to you. Select the one you wish to use and click Ok.
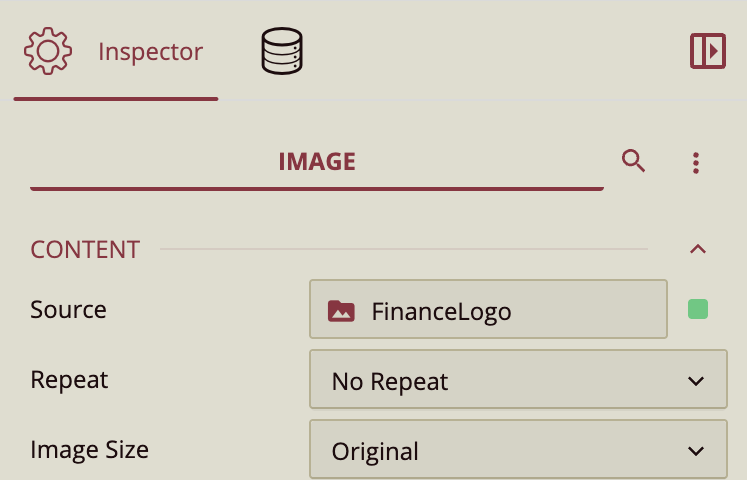
4. Resize Image
You can resize the image to improve its appearance in the Inspector Panel. Look at the Content property group, specifically Image Size.
5. Finish Editing
You can further edit your image by dragging the component edges to resize to fit your dashboard.