- Getting Started
-
Administration Guide
- Installing Wyn Enterprise
- Configuration Settings
- Account Management
- Security Management
- System Management
- Document Management
- How To and Troubleshooting
- User Guide
- Developer Guide
Map
The Map settings allow you to manage the Mapbox usage and GEOJSON packages in Wyn Enterprise. To configure the Map settings on the Admin Portal, navigate to Configuration > Dashboards Settings > Map.
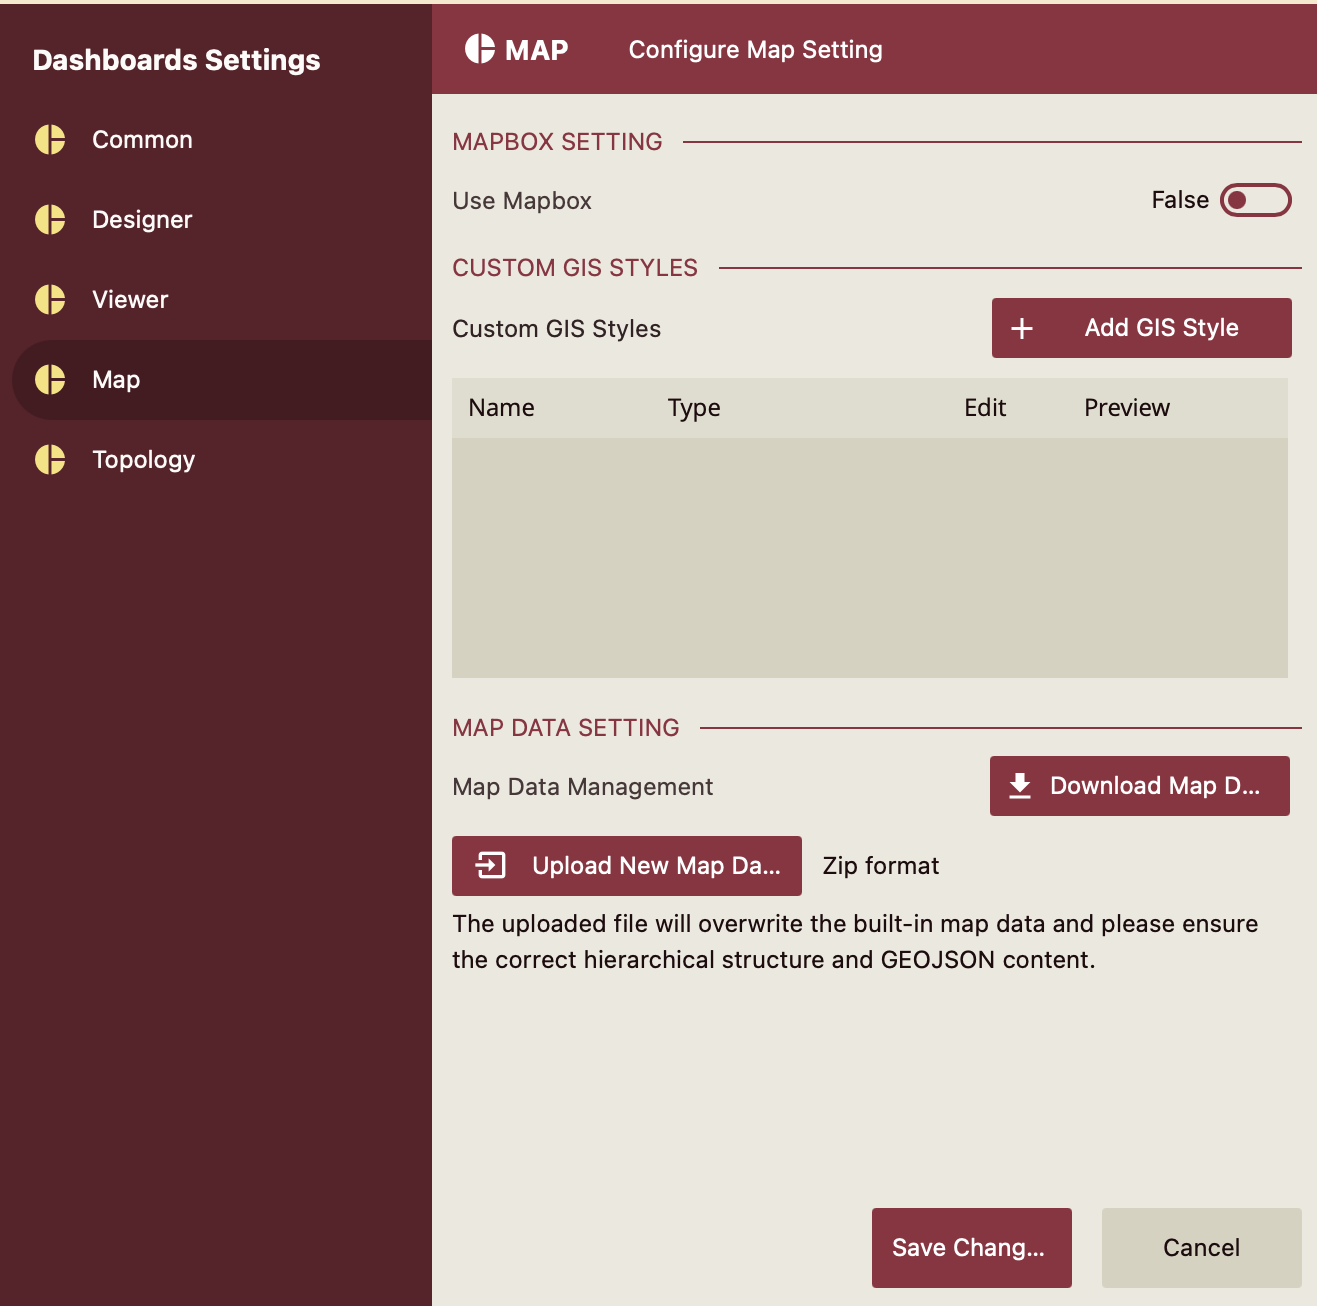
Map settings provide the following three options:
Mapbox Setting
Use Mapbox: Set the Use Mapbox property to True, to use the Mapbox services. When the Mapbox property is set to True, the settings shown in the below image are enabled.
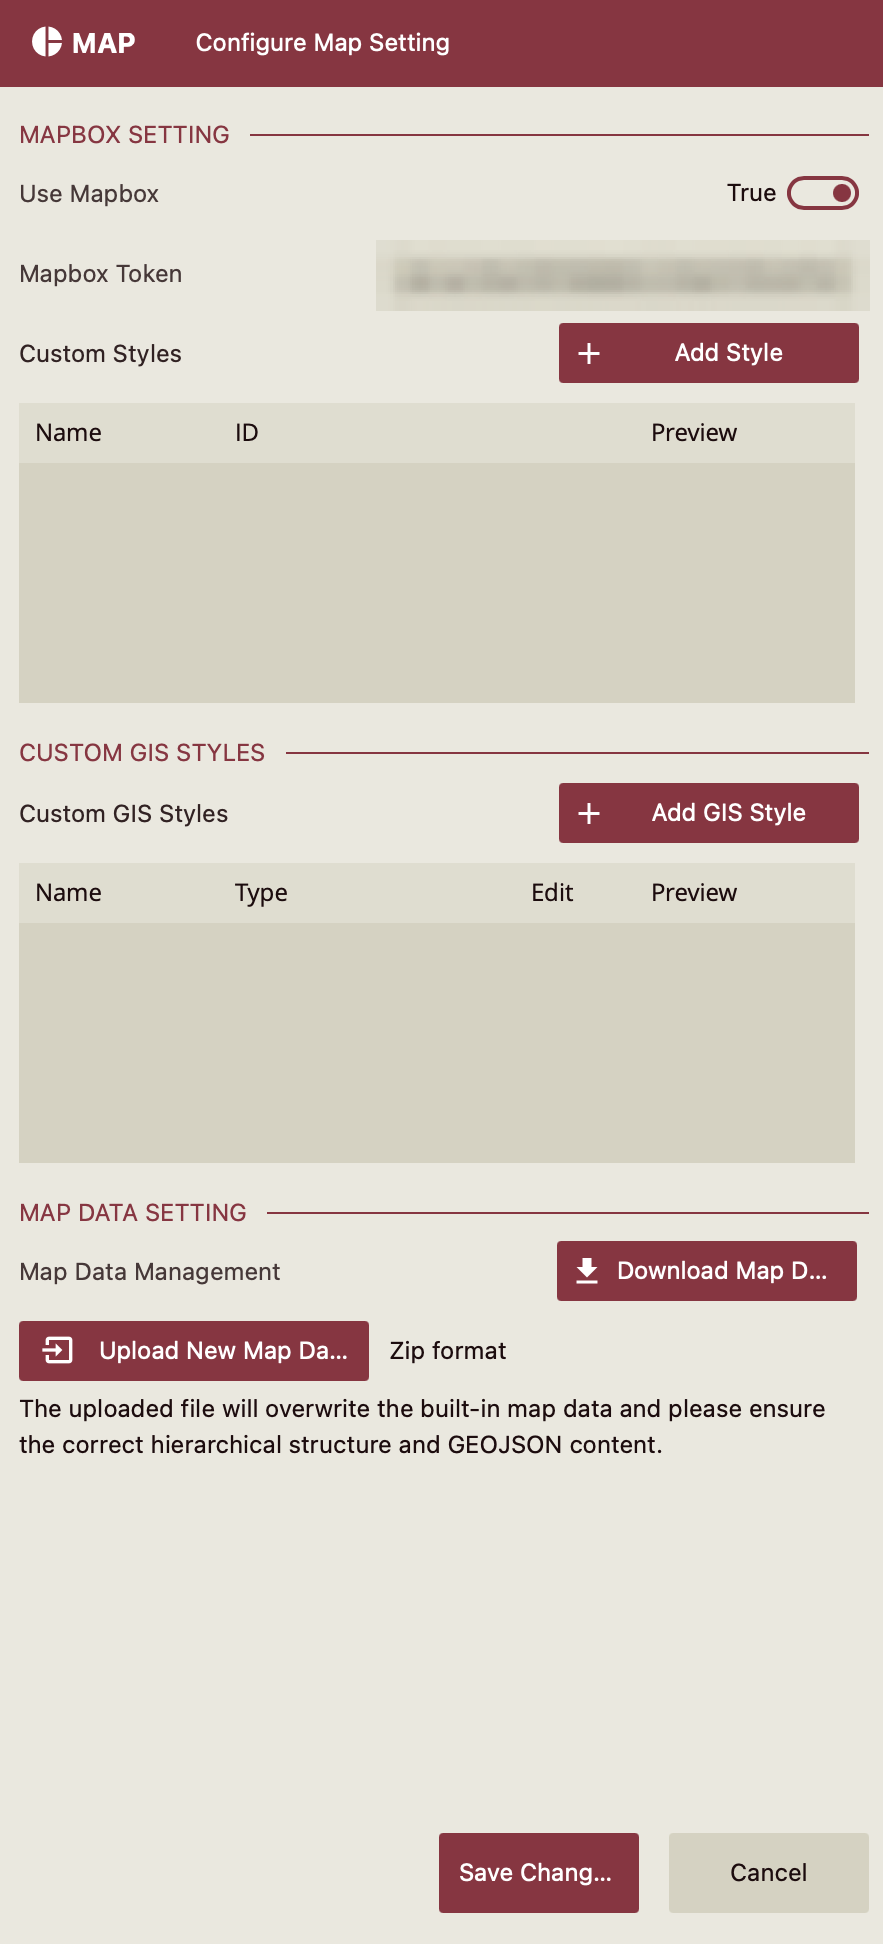
The map settings and their descriptions are given in the following table.
Setting | Description |
|---|---|
Mapbox | Set this property to True, to use the Mapbox services. |
Mapbox Token | When you register a "Mapbox" account(https://www.mapbox.com/) and log into it, you get an access token. This token is the Mapbox Token. |
Custom Styles | You can add the custom styles created in the Mapbox, into the Wyn from here and then use them in the Map under the Base Map Style property while designing the dashboards. By default, the following styles are provided by Mapbox: Normal, Dark, and Light. |
Adding Custom Style(s) Using Mapbox
Register a "Mapbox" account (https://www.mapbox.com/) and log in to get the access token.
Add the Mapbox token to the Wyn Admin portal in the Map under Configuration -> Dashboard Settings
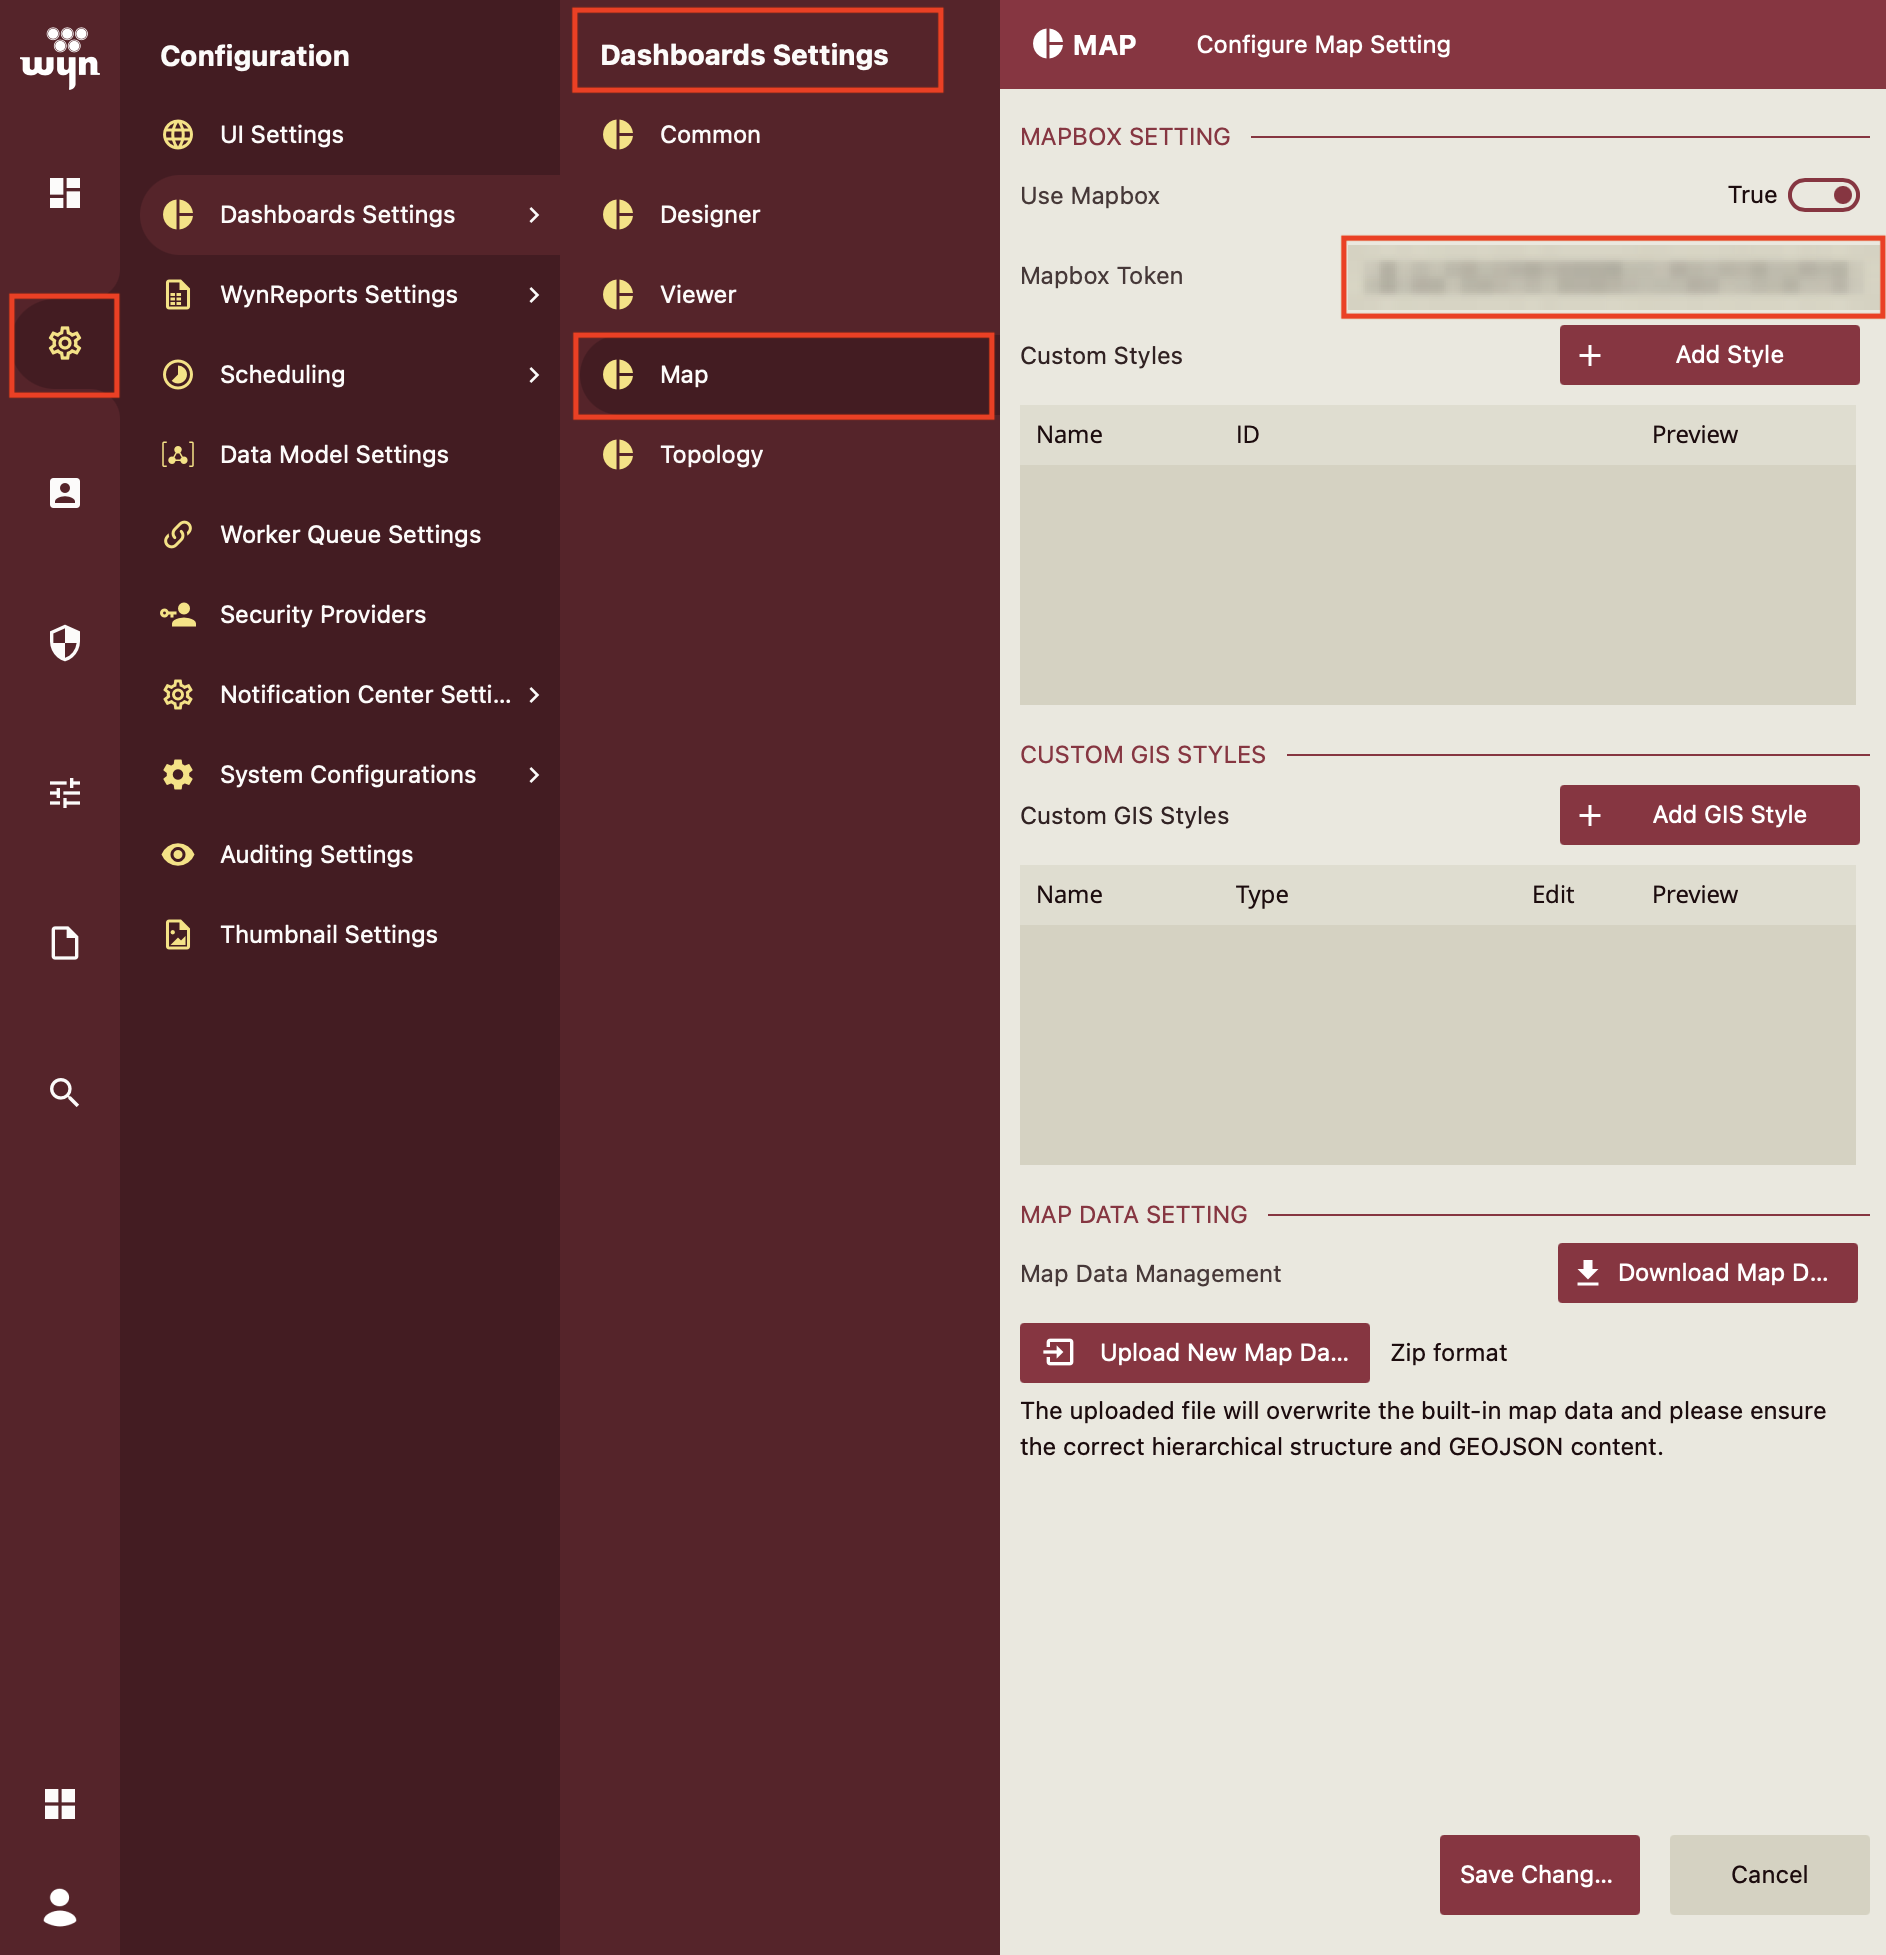
Add the Custom Style
You can add the custom styles in Mapbox as follows:
Login to the Mapbox website (https://www.mapbox.com/)
Click the Create a map in studio link to customize a style and choose a template to create a map. You can modify the style as per your preference.
Publish the style and copy the Style URL.
In the Wyn Admin portal in the Map under Configuration->Dashboard Settings, click the Add Style button corresponding to Custom Styles and add the copied custom style.

Click the Save Changes button to save the map style.
Set the Base Map style for the Map component in the Document and Resource Portal.
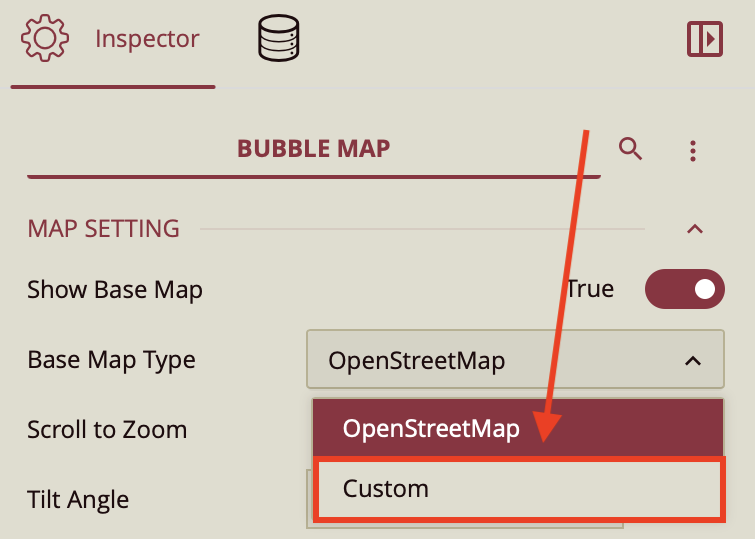
Once the Use Mapbox property is set to True and the custom style is added in the Admin Portal, then in the Document and Resource portal, the Base Map Type menu is displayed to customize the appearance of a map scenario under the Inspector Panel properties of the dashboard designer window.
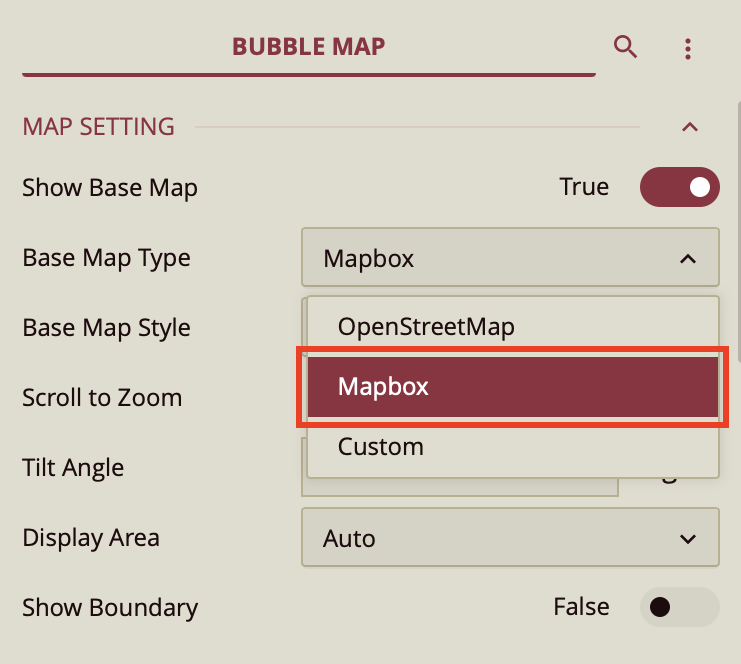
Once you select the Mapbox style from the dropdown menu another property Base Map Style is displayed. The Custom Style added in the Admin portal will also be displayed in the Base Map Style dropdown list along with the default styles provided by Mapbox (Normal, Dark, and Light).
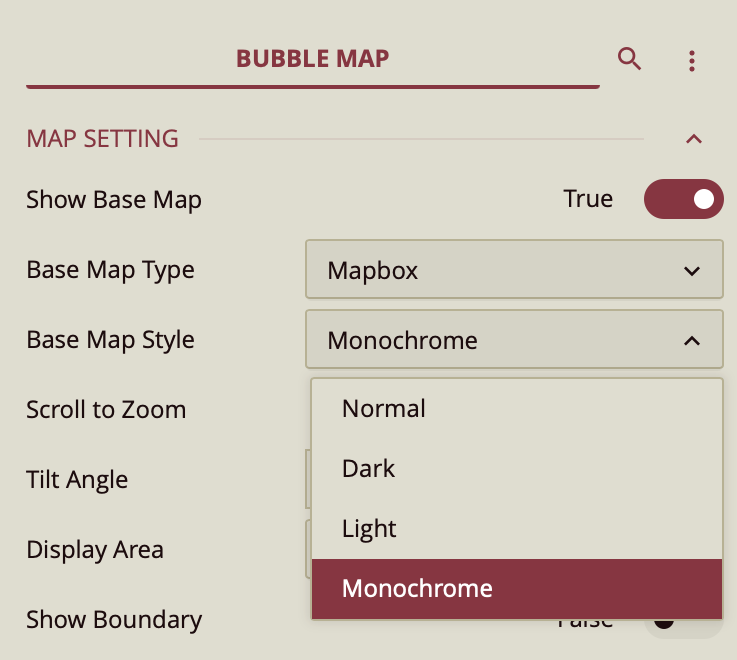
Note: Mapbox property is supported for the built-in maps (including "Bubble/Flow line/Heat/Area" maps) that use the open street map as a tile layer. It is not for the old map control. For more information see the MAP Setting property under the Customize Appearance section for the following help articles Bubble Map, Heat Map, Flow Line Map, Area Map
Custom GIS Styles
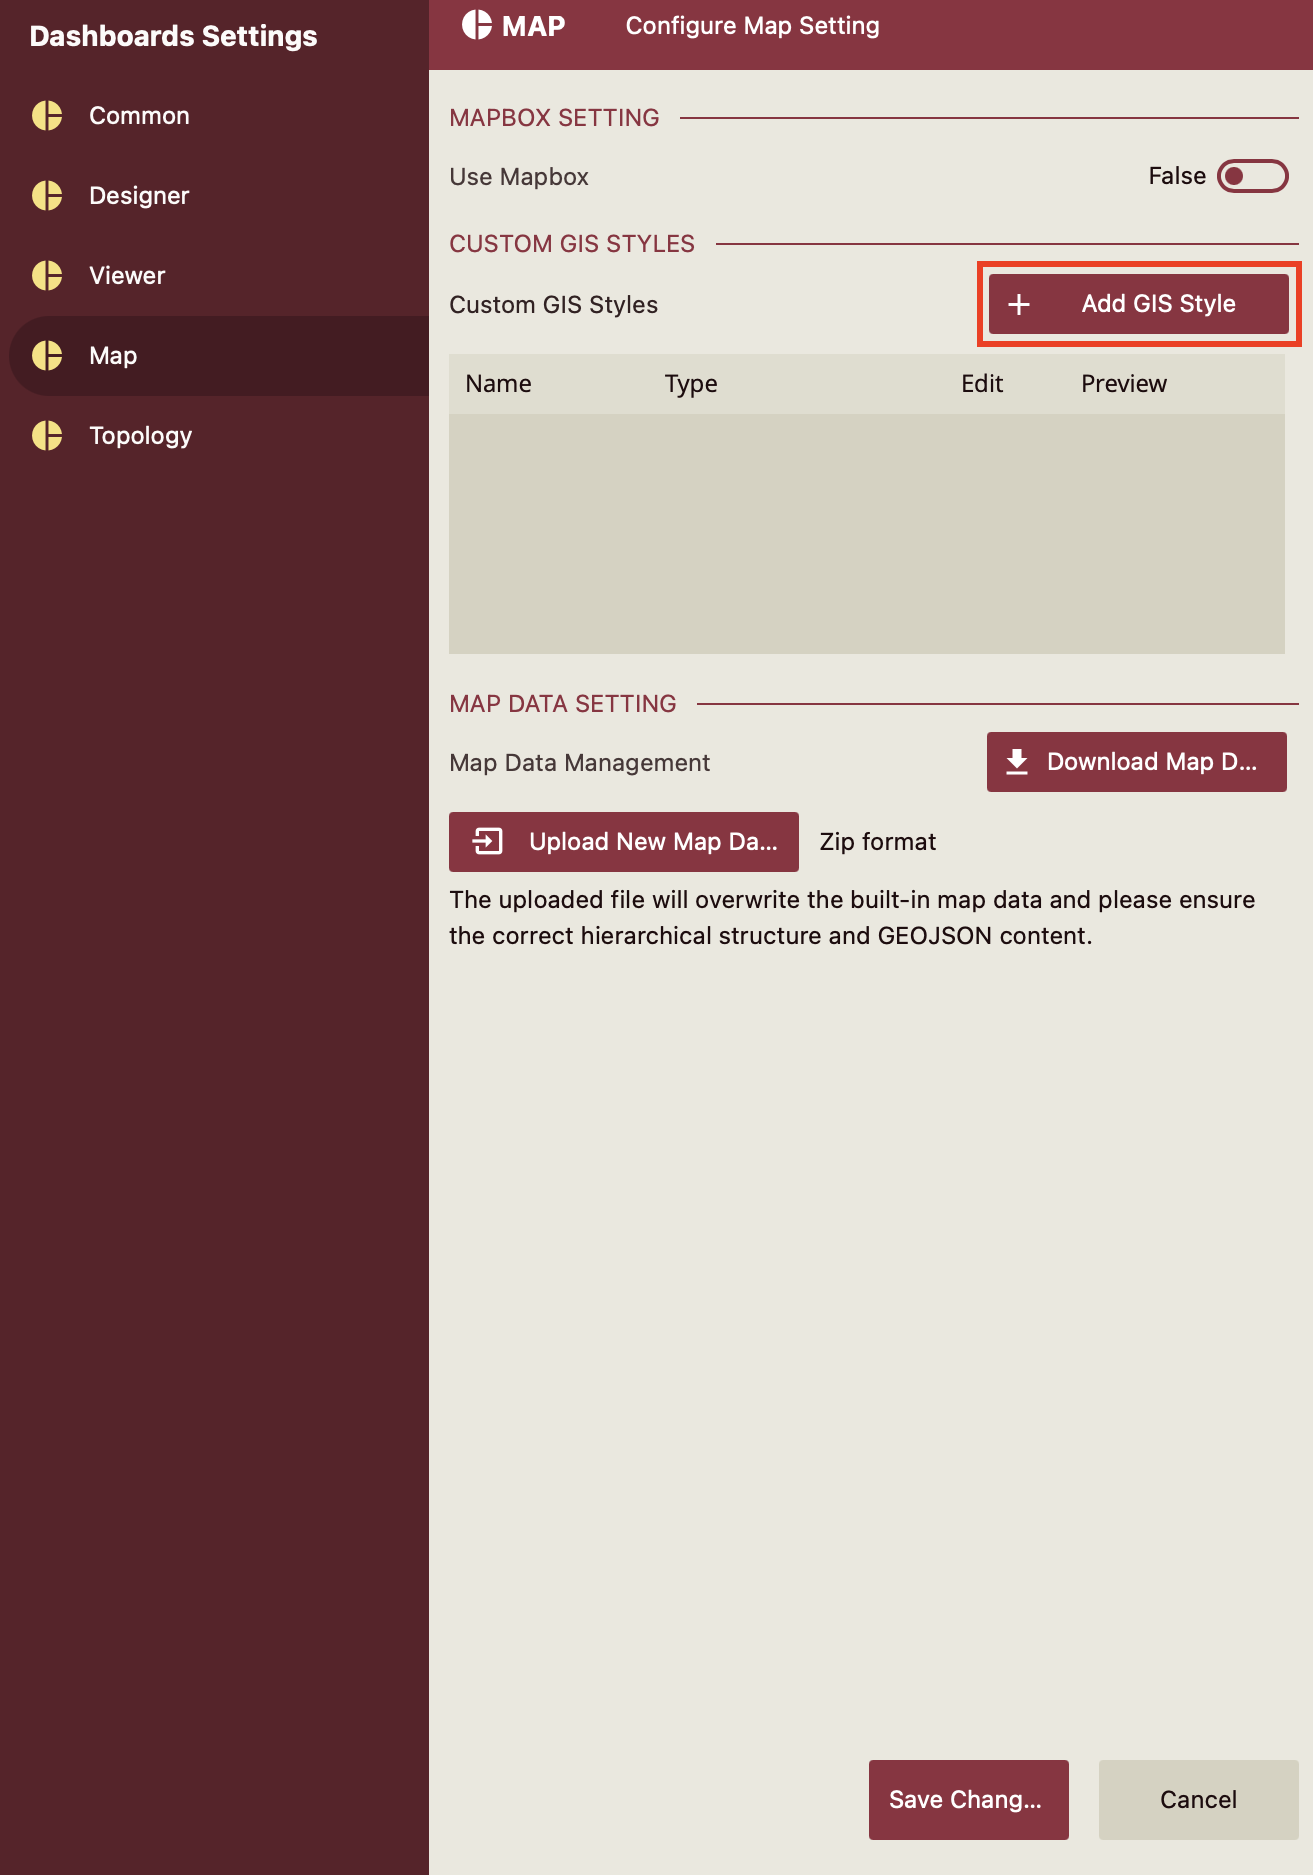
In the dashboard settings, click the + Add GIS Layer button to open the GIS Layer Panel.
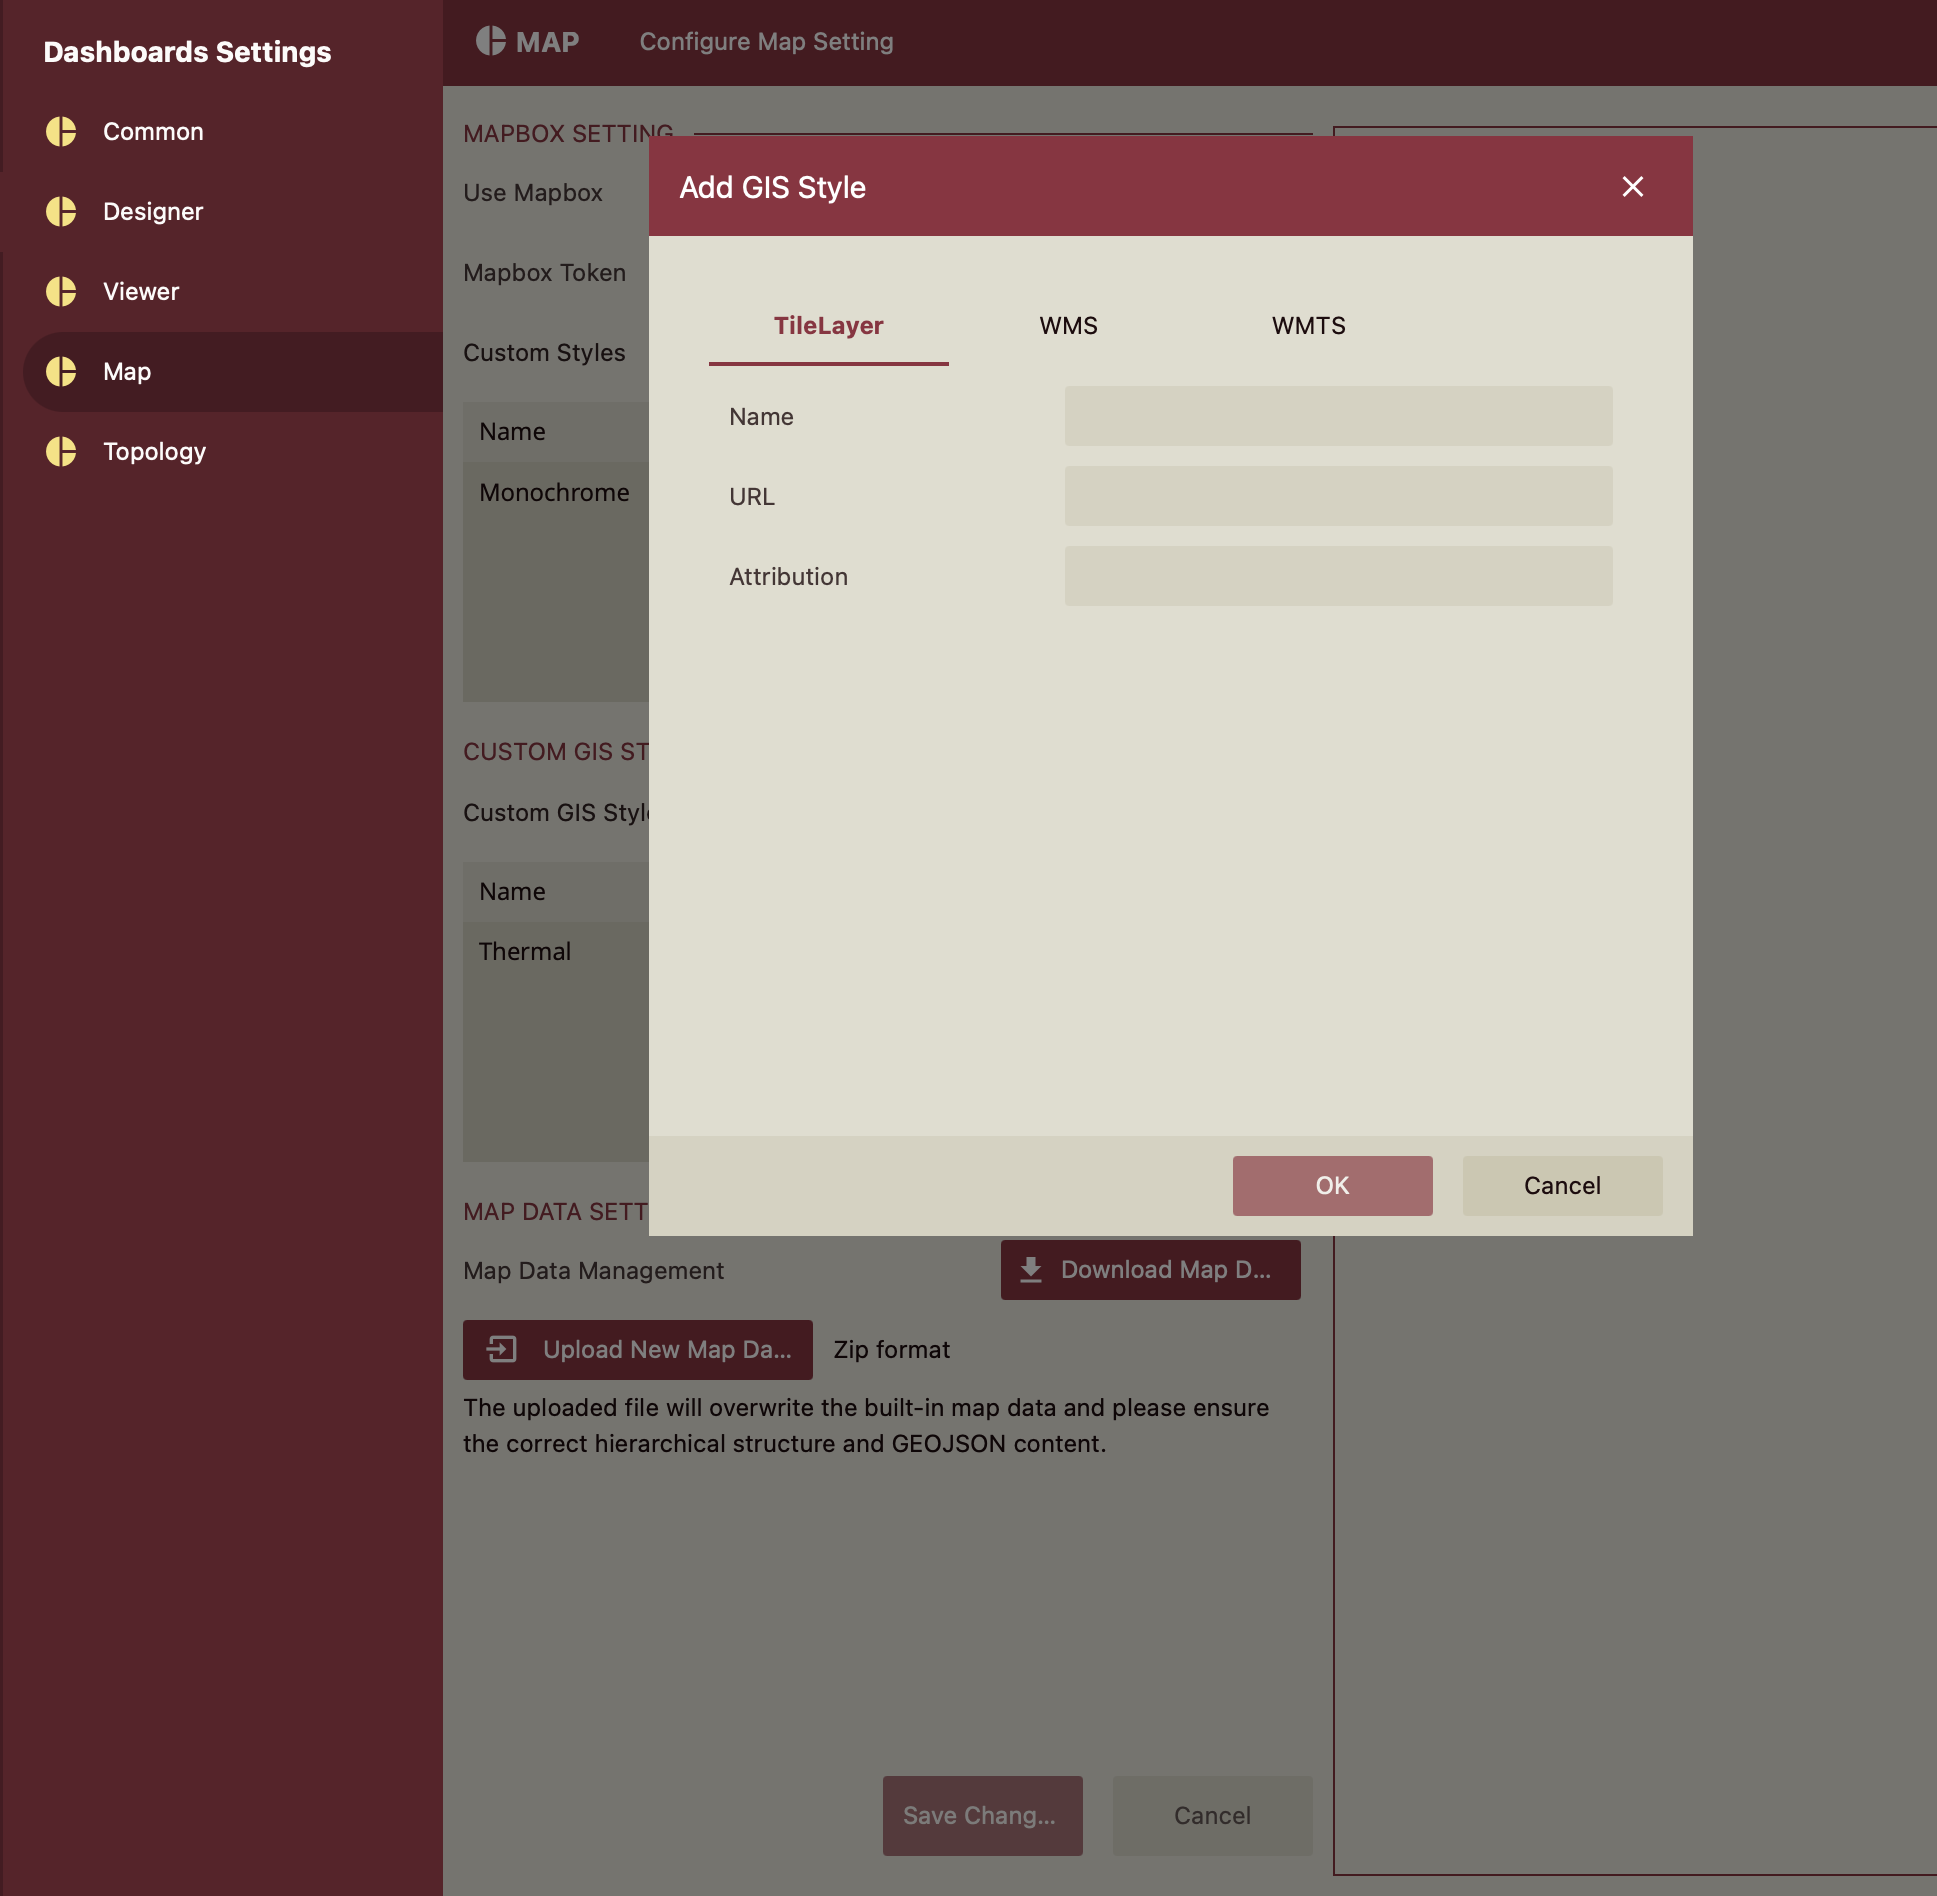
Once you open up the GIS layer panel, you will notice there are three tabs: "Tile Layer", "WMS" and "WMTS".
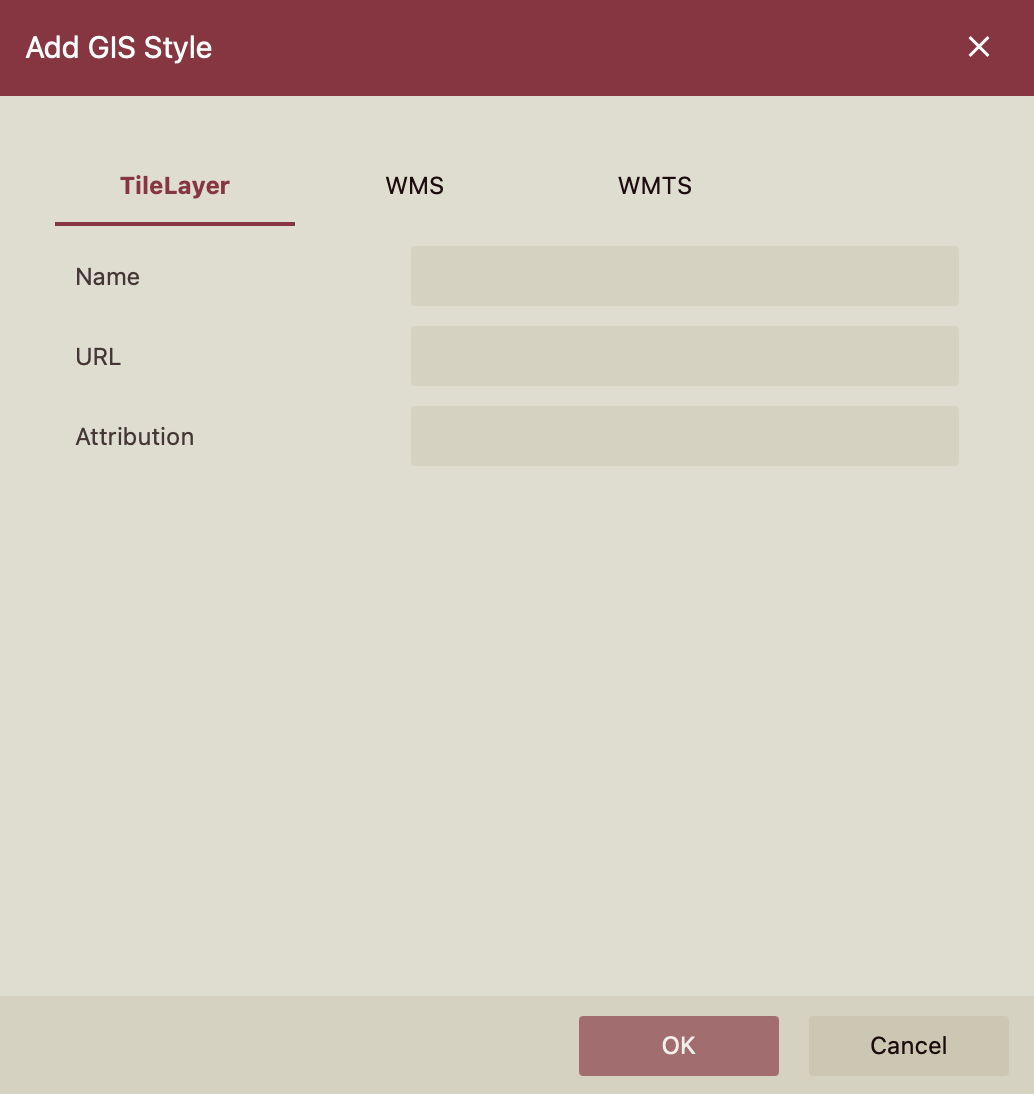
Tile Layer
Key | Description | Required |
|---|---|---|
Name | GIS layer name | Yes |
URL | Tile Layer's URL | Yes |
Attribution | Identify the Attributions of the Layer. This is a piece of text displayed in the bottom right corner of the map. | No |
WMS Layer
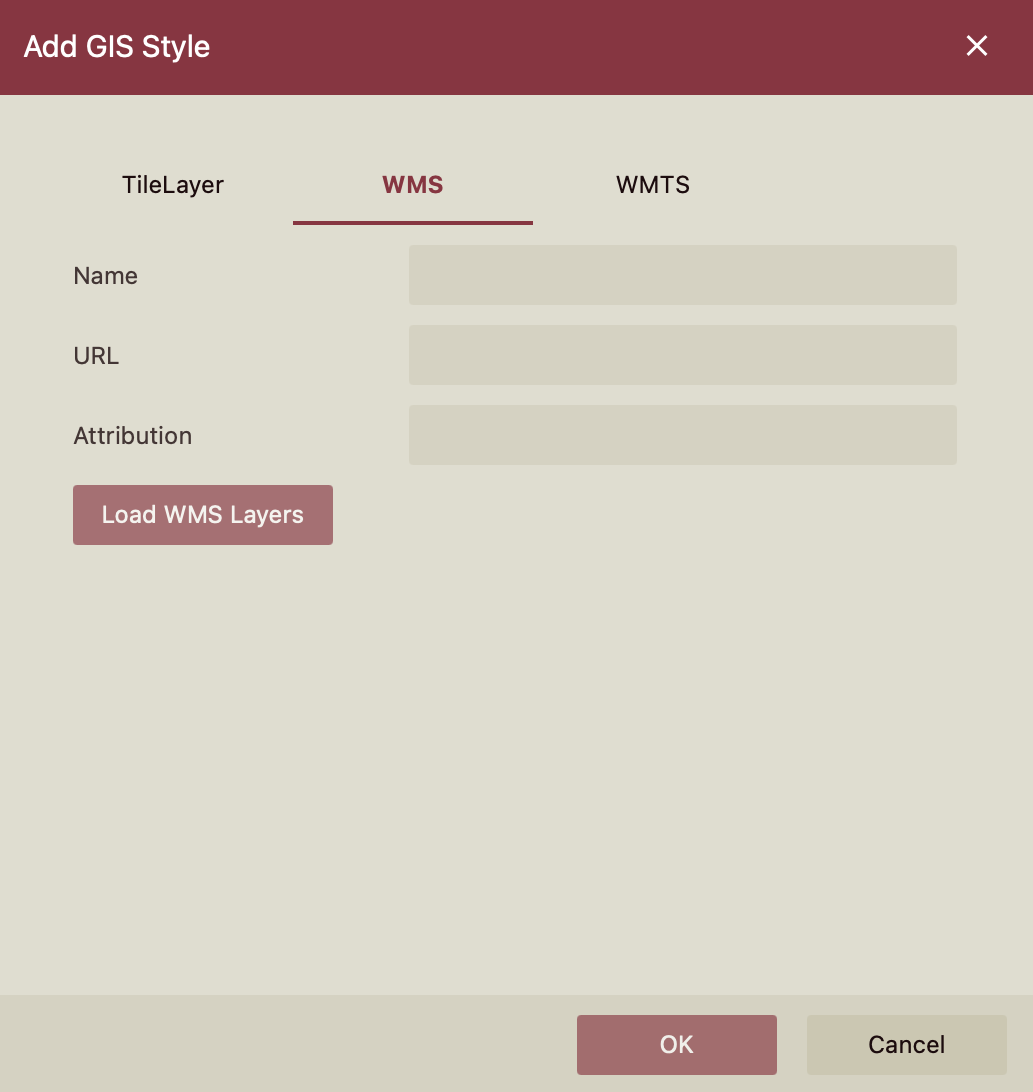
Key | Description | Required |
|---|---|---|
Name | GIS layer name | Yes |
URL | WMS service base URL | Yes |
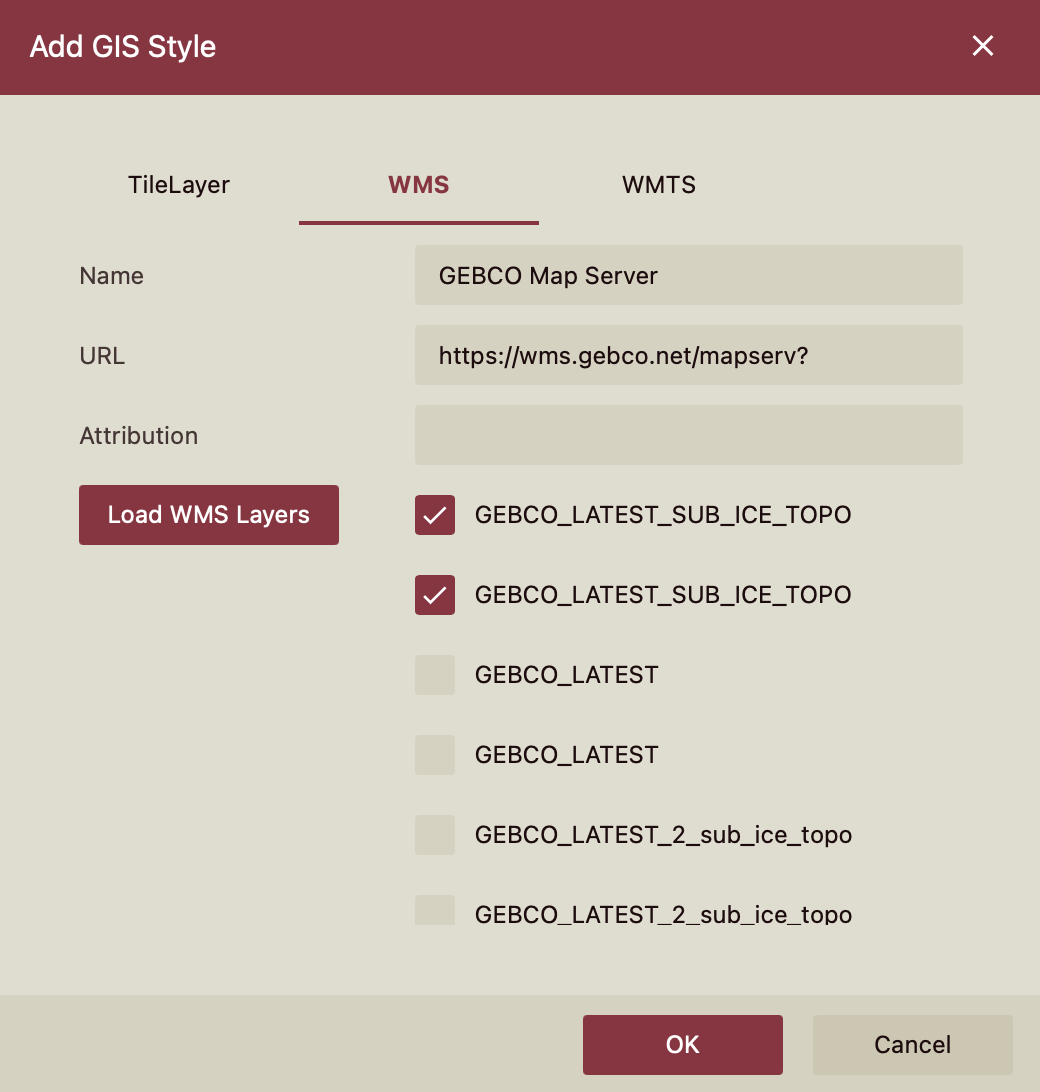
Get Layers | Click the Get Layers button to request all WMS Layers. A checkbox group for all WMS layers will be displayed. Select the layers you would like to display, as shown in the scenario below. | No |
WMTS Layer
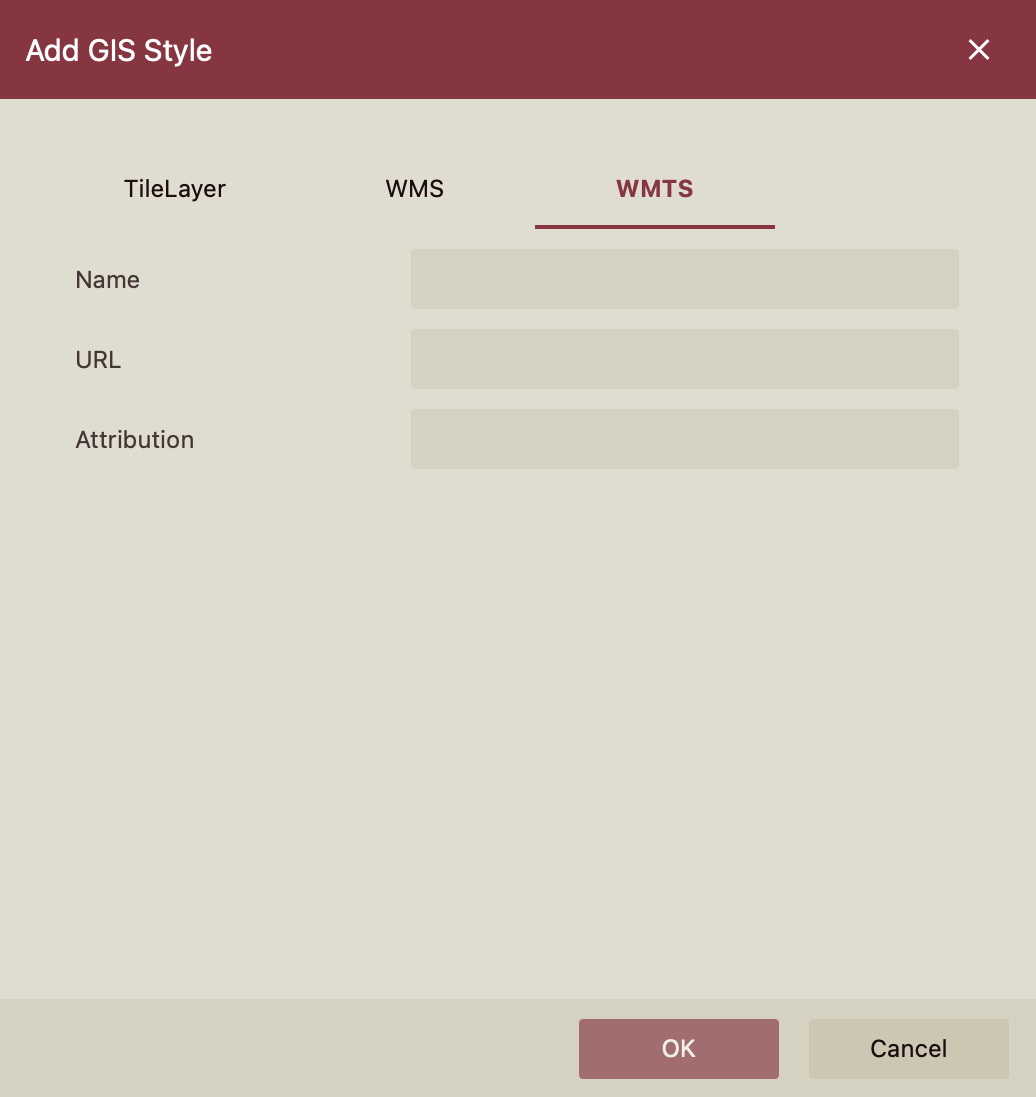
Key | Description | Required |
|---|---|---|
Name | GIS layer name | Yes |
URL | WMTS service base URL. "Layer", "style", "tilematrixset" are required parameters in the URL. | Yes |
Attribution | Identify the Attributions of the Layer. This is a piece of text displayed in the bottom right corner of the map. | No |
Click Save Changes to save a GIS Layer.
Set the Base Map style for the Map component in the Document and Resource Portal.
Once GIS layer is added in the Admin Portal, then in the Document and Resource portal, the Base Map Type menu is displayed to customize the appearance of a map scenario under the Inspector Panel properties of the dashboard designer window.
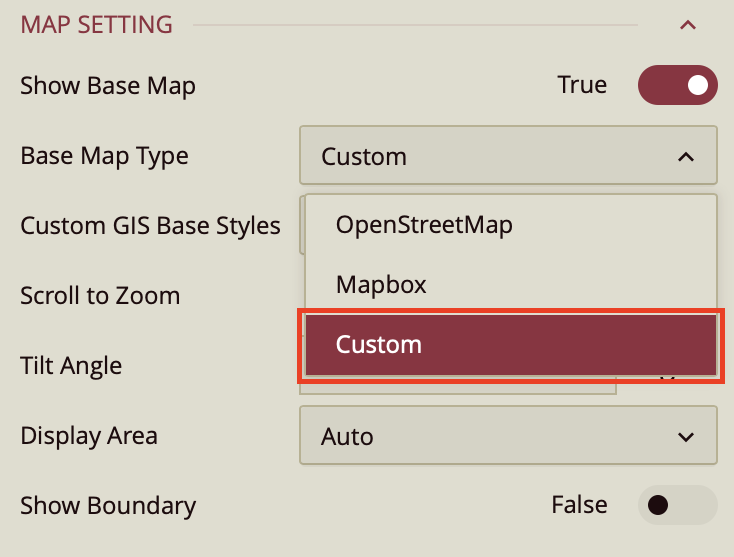
Once you select the Custom style from the dropdown menu another property Custom GIS Base Styles is displayed. The GIS Layer added in the Admin portal will also be displayed in the Custom GIS Base Styles dropdown list.
Map Data Setting
Use the Map Data Setting to upload updated GEOJSON packages in Wyn Enterprise through the admin portal. This eliminates the need for users to manually log in and update the GEOJSON files on the system where Wyn Enterprise is installed.
To upload an updated GeoJSOSN package, follow the below instructions,
Click the Download Map Data button. The built-in map data (GeoJSON) will automatically download as a zip file.
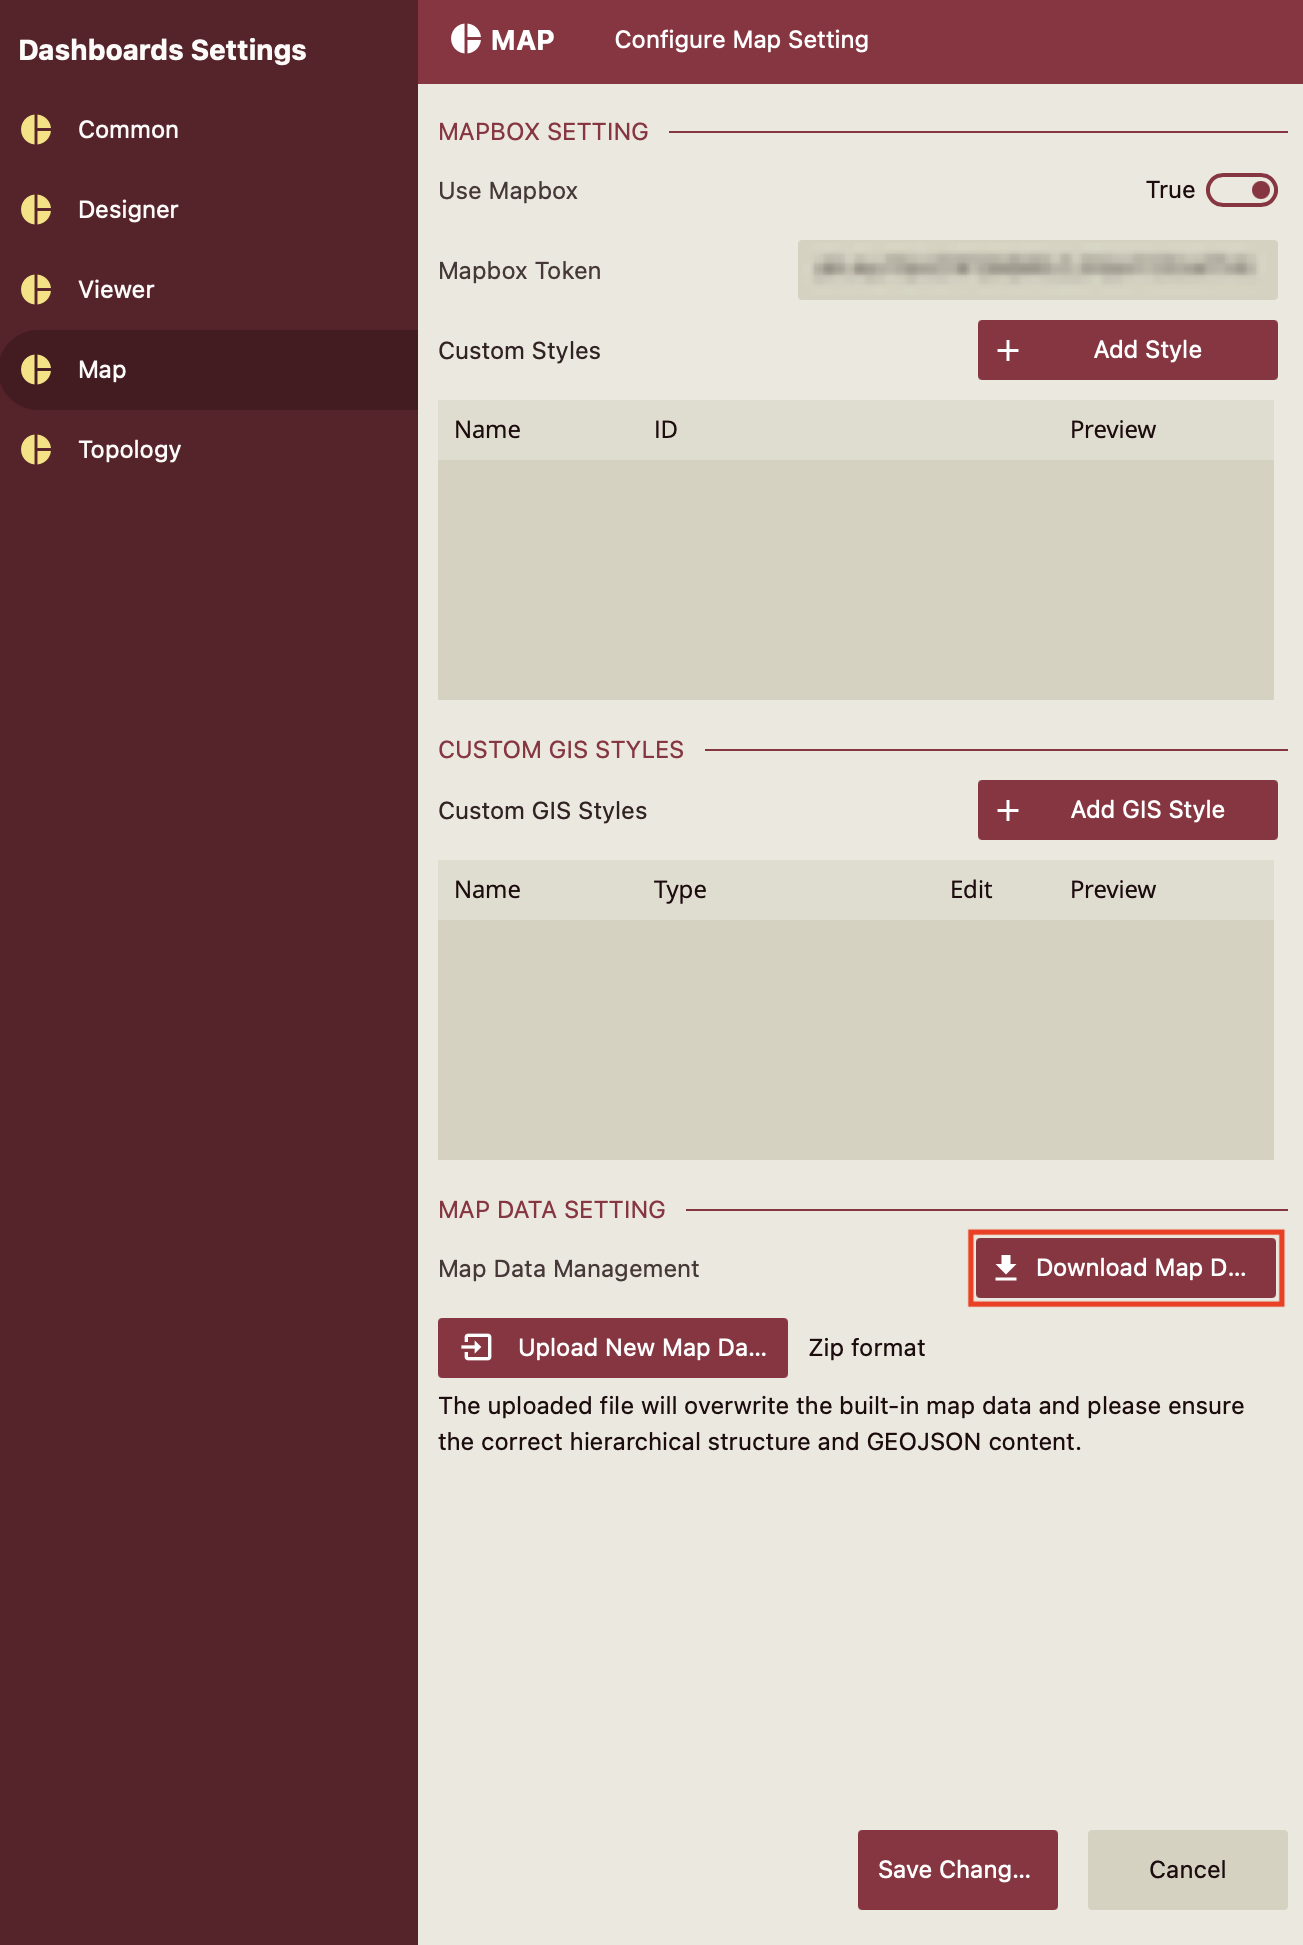
Extract the zip file items at the specified location and make the necessary changes like adding countries, states, counties, cities, and more. After making the changes, compress the files into a zip archive and upload them using the Upload New Map Data button.
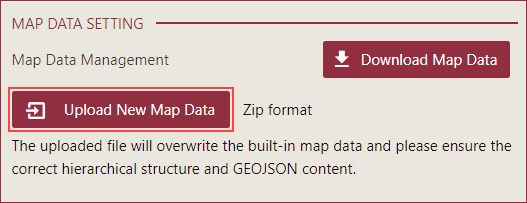
Note: Ensure that the GEOJSON files are placed in the correct hierarchy
Click the Save Changes button to save the updated GeoJSON data.


